Designing a custom hoodie is a deeply rewarding creative journey that allows brands to translate their unique vision into wearable art. A well-executed design does more than just look good; it enables your customers to express their personal style while making a bold statement. Whether you are developing a seasonal collection, gear for special events, or a signature piece for your e-commerce store, following a structured process is the key to professional results.
Step 1: Strategize and Plan Your Hoodie Concept
Before diving into graphics, you must define the core purpose of your hoodie. Is it a heavy-duty winter essential or a lightweight layering piece for spring? Understanding the target demographic will dictate your aesthetic choices.
Next, establish a color palette that resonates with your brand identity. Consider whether a minimalist, monochromatic look or a vibrant, multi-color scheme best serves your message. This is also the stage to decide on logo integration and general “mood” of the garment.
Step 2: Selecting the Perfect Fabric and Weight
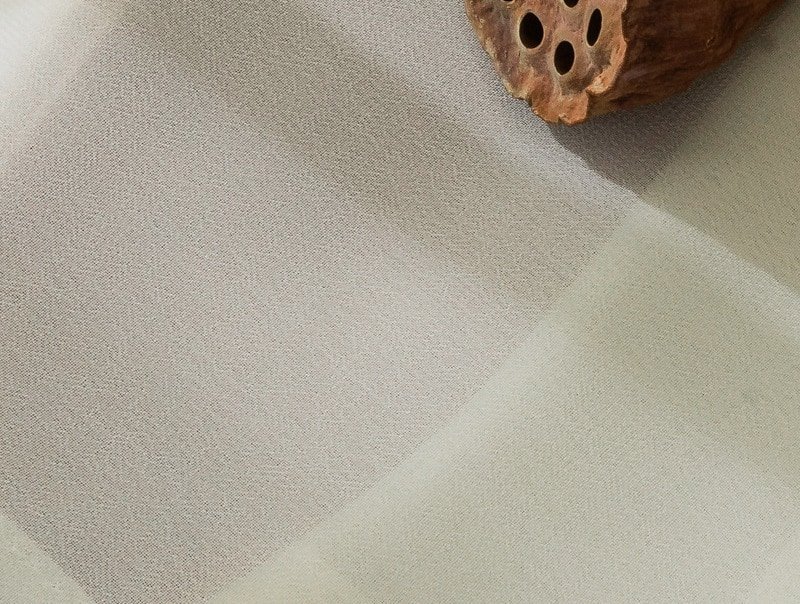
The “feel” of a hoodie is just as important as its look. When choosing materials, consider the balance between warmth, breathability, and durability. As a leading clothing manufacturer, we often see these popular choices:
- ✔ Cotton-Polyester Blends: Ideal for softness and shape retention.
- ✔ Fleece: Provides maximum insulation for colder climates.
- ✔ French Terry: A lighter, moisture-wicking option for activewear.
Remember, fabric GSM (Grams per Square Meter) determines thickness. A higher GSM means a heavier, premium-feel hoodie, while lower GSM is better for summer styles.
Step 3: Developing Your Creative Design Elements
This is where your brand’s personality shines. Focus on the visual hierarchy of your design. Start with a central graphic or logo, then consider typography. Choose fonts that are legible and reflect the “voice” of your brand—be it rugged, elegant, or street-style.
Placement is critical: While the chest and back are standard, don’t overlook the sleeves, hood, or even the kangaroo pocket for a unique touch. Experimenting with unconventional placements can set your custom hoodie apart from generic competitors.
Step 4: Technical Preparation for Production
To ensure your design looks as good on fabric as it does on screen, you must prepare high-resolution files. Vector formats (.AI or .EPS) or high-quality PNGs are essential for crisp printing. If you aren’t confident in your technical skills, consulting a professional designer at this stage can prevent costly production errors.
Choosing a reputable clothing manufacturer is the final piece of the puzzle. Look for partners like Ludyway, who offer competitive pricing, fast turnaround times, and a wide range of customization techniques such as screen printing, embroidery, and puff printing.
Step 5: Finalizing the Order and Quality Control
Before the “go” signal, request a digital mockup or a physical sample. Verify the color accuracy, print placement, and sizing. Once approved, confirm the total quantity, expected delivery date, and shipping logistics.
Upon receiving your bulk order, conduct a thorough inspection for any defects. Ensuring every piece meets your high standards will build long-term trust with your customers.
Pro-Tips for an Impactful Hoodie Design
- Less is More: A clean, focused design often has a stronger visual impact than a cluttered one.
- Color Psychology: Use colors that evoke the right emotion (e.g., blue for trust, red for energy).
- Print Quality: Opt for high-quality methods like DTG (Direct to Garment) for detailed art or Embroidery for a premium, textured feel.
Collaborating with an experienced clothing manufacturer ensures that these technical nuances are handled perfectly, allowing you to focus on the creative side of your business.
Frequently Asked Questions (FAQ)
1. What file format is best for hoodie printing?
Vector files (.AI, .EPS, or .SVG) are the gold standard because they can be scaled infinitely without losing quality. High-resolution PNGs (300 DPI) are also acceptable for most printing methods.
2. How do I choose between screen printing and embroidery?
Screen printing is best for large, colorful graphics and is more cost-effective for bulk orders. Embroidery adds a high-end, durable texture and is ideal for small logos or text on the chest or hood.
3. What is the typical lead time for custom hoodies?
Lead times vary by clothing manufacturer, but typically range from 7 to 20 days for production. Sampling usually adds an additional 5-10 days to the timeline.
4. Can I order a sample before committing to a bulk order?
Absolutely. Most professional manufacturers provide physical samples to ensure the fabric, fit, and print quality meet your expectations before full-scale production begins.