Caps! Sun protection, warmth, and a touch of style – caps do it all. Ever wondered how they go from an idea to your head? That’s where cap manufacturing comes in!
This guide dives deep into the world of cap manufacturing, covering everything you need to know about creating the perfect cap, and shows you the process behind those cool designs and comfy fabrics. There is no complex sewing talk here—just the straight scoop on making those stylish, comfortable caps.
Hold on! Headgear options abound—caps, hats, and beanies. Each serves a purpose: caps with structured crowns and visors for sun protection, hats in various shapes and sizes, and beanies are cozy, close-fitting head coverings perfect for chilly days. Now get ready to see how a cap idea becomes a reality!
Understanding cap manufacturing

Source: Vector Pocket
Caps have a surprisingly long history, stretching back thousands of years. The word “cap” itself even comes from an old French term, “chapeau,” which means “head covering.” Back then, Egyptians wore simple cloth caps to shield themselves from the sun, while Greeks used caps as a symbol of freedom.
Fast forward to today, and caps are everywhere—not just on athletes! From runways to military uniforms, they serve a surprising variety of purposes. From sports teams to fashion brands, caps are a way to show off your style or promote a cause.
The coolest part? Cap-making blends tradition with cutting-edge ideas. Sure, the basic stitching hasn’t changed much, but today’s techniques and materials are incredible. Designers can create caps that are stylish, comfy, and durable—perfect for anything!
Designing the perfect cap
Designing a cap isn’t just about making it look cool. Balancing style, comfort, and function: that’s the key to a great cap! You want to love wearing it, but it should also shield your eyes and feel comfy.
Imagine a baseball player – their cap needs a snug fit to block the sun during the game. A fashion brand might want a cap with a unique fabric or a bold design statement.
That’s why the design process is so important. We start with a strong idea, inspired by your vision, and turn it into a real cap. Consider the overall look, the style you’re going for, and, most importantly, how the cap will actually be used.
Steps on designing a cap
With a clear vision in mind, we can break down the design process into manageable steps.
1. Setting the Stage
First, set some goals for your cap. Who is the target market? What do you want your cap to achieve? Is it for a sports team, a fashion line, or a personal project? Knowing the goal helps us design a cap that fits the bill.
2. Look for Inspiration
Now that you have a goal, unleash your creativity and bring your cap design to life! Look around or sketch some ideas. Or just check out what other brands are doing, or browse online for cool cap designs. Maybe a cool logo, a funky pattern, or a unique color combination sparks your imagination.
3. Design Time!
Feeling inspired to create your perfect cap? There are several paths! Sketch it yourself, use a handy design template, or work with a pro designer. Remember, the details matter! Consider the cap size and shape, logo placement, and closure type. It all adds up to a fantastic cap!
4. Making it Real
Finally, it’s time to turn your design into a real cap! This is where your cap manufacturer comes in. They will use high-quality materials and expert techniques to bring your cap to life, exactly as you imagined it.
Every detail matters when designing a cap. The size, shape, and even where you put the logo can make a big difference. But remember, caps are like an artist’s canvas—a chance to express yourself! The most important thing is to create a cap that’s comfortable, durable, and that people will love to wear.
Types of caps
After all that brainstorming and sketching, it’s decision time! What kind of cap will you create? Here are some popular options to consider:
 Source: Freepik
Classic Baseball Cap

The timeless champ! Imagine a curved brim, structured crown, and adjustable strap – that’s a baseball cap, perfect for workouts or everyday wear.
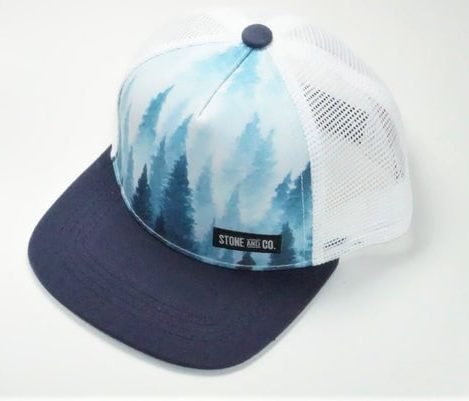
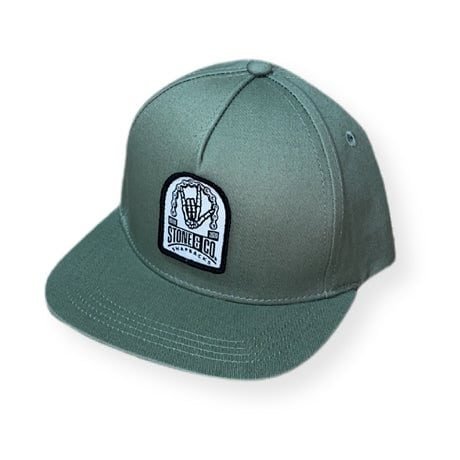
Snapback Cap

Feeling a more relaxed vibe? Think similar to a baseball cap, but with a flat brim and cool snapback closure. Streetwear staple!
Sun Visor/Sports Cap
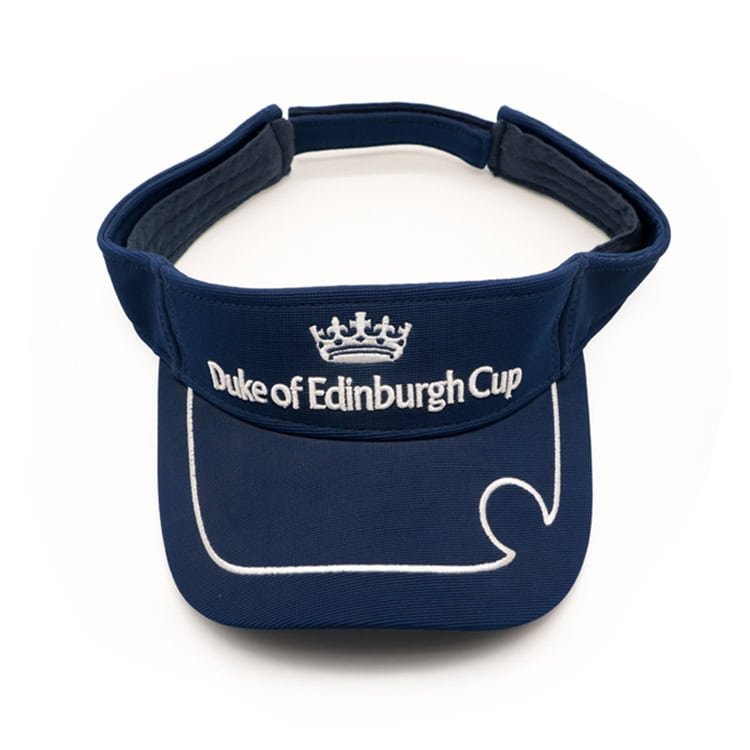
Need sun protection for adventures? This lightweight option features a curved brim and fabric band for a snug fit. Keeps the sun at bay while you explore.
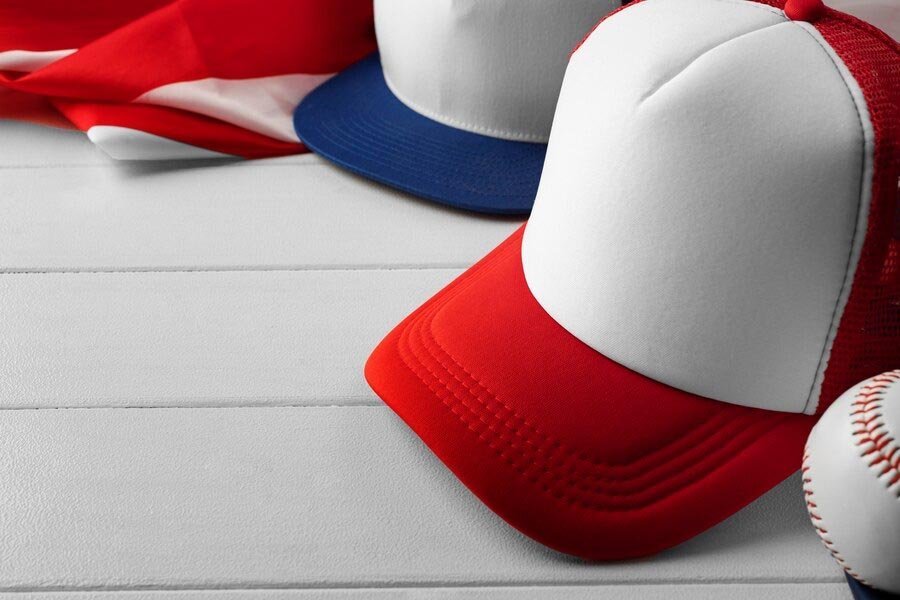
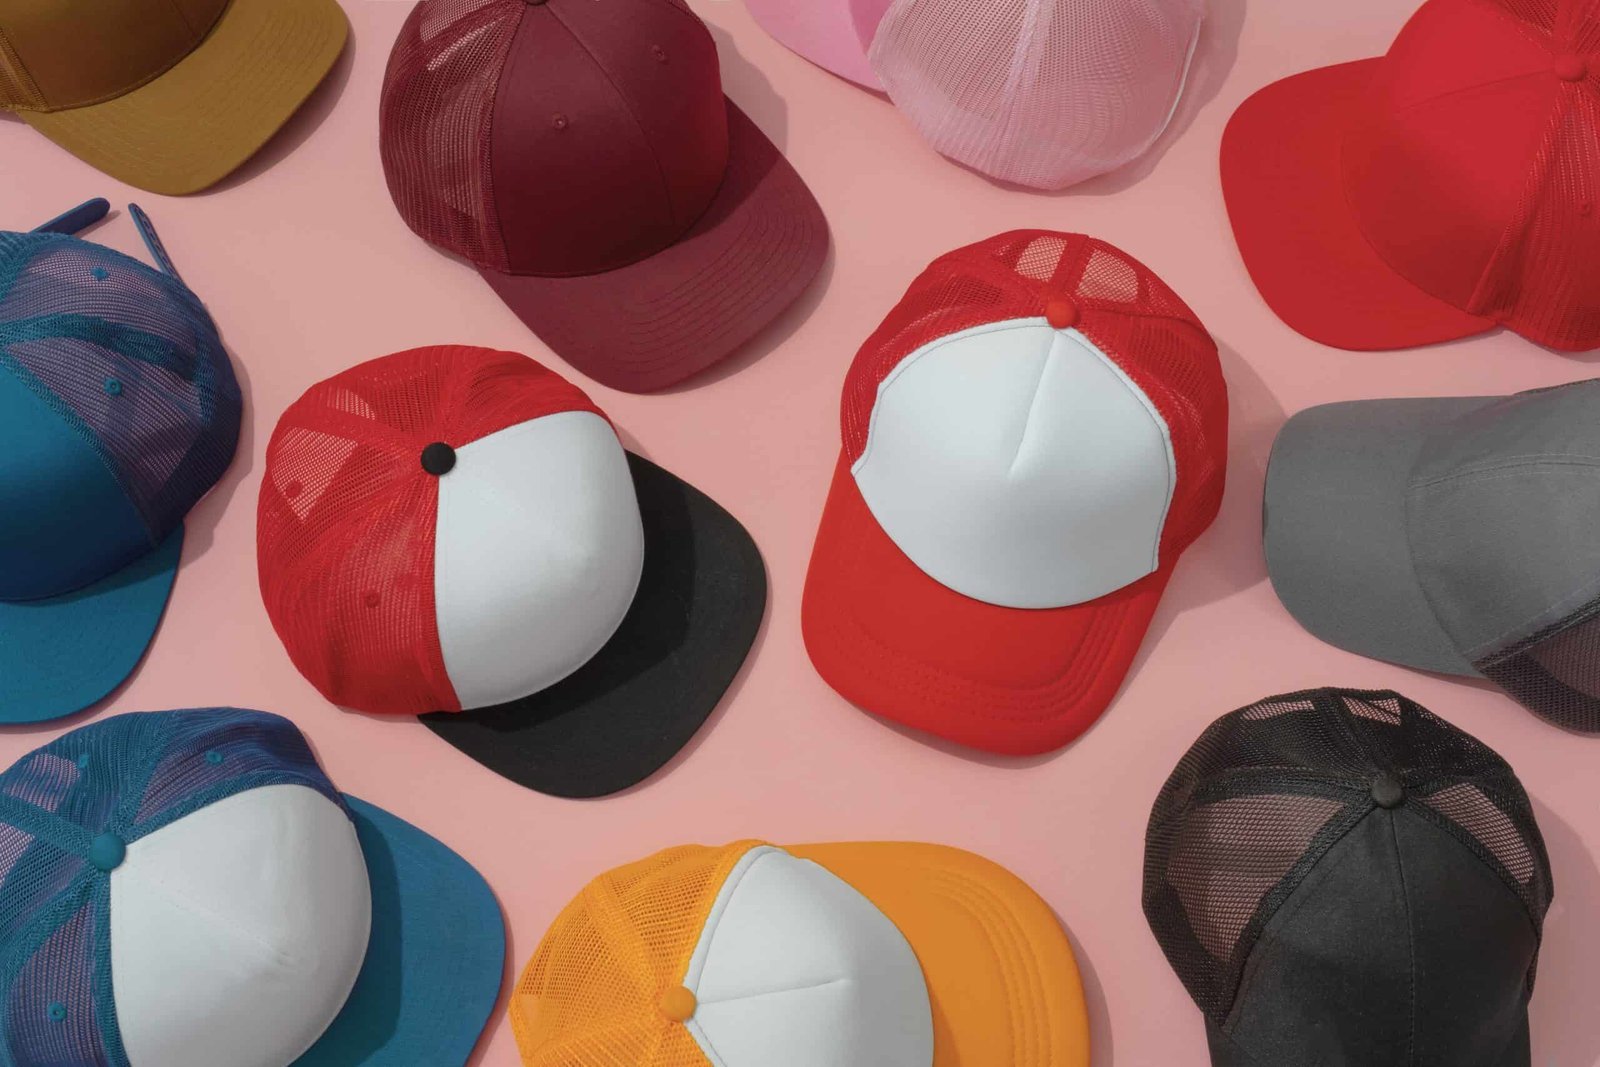
Trucker Hat
Known for its mesh back panels for breathability, this cap is a popular choice for everyday wear and promoting brands.
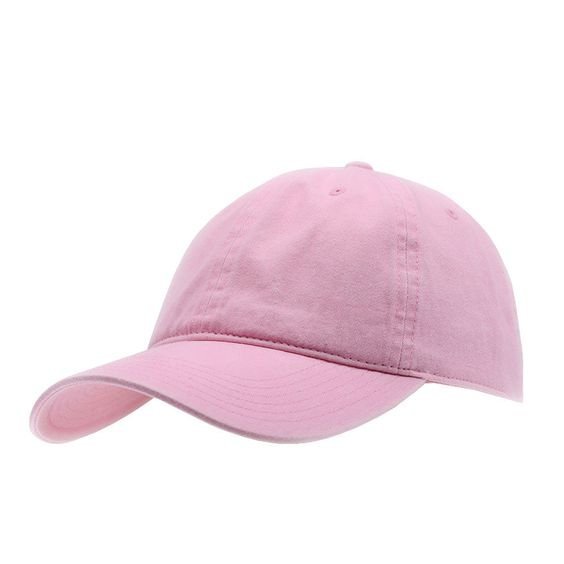
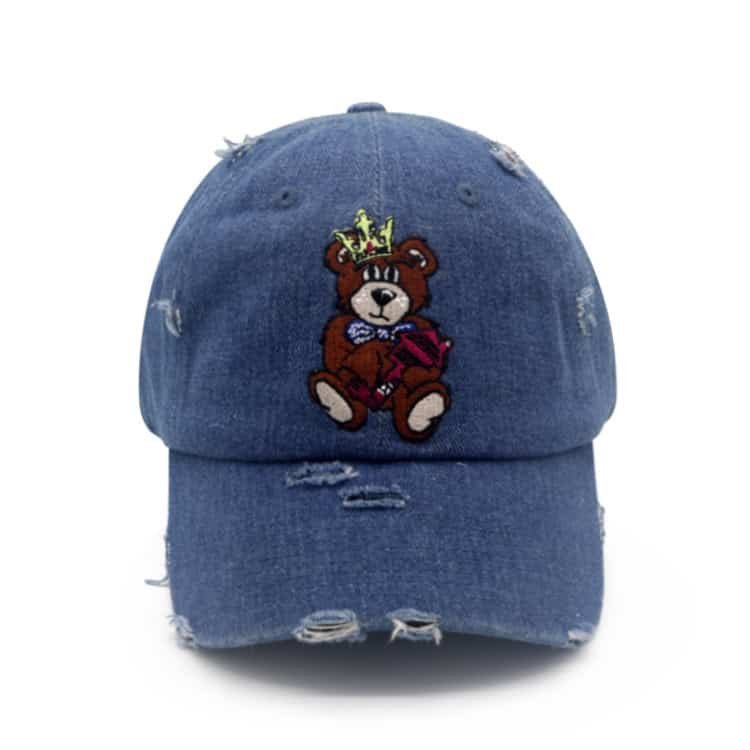
Dad Hat

Unstructured, slightly slouchy, and oh-so-casual – perfect for everyday wear or adding a casual touch.
Cricket Cap

Similar to a baseball cap, but with a slightly rounder brim and a stiffer structure. Often worn by cricket players and fans.
Foldable Cap

Source: Ebay
This convenient cap folds up for easy storage and travel. Hikers, campers, light packers – this cap’s your bestie! Folds for easy travel, keeps its shape when you need it.
Military or Corps Caps

Source: Smithsonian Institution
These structured caps often feature military insignia or logos and are worn as part of a uniform.
On top of the style itself, caps come in different fits, structures, and even brim designs. There are many other variations within these styles. Caps can have a fitted or adjustable closure, a high or low-profile crown, and a straight, curved, or pre-curved brim.
The possibilities are endless! So, explore the different types of caps and find the one that perfectly complements your design.
Anatomy of caps
Picked your perfect cap style? Great! Now let’s explore the different parts that make it up. Remember how we talked about all the variations in fit, structure, and brims? Well, those variations come from the different components of a cap. We’ll explore each one, detailing its role and how small changes can influence the manufacturing steps.


What are the parts of caps?
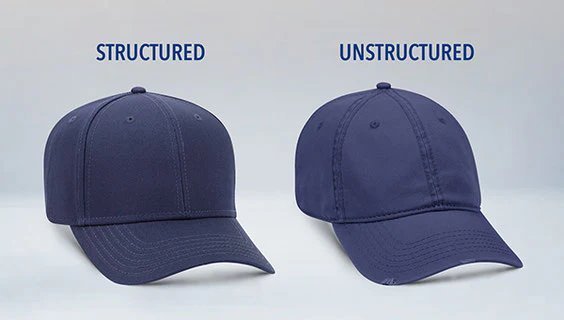
1. Crown

The cap’s crown is its core—the part that sits comfortably on your head. It can be structured for a formal silhouette or unstructured for a relaxed vibe. The number of crown panels matters too: 5-panel caps give a rounded look, while 6-panel designs offer structure.
2. Profiles

The cap’s profile indicates the crown’s height, affecting both style and fabric use. Low-profile caps provide a snug fit, mid-profile caps balance style and comfort, and high-profile caps create a fuller appearance. Your choice determines the fabric quantity and sewing methods needed for the preferred height.
3. Closure
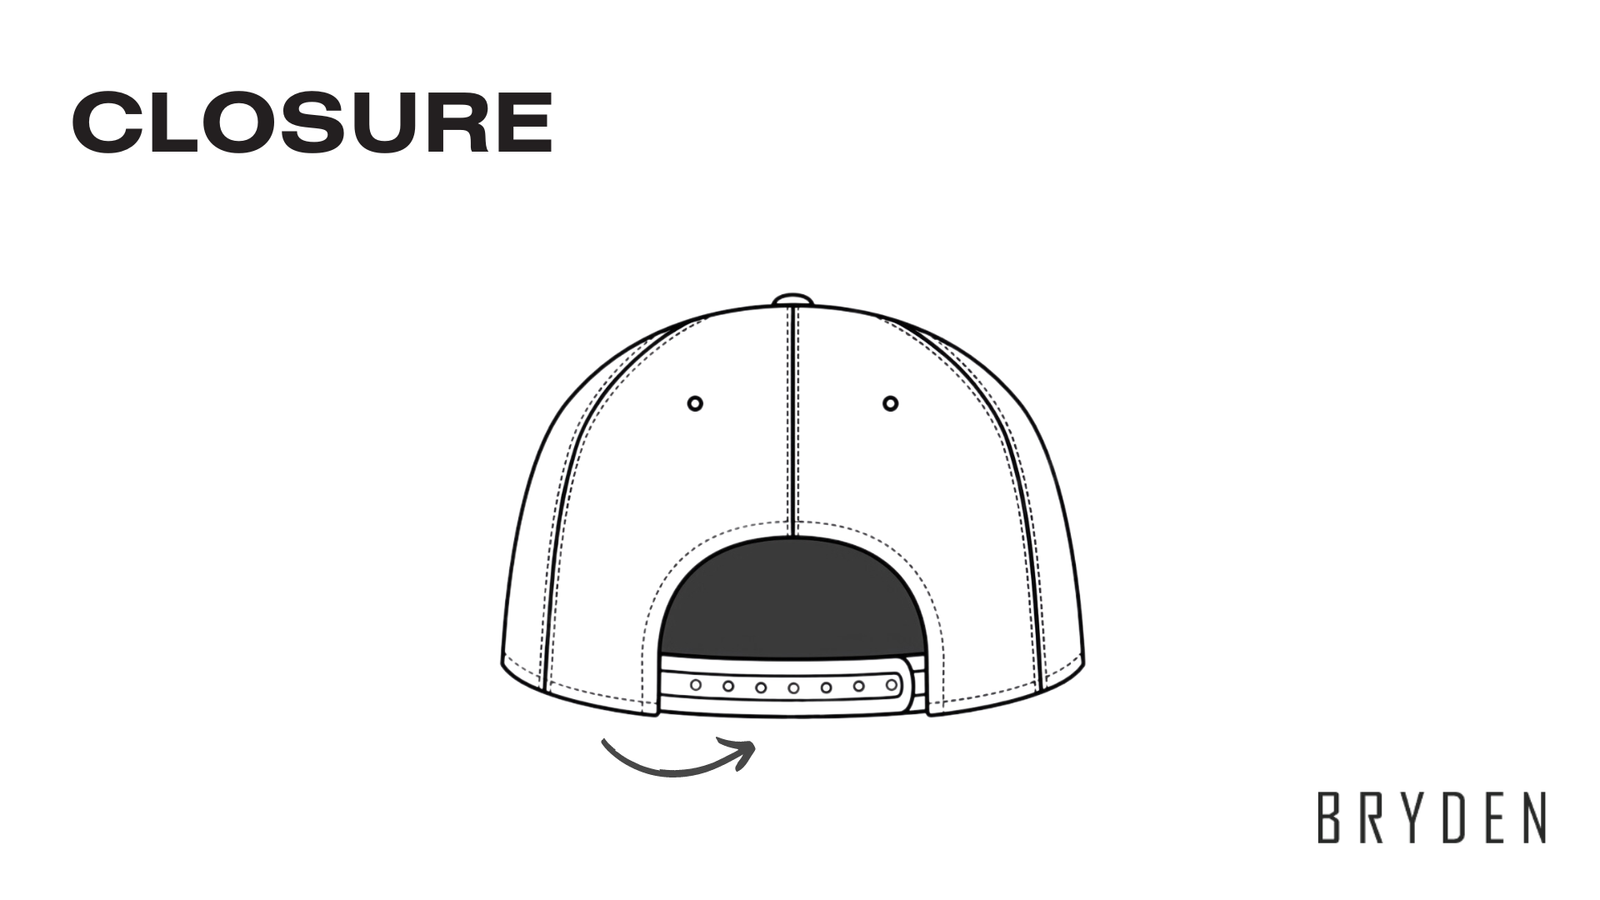
To keep your cap securely in place, consider adjustable closures like straps or snaps. Non-adjustable closures come in pre-determined sizes. Popular closure options include:
- Strapback
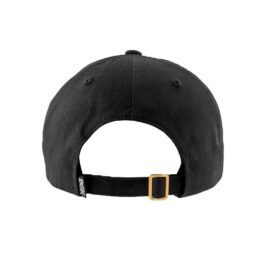
Source: Billion Creation
A classic closure with an adjustable strap and buckle at the back.
- Snapback

Source: New Era Cap PH
Similar to a strapback, but with a series of snaps for a more relaxed fit.
- Velcro (Hook and Loop Closure)
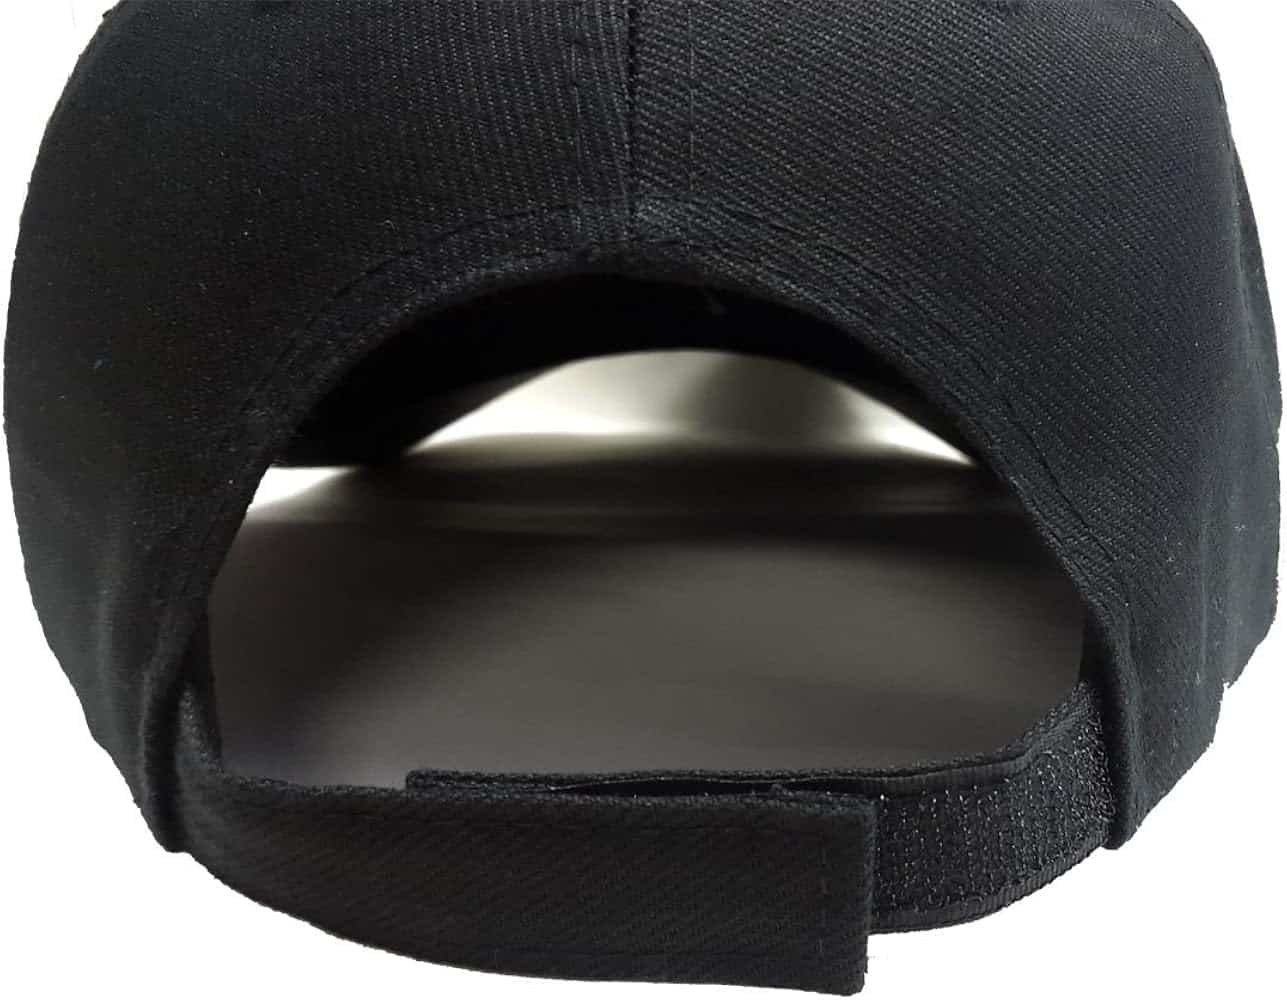
Source: Amazon
A convenient option that allows for quick and easy adjustments.
4. Visor/Bill (also known as Peak)

The visor—the sturdy brim projecting from the cap’s front—shields your face from the sun. Visors vary in length, curve, and style. Long visors offer more protection, while short ones create a sleek look. Flat bills feel modern, while curved bills are timeless. These choices affect manufacturing: curved bills require special shaping, while flat bills may use stabilizers for structure.
5. Underbill

The underbill, the visor’s underside, may match or contrast the visor’s color, sometimes sporting a logo. It’s either integrated with the visor’s initial construction or attached separately during the cap-making process.
6. Eyelets
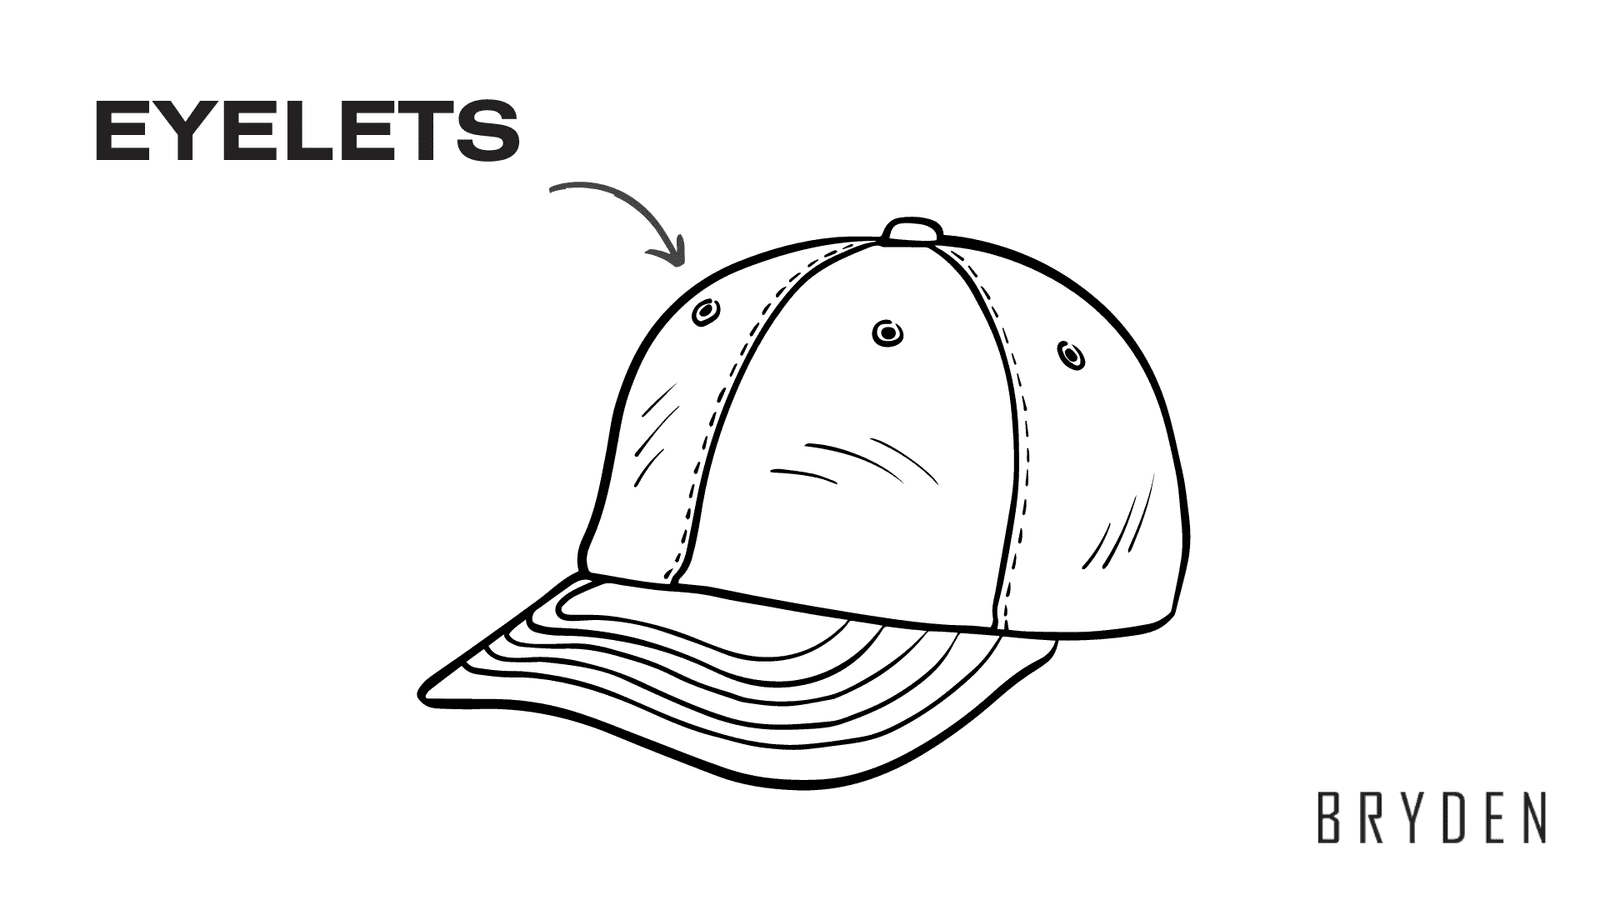
Eyelets are vital for cap ventilation, promoting airflow to cool the head. Available in different sizes and materials, their positioning can influence the cap’s appearance and breathability. The manufacturing process includes hole punching and firm attachment of the eyelets to avoid fraying.
7. Sweatband

This absorbent fabric strip is sewn on the inside of the crown, acting as your first line of defense against sweat. As the name suggests, it helps absorb sweat, preventing it from dripping down your forehead and keeping the cap feeling fresh.
8. Top Button/Squatchee
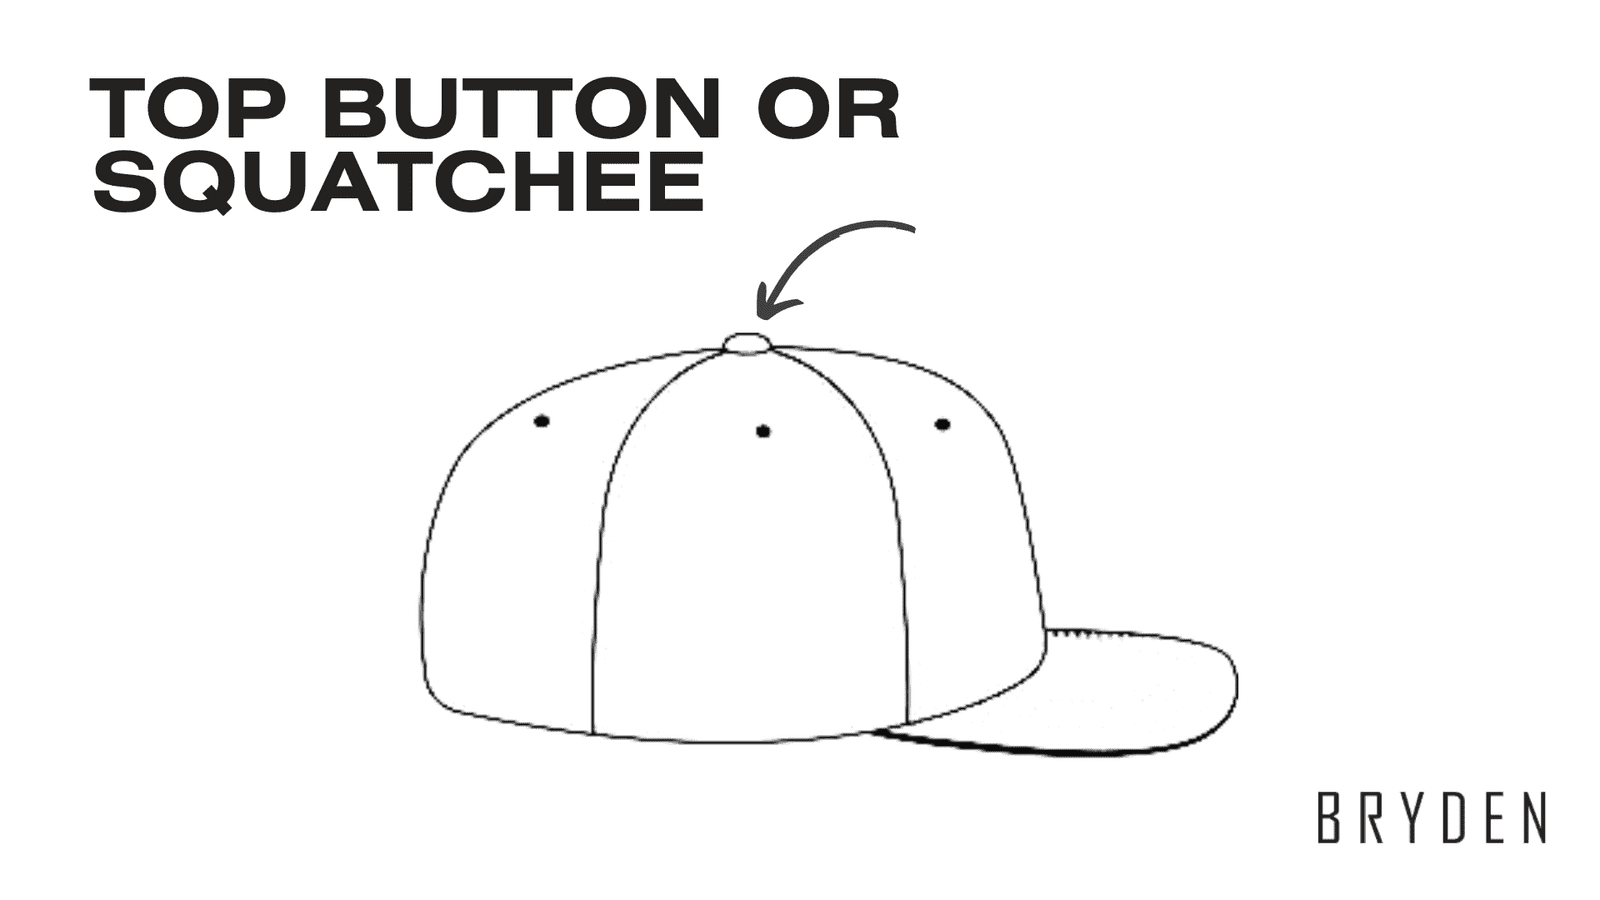
This decorative button graces the top of the crown on some caps. While sometimes purely aesthetic, it can also help maintain the shape of the crown, especially on structured caps.
9. Buckram
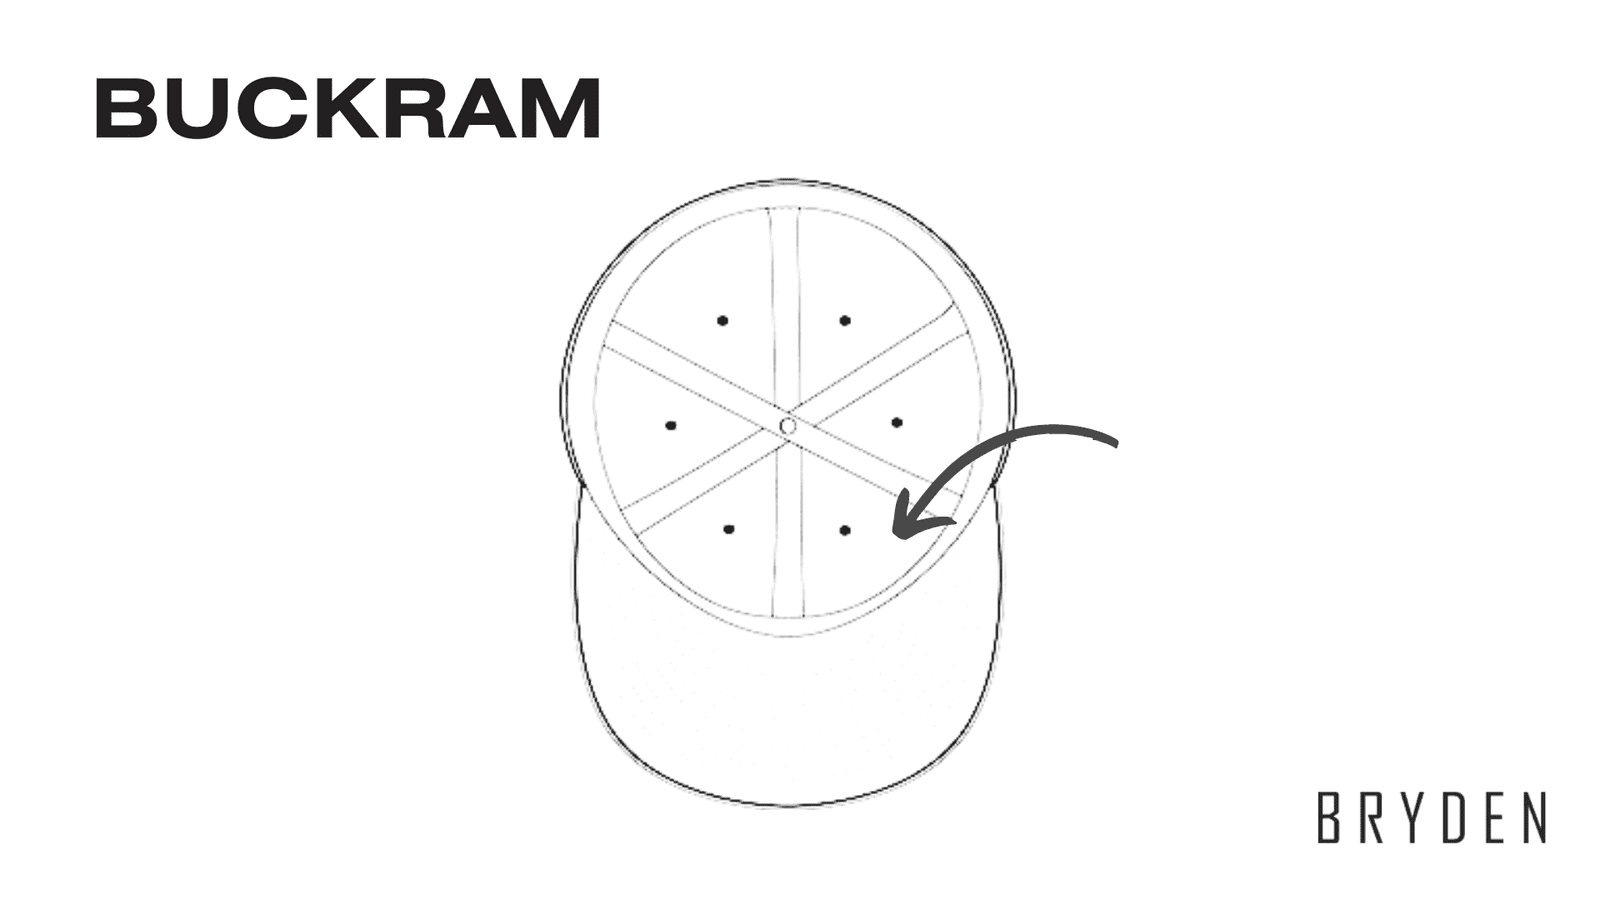
This hidden element is a stiff material that might be used under the front panels of the crown. Buckram provides additional structure and helps the cap retain its shape, especially for those with a more formal look.
Minor changes in cap components can greatly affect production. Knowing these enables precise communication of your design concepts. This way, you can get a cap that looks good, works well, and fits your idea perfectly.
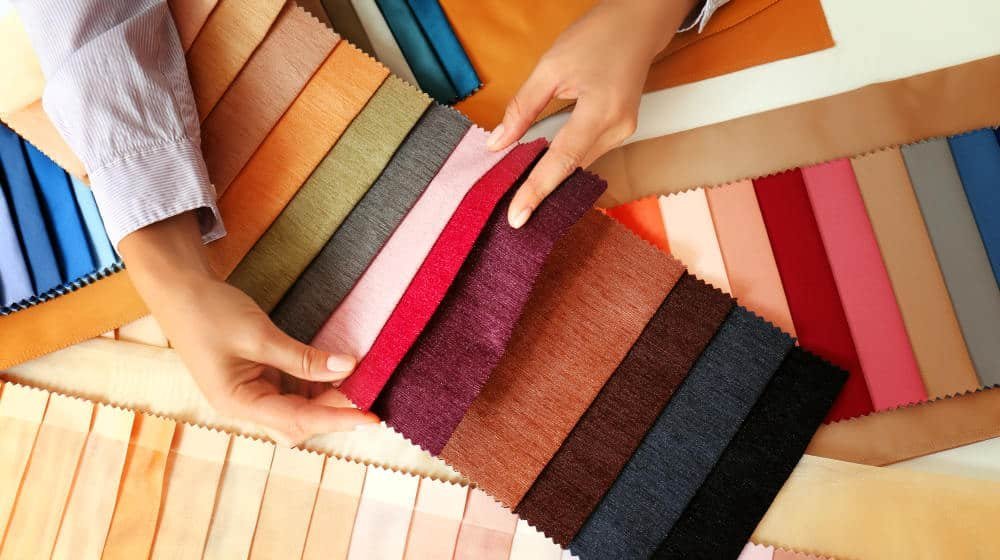
Choosing Quality Fabrics
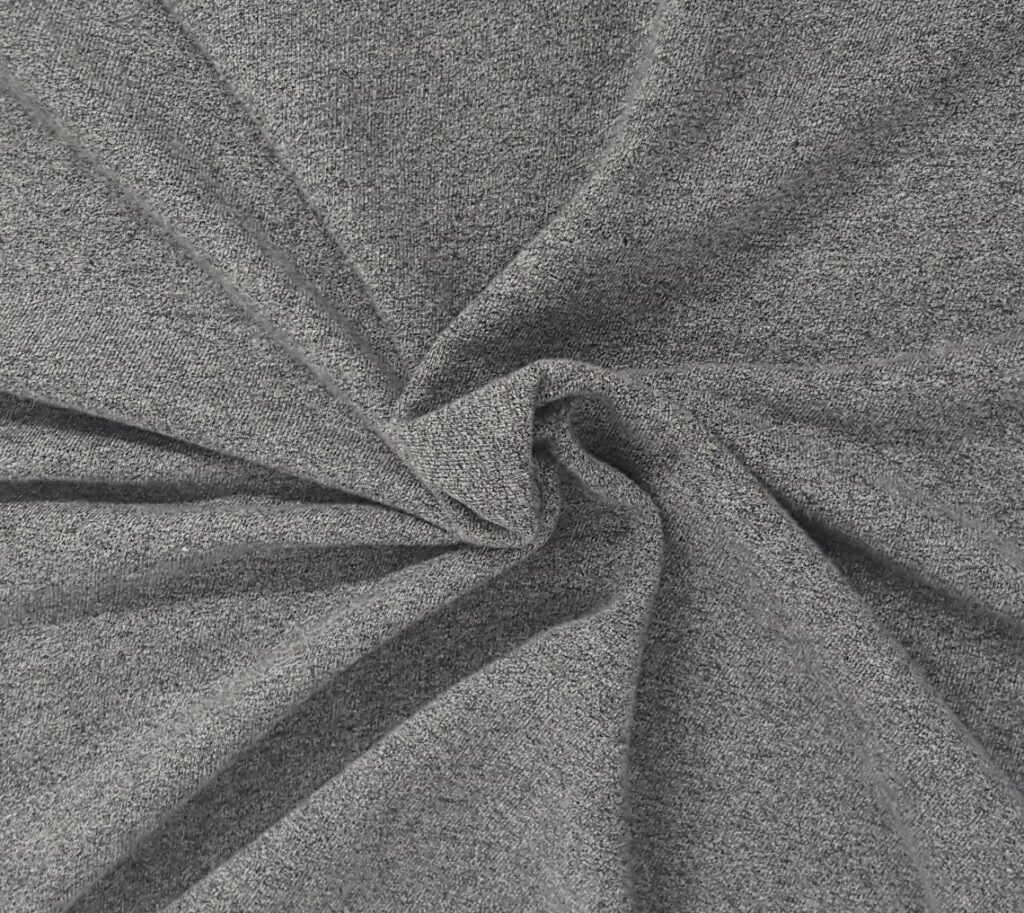
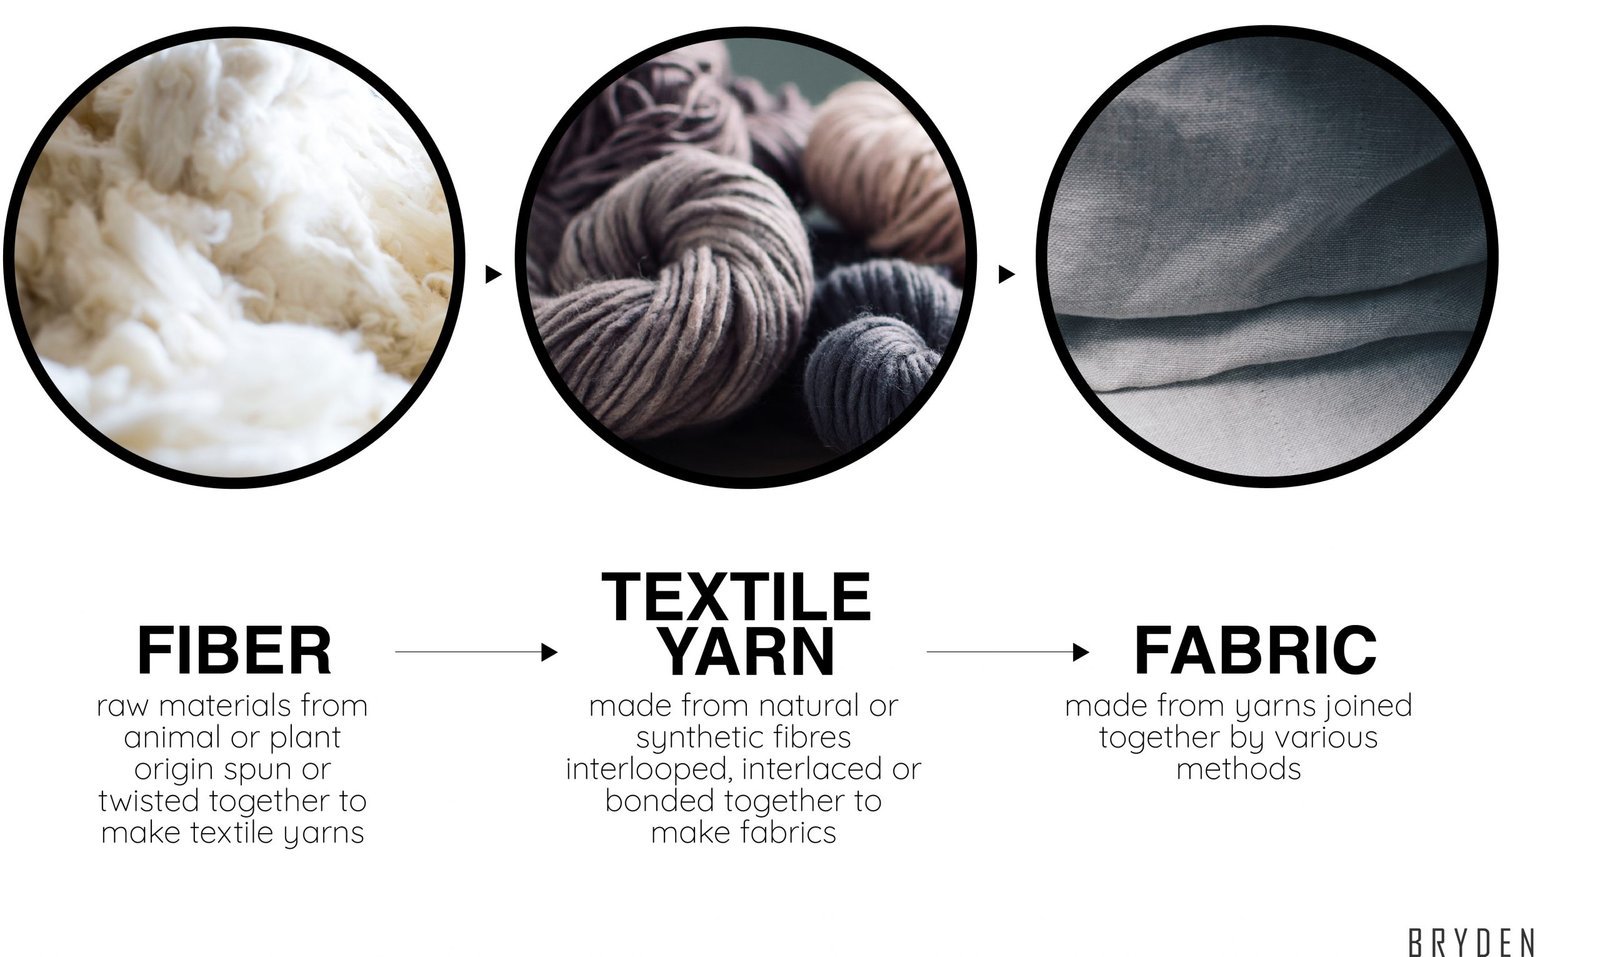
Let’s dive into the fabric – a crucial factor in cap design. Your choice of fabric impacts the cap’s overall look, feel, and functionality. Here’s a breakdown of some popular options:
 Source: Sewing.com
1. Cotton
This classic choice is soft, breathable, and comfortable. It comes in a variety of colors and weights. However, cotton can wrinkle and shrink, and it might not be the best choice for wet conditions.
2. Polyester
Durable, water-resistant, dries fast, and hates wrinkles – this champ is perfect for active lifestyles. But it can trap heat, so keep that in mind!
3. Wool
Ah, cozy wool – the OG warmth provider. Wool is ideal for chilly weather. However, wool can be itchy for some and needs special care.
4. Linen
Picture this: lightweight, breezy, and perfect for hot days – this natural fiber drapes beautifully. Downside: wrinkles easily and might cost more than others.
5. Nylon
Mesh panels love this fabric – strong, lightweight, and water-resistant. Perfect for activewear, but it can feel stiff and might lack that cuddly factor for everyday wear.
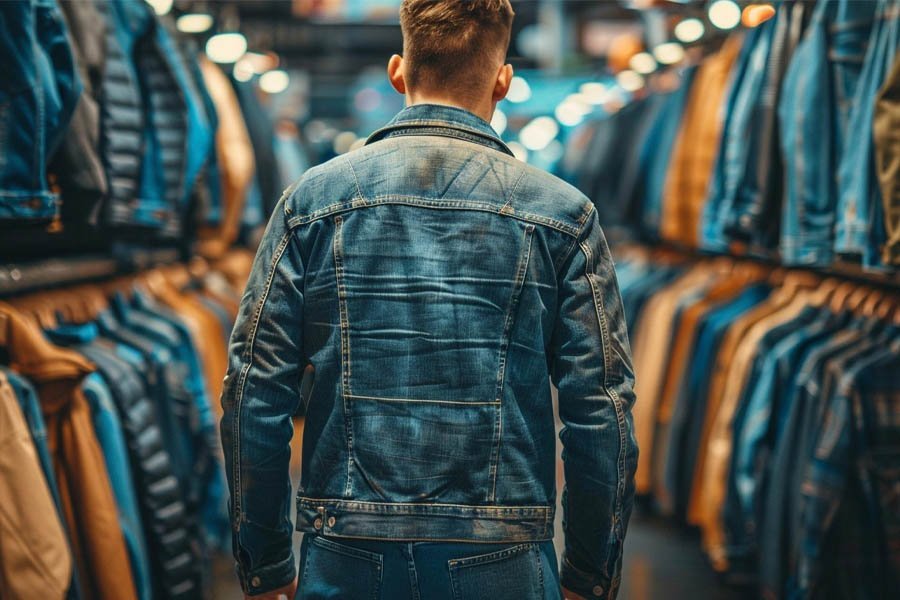
6. Denim
Denim adds a cool, casual touch to caps. Stylish and durable, but can be heavy and warm. Great for a specific look!
7. Mesh
Keeps your head cool and ventilated – perfect for trucker hats and sports caps.
The fabric you choose will impact the cost, quality, and manufacturing process of your cap. For example, cotton is generally less expensive than wool, but wool might require specialized sewing techniques.
Picking the perfect fabric? It’s all about style, function, and budget! Cap makers can help you find the right balance for a cap that’s both fashionable and useful.
Pattern-making and cutting
Perfect cap design? Check! Ideal fabric choice? Done! Ready to turn your dream cap into reality? This section dives into the amazing world of cap manufacturing, starting with how patterns are made and materials are cut.
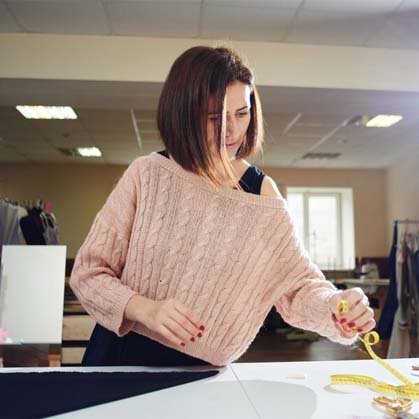
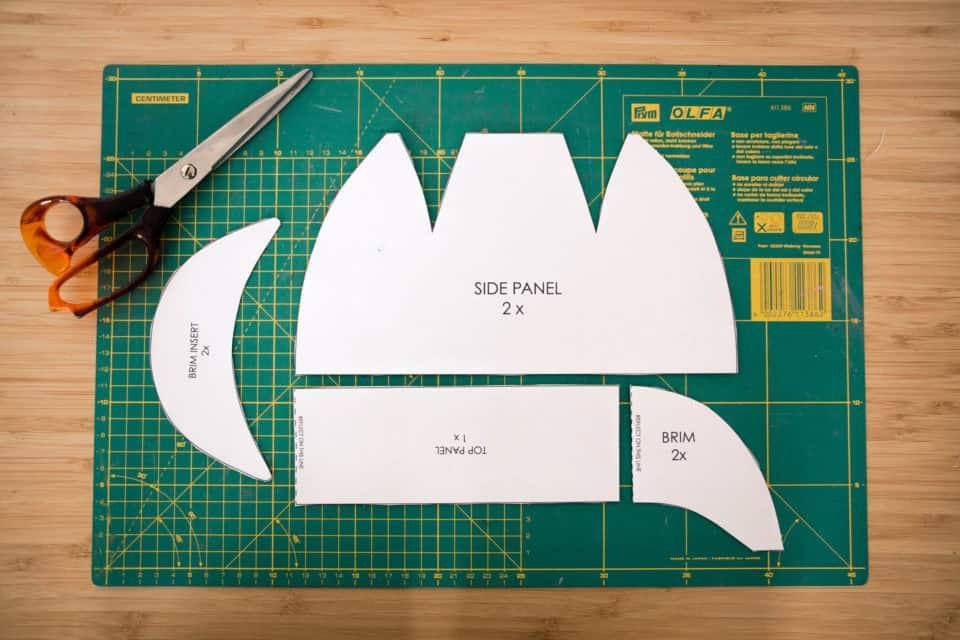
Imagine a skilled craftsperson meticulously translating your design into a precise pattern, a blueprint for the cap’s individual pieces. Each panel – the crown, visor, and any additional elements – is carefully laid out and shaped. Following this intricate pattern, high-quality fabric is precisely cut, ensuring each piece fits together seamlessly to create your unique cap.
Pattern making (How to with samples)
We left off with a peek at the pattern-making process, the foundation for any great cap. But how does this translate into different cap styles? Let’s explore how pattern-making takes on a life of its own for two popular choices: the sports cap and the baseball cap.
1. The Baseball Cap: A Timeless Classic
 Source: Etsy
This timeless design features a structured crown (often multi-panel) for comfort and a slightly longer visor (curved or flat depending on style). The pattern considers elements like the closure (snapback, strapback, etc.) to ensure adjustability and a secure fit.
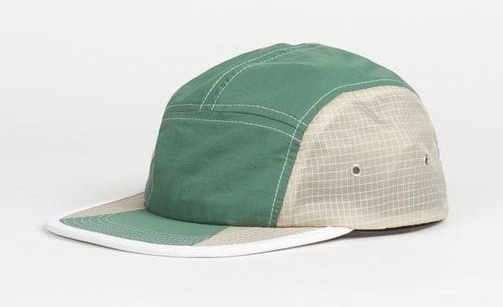
2. The Sports Cap: A Streamlined Champion
 Source: BIKEPACKING.com
Prioritizing function and comfort for active wear, the sports cap (like a cycling cap) has a shorter, sleeker crown with breathable mesh panels. The visor, often slightly shorter and slightly curved upwards, helps manage sweat and sun. Every detail is crafted for performance.
These patterns are more than just outlines on paper. They take into account seam allowances, the space needed for stitching the pieces together seamlessly. Experienced patternmakers consider factors like fabric weight and drape to ensure the final cap looks and feels exactly as envisioned.
Marking tips for cutting patterns on fabric
Once the pattern is complete, it’s time to translate it onto the fabric! Our skilled craftspeople meticulously lay out the pattern pieces, ensuring the grain (the direction of the threads) is aligned correctly. This alignment is crucial for a professional finish and proper drape of the cap.
Here’s a glimpse into the marking process:
Align for Perfection
The pattern pieces are carefully laid out on the fabric, ensuring the grain lines up properly. This creates a smooth, professional look for the finished cap.
Hold Tight
Weights or even handy objects from around the studio hold the pattern pieces securely in place. This prevents them from shifting while the outline is traced.
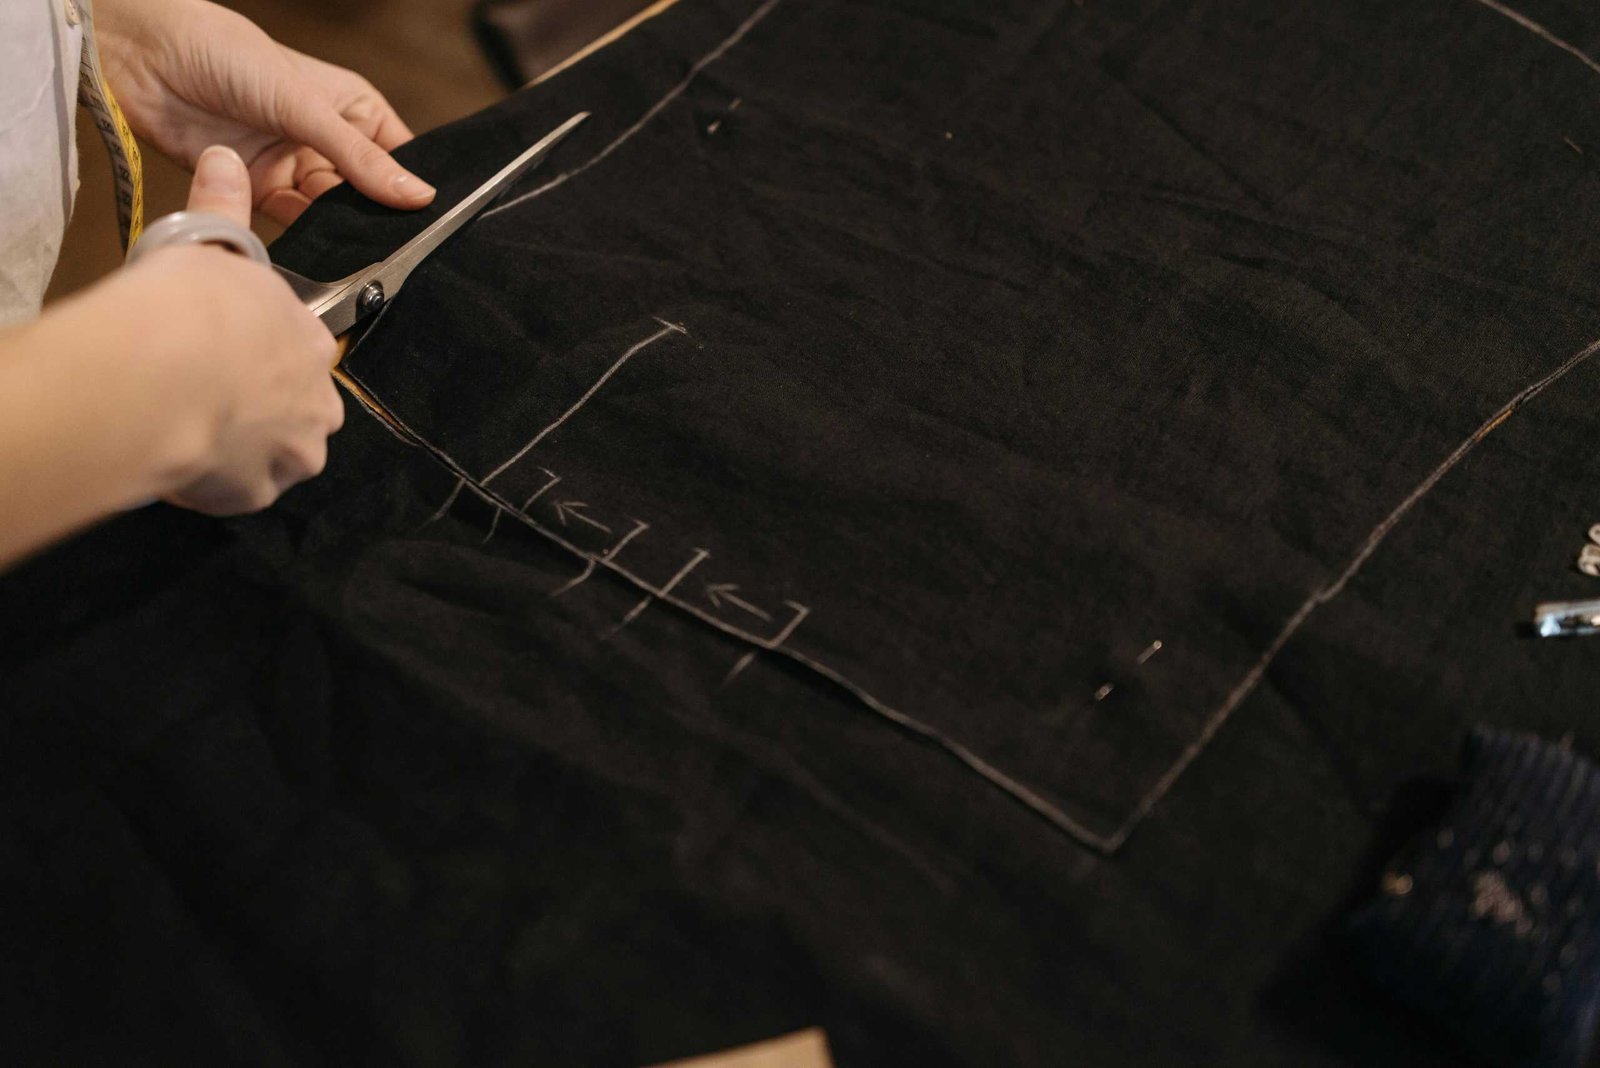
Trace and Mark
Using a special fabric marking tool, the outline of each piece is carefully traced onto the fabric. These markings serve a specific purpose – some show cutting lines, while others indicate seam allowances or alignment points for different pieces. Dots, triangles, lines, and arrows are commonly used to communicate this information clearly.
Mirror, Mirror
After tracing, the fabric is flipped, and the spot where each pin goes through is marked. This ensures perfect mirroring on the opposite side of the fabric, creating a symmetrical cap.
With the pattern precisely marked on the fabric, the pieces are ready to be cut, bringing your cap design one step closer to reality!
Cutting and sewing in caps manufacturing
With the fabric meticulously marked, we’re now ready for the next step: transforming the flat pieces into the three-dimensional form of your cap! This stage involves cutting and sewing, and the approach depends on the scale of production.
For smaller batches:
Skilled craftspeople use sharp tools to precisely cut out each fabric piece following the markings. Then, using sewing machines, they carefully stitch the pieces together, ensuring clean seams and a perfect fit.
For mass production:
To create large quantities of caps quickly and efficiently, manufacturers might utilize specialized techniques:
Molds
 Source: cblwj
A precise replica of your cap design is used in a machine that shapes heated plastic into the exact form of the cap. The plastic cools and hardens, creating multiple caps at once.
Automated Cutting Machines
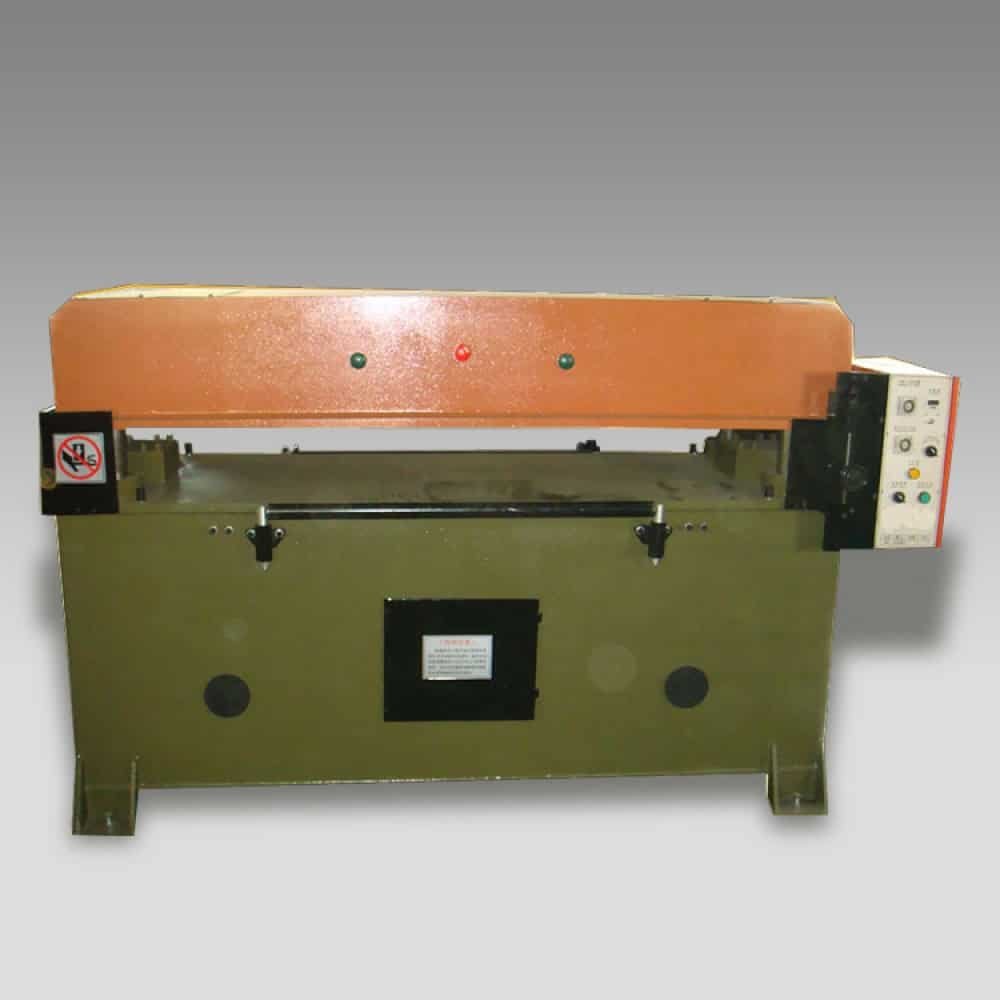
Source: cblwj
These machines precisely cut out fabric pieces based on digital patterns, saving time and ensuring consistency.
Fabric pieces, once cut, come together through specialized machines designed for high-speed production. Not all caps follow a one-size-fits-all approach; baseball caps, for instance, incorporate adjustable closures like straps or snapbacks. This allows for a customized fit without compromising the overall design.
How to cut the cap

Source: ifixit
Let’s peek into the cutting and sewing process! First, the fabric gets meticulously marked with a pattern. Then, it’s transformed from a flat design to a 3D cap.
Hand-Crafted Approach
For smaller batches, skilled craftspeople meticulously cut each fabric piece following the markings, ensuring precision and quality.
Mass Production Efficiency
To save time and resources, manufacturers might utilize a special technique for cutting large quantities of caps. For high-volume production, they stack tons of fabric layers and use a special saw to cut through them all at once, keeping things precise and consistent.
Regardless of production scale, caps follow a specific sewing pattern. The fabric pieces need to be precisely cut to fit the pattern perfectly. For instance, the crown might require cutting the top portion into 5-6 triangular pieces to form the hollow head shape.
Structured Caps
Source: Across the Stitch
Structured caps involve an additional step. Mesh or other materials are sewn onto the crown pieces to provide stability.
Panels and the Crown

Source: Pinterest
Next, the individual panels are sewn together to form the complete crown of the cap.
Top Button

Source: Etsy
Ever wondered about the little button at the top of some baseball caps? This serves a dual purpose. It neatly covers the seam where the crown panels meet, creating a smooth and professional look.
Visor Attachment

Source: Pinterest
Finally, the visor, the brim of the cap, is sewn onto the crown, connecting the two main pieces.
Combining Techniques:
Crafting caps often involves a blend of hand-crafted and mass-production techniques. Imagine this: a mass-produced cap body, but with intricate embroidery or logo work meticulously added by skilled artisans for that personalized touch.
This combination allows manufacturers to achieve efficiency while maintaining quality and adding unique details to their cap design.
Different types of seams for caps
Simple looks, complex techniques! Caps use different seams for strength, comfort, and style. Here’s a breakdown of some common ones:
1. Plain Seam
Source: Pinterest
Basic and straightforward, it joins two fabric pieces with a single line of stitching. It’s a versatile option for sturdy areas of the cap, like connecting the crown panels.
2. Flat-Felled Seam

Source: A. Kurtz
This durable seam adds strength and a clean finish by encasing the raw fabric edges within the seam itself. It’s a great option for high-stress areas on caps, like the brim or the connection between the visor and the crown.
3. French Seam
Source: Pinterest
This seam offers a neat finish, perfect for delicate fabrics or areas where raw edges might fray. It encases the raw edges inside the seam, creating a smooth look on both sides of the cap.
4. Overlocked Seam
Source: Pinterest
Crafted using a special machine called a serger, it not only stitches but also finishes the edges. A time-saving choice, especially for knit fabrics or areas where clean edges matter.
Strong seams, stylish caps. The seam type depends on function, fabric, and design. Choosing the right ones ensures your cap is both fashionable and built to last.
Measurement points for caps
A well-fitting cap is key for both comfort and style. Knowing the key measurement points of a head helps us create caps that perfectly hug your head without feeling too loose or tight.
Head Circumference

Let’s talk measurements. Imagine wrapping a tape measure around your head, starting just above your eyebrows and circling to the middle of the back – that’s the crown. It’s the highest point on your head.
Cap Height and Circumference
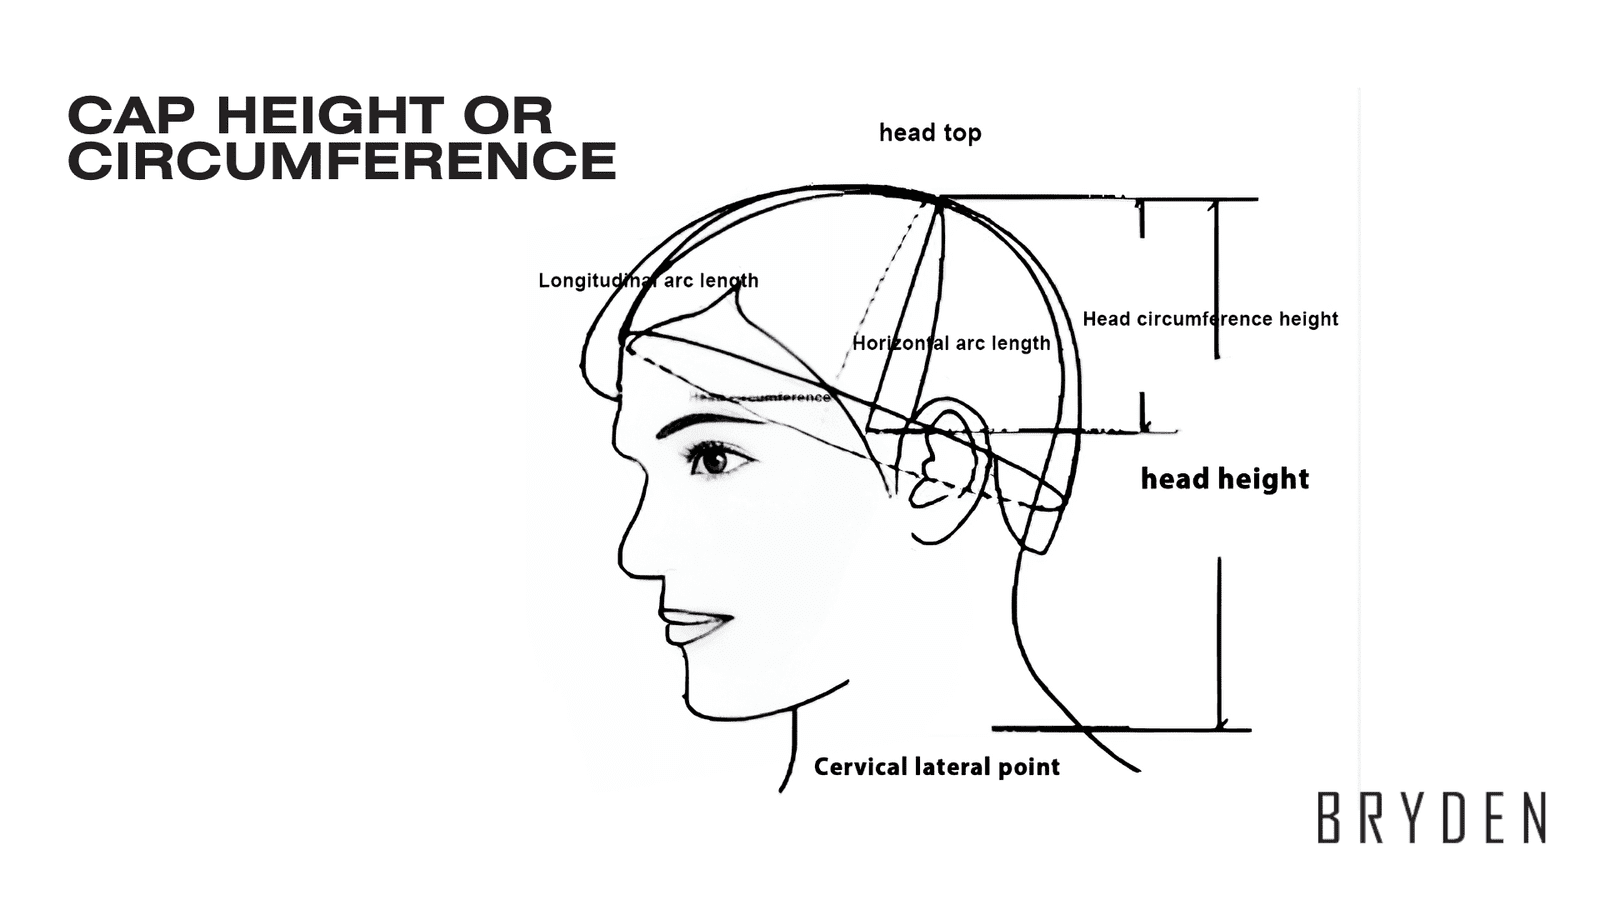

Using the head circumference measurement as a base, experienced cap makers can determine the appropriate height and circumference of the cap itself. These measurements will ensure the cap fits comfortably around the head without being too loose or tight.
Brim Width

Brim width (visor length) depends on style and function. Caps are designed proportionally – bigger sizes usually need a wider brim and taller crown for comfort. Experienced cap makers ensure a perfect fit by considering all these factors.
Remember, head sizes vary significantly. Children’s heads, for instance, span a wide range depending on their age group.
That’s why size charts are so important! Size charts are your friend! They translate head measurements into standard sizes (small, medium, large) with specific centimeter or inch measurements. Following these charts helps you avoid returns from unhappy customers with ill-fitting caps!

Source: Lock Hatters
The art of printing
Your cap design isn’t complete without eye-catching graphics or logos! Cap printing allows you to personalize your caps and make a bold statement.
Cap printing is different! Unlike t-shirts, caps need special tools to get clear colors and designs that stay put on curves. This might involve a cap heat press (like an iron, but for hats!) and thermal tape to hold everything in place during printing.
Common printing techniques used for caps
Now, let’s delve into the exciting world of cap printing techniques! Remember, cap printing differs from t-shirts – it requires specific methods to ensure vibrant colors and designs that stay put on the curved surface of the cap. Here’s a breakdown of some popular options to consider for your caps:
1. Sublimation Printing

This budget-friendly choice is great for simple designs on promotional caps. A special heat press transfers your design onto a white, printable area of the cap. However, this method is limited to specially made caps and won’t work on 100% cotton fabrics.
2. Heat Transfer Vinyl (HTV) Printing

This versatile option allows for printing vibrant designs on any colored cap, regardless of material. It’s ideal for simple logos, monograms, or minimalist designs. HTV is also a popular choice when embroidery isn’t feasible. Bonus tip: Some manufacturers even use mini heat presses for this method.
3. Screen Printing

This classic technique is perfect for large, detailed designs with bold colors. However, the cap’s structure plays a role. Screen printing might not be suitable for caps with a large seam down the middle, as achieving even ink application can be challenging.
4. Transfer Paper Printing
Need a faster and more color-accurate option for multi-colored logos? Transfer paper printing might be the answer! Similar to HTV, caps with a center front panel lining might cause printing challenges. These linings can make it difficult to achieve a clean, even application of the design. For optimal printing results, caps with a smooth, flat printing surface are ideal.
5. Embroidery
Embroidery, while not technically printing, remains a popular cap decoration method. Specialized machines stitch your design onto the cap for a textured, beautiful, and long-lasting look. This method offers intricate details and a touch of class, but it can be slower than some printing techniques.
Choosing the best printing technique depends on your design, budget, and desired outcome. Cap manufacturers are experts in navigating these options. They can help you select the perfect method to achieve the look you want for your caps!
Different types of garment washing for caps
Garment-washing techniques play a surprising role in cap manufacturing! These washes can alter the appearance of the fabric, adding unique effects and enhancing the overall design. Here’s a glimpse into some popular garment washes used for caps:
1. Garment Wash
This basic wash cleans the fabric without altering the color or texture.
2. Stone Wash
This process uses pumice stones to create a faded, vintage look. The longer the washing time, the lighter the color becomes.
3. Acid Wash
Similar to stone washing, acid washing uses chemicals to achieve a faded effect.
4. Enzyme Wash
This eco-friendly technique uses enzymes to gently break down the fabric’s surface, creating a subtle, worn-out appearance.
5. Bleach Wash
Bleach can be used for targeted lightening effects or to create a completely faded look.
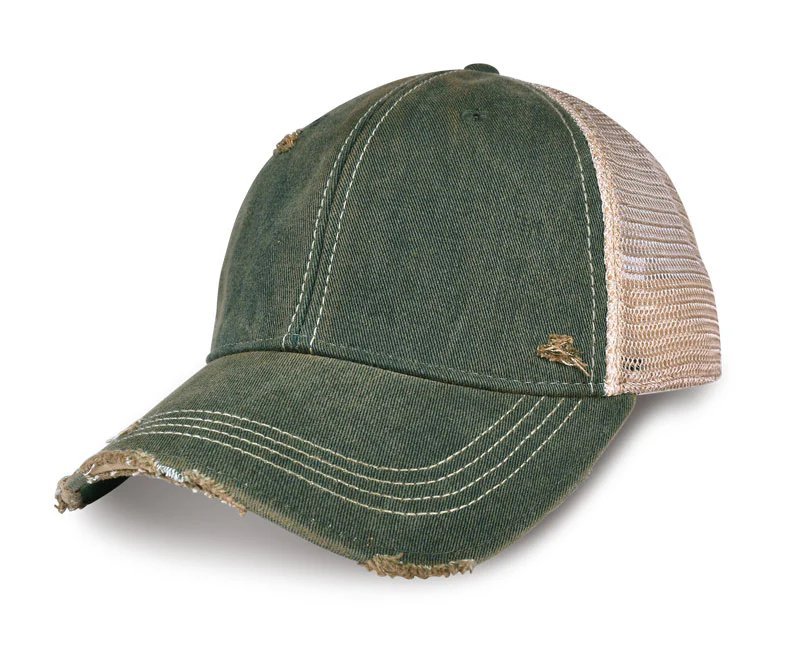
6. Destroy Wash
This intense wash creates a heavily distressed look by using strong abrasives and grinding machines.
7. Pigment Wash
This wash applies color directly to the fabric’s surface, creating unique and vibrant effects.
Caring for Your Customer’s Caps
Keeping your customers happy includes helping them care for their caps. Consider including a small care tag with washing instructions or a link to a care guide on your website. Simple tips like washing on a gentle cycle or spot cleaning can help customers extend the life of their caps and keep the designs looking fresh!
Fabric dyeing technique for caps

Dyeing fabric isn’t just for tie-dye shirts anymore! Caps can also be transformed with a splash of color using various dyeing techniques. Here’s a quick look at a few popular options:
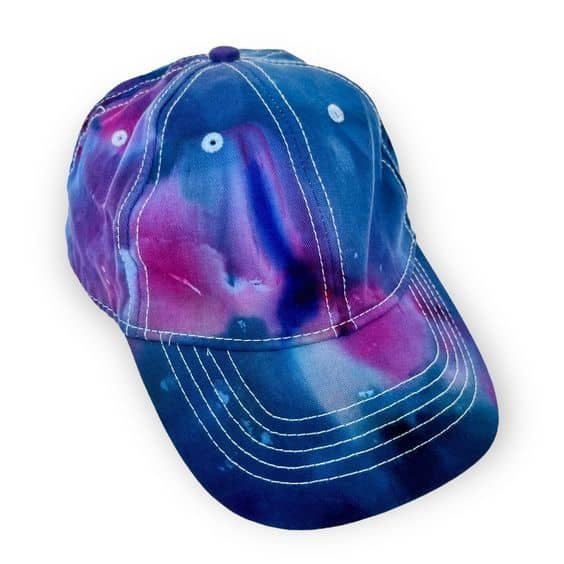
Tie-Dye

Source: Pinterest
This classic method creates psychedelic swirls of color. While not for every cap design, it can add a fun, vibrant touch.
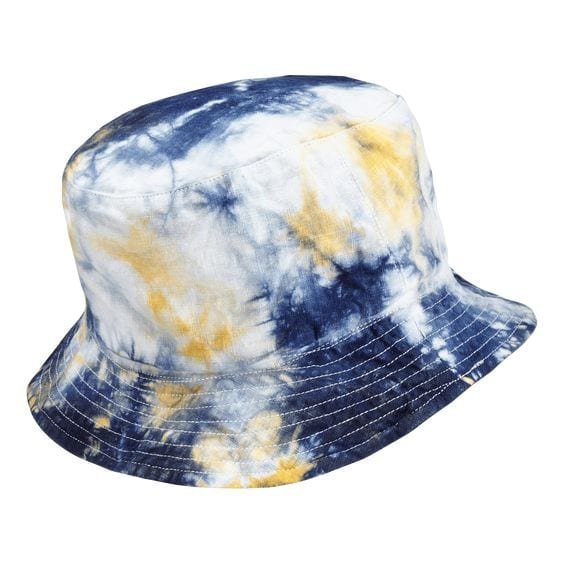
Ice Dye
Source: Pinterest
This technique uses ice cubes and powdered dye to create a unique, mottled effect. The melting ice creates unpredictable patterns, making each cap one-of-a-kind.
Shibori
Source: Pinterest
This Japanese technique involves folding, clamping, or stitching fabric to create intricate resist patterns before dyeing. Shibori offers a more structured and artistic approach to dyeing caps.
Ombre Dip Dye
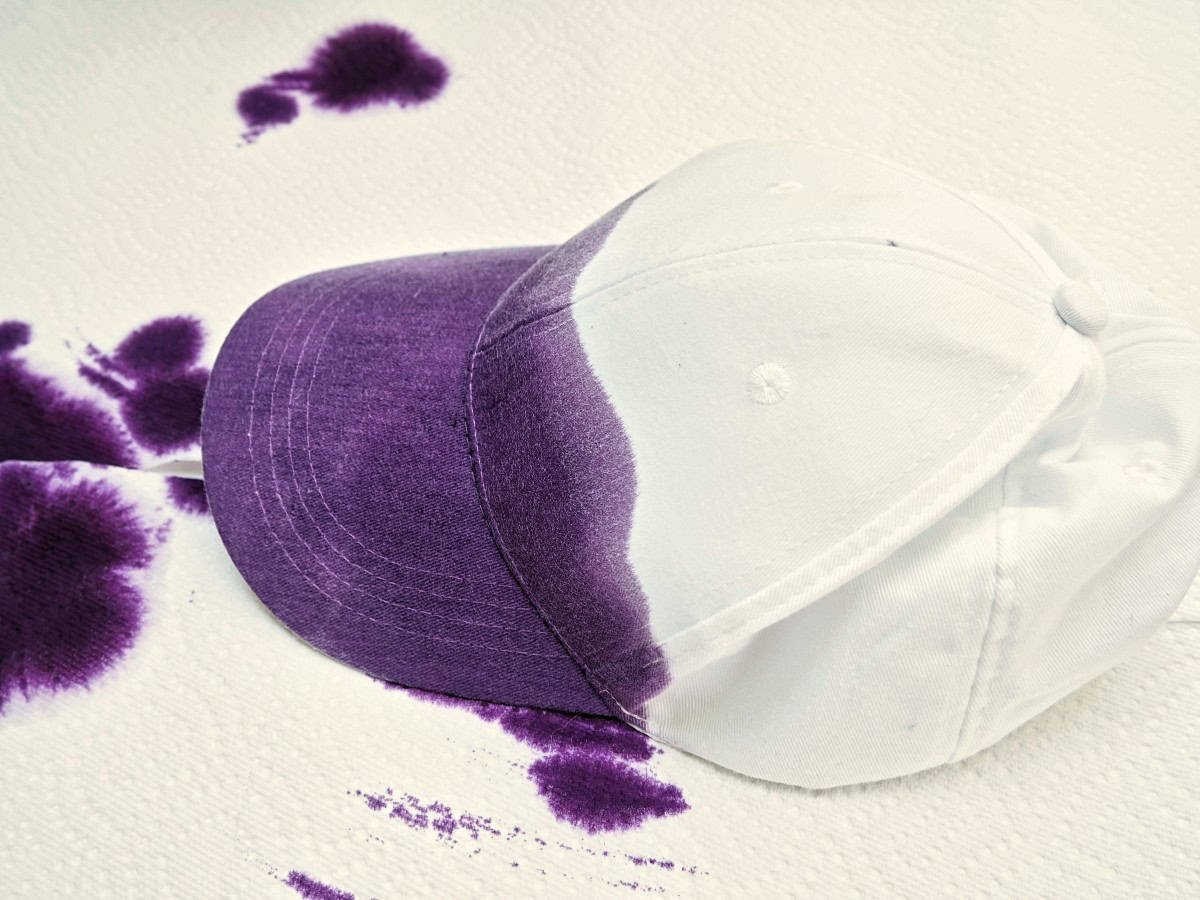
Source: HubPages
This method gradually transitions colors from light to dark or vice versa. Ombre dip dyeing adds a subtle touch of color and depth to a cap design.
Overdye
Source: Adventure Caps
This technique involves dyeing a previously colored fabric. It can be used to add richness or depth to an existing color, or even completely transform the cap’s color palette.
These are just a few examples! There are many other fabric dyeing techniques to explore. If you have a creative vision in mind for your cap’s color, talk to a cap manufacturer. They can help you explore dyeing options and find the perfect technique to bring your design to life!
Quality control measures
Just like any great creation, a quality cap goes through a series of checks before it reaches your hands. In cap manufacturing, quality control is serious business! This ensures every cap looks great and fits comfortably.
One key area of focus is sizing and fitting. Caps come in various sizes, and manufacturers double-check each cap to ensure it matches the size label. Manufacturers test the cap on various head shapes to ensure it’s not too loose or tight. After all, nobody wants a cap that flies off during a game or feels like a head-hugging vice!
Packaging and branding
The perfect cap deserves a perfect presentation! From labels and tags to packaging, these elements all contribute to your brand identity.
Think about some successful brands known for their caps:
HOMELESS
 Source: HOMELESS
Their journey began with a simple black baseball cap, packaged in a sleek black box with their brand name – a perfect reflection of their minimalist streetwear style.
Loro Piana
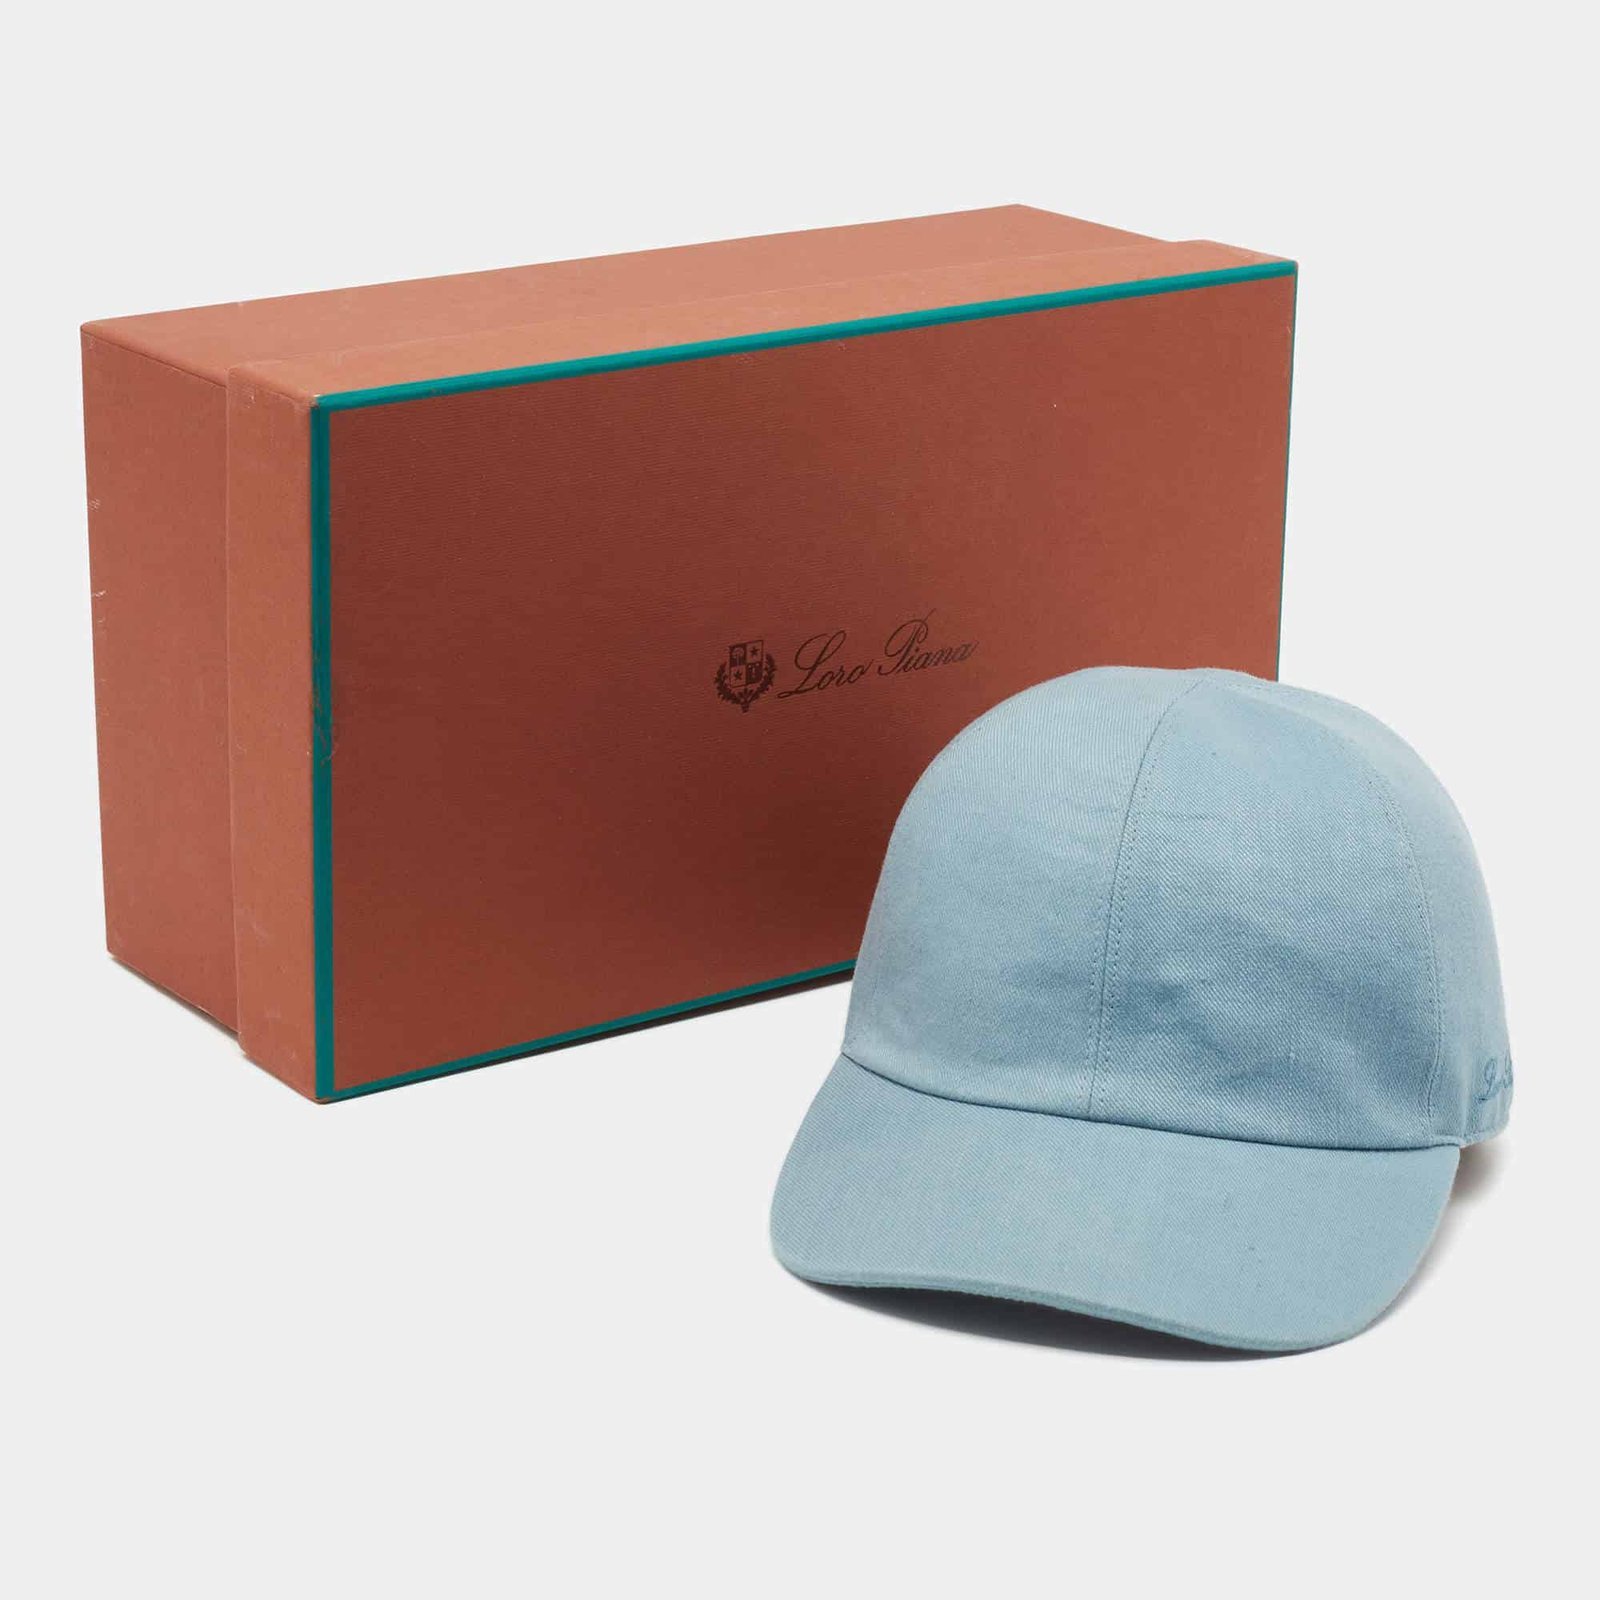 Source: The Luxury Closet
Even their caps come in the brand’s signature orange box, instantly recognizable for its luxurious feel. The focus is on the color and texture, conveying a sense of quiet confidence.
New Era

Source: Pinterest
For their special anniversary collection in the Philippines, they created a unique box resembling a package, filled with stamps and local references, reflecting their commitment to the region.
When it comes to branding, cap manufacturers can help create packaging that reflects your unique style. A well-designed package can boost customer satisfaction, create a buzz, and keep them coming back for more!
Conclusion
From eye-catching designs to unique dyeing techniques, creating your dream cap goes beyond just picking a fabric. This guide tells you all about making caps!
Want the perfect cap maker for your startup? Find one with commitment, experience with printing options, quality checks, and a passion for your brand’s vision. They’ll guide you from fabric to finish!
So, if you’re a designer or fashion brand owner with a cap collection in mind, we’d love to chat! Contact us today and let’s get started on creating caps that will make a lasting impression.