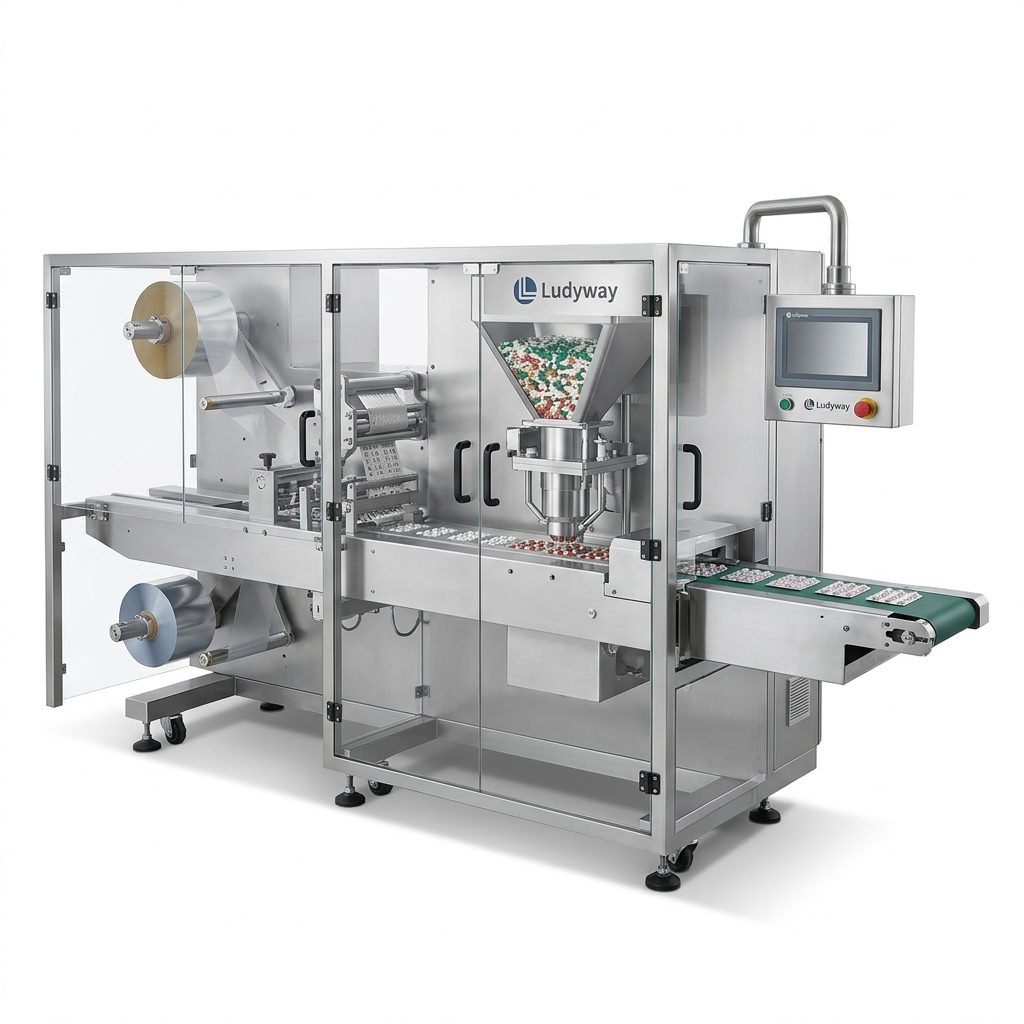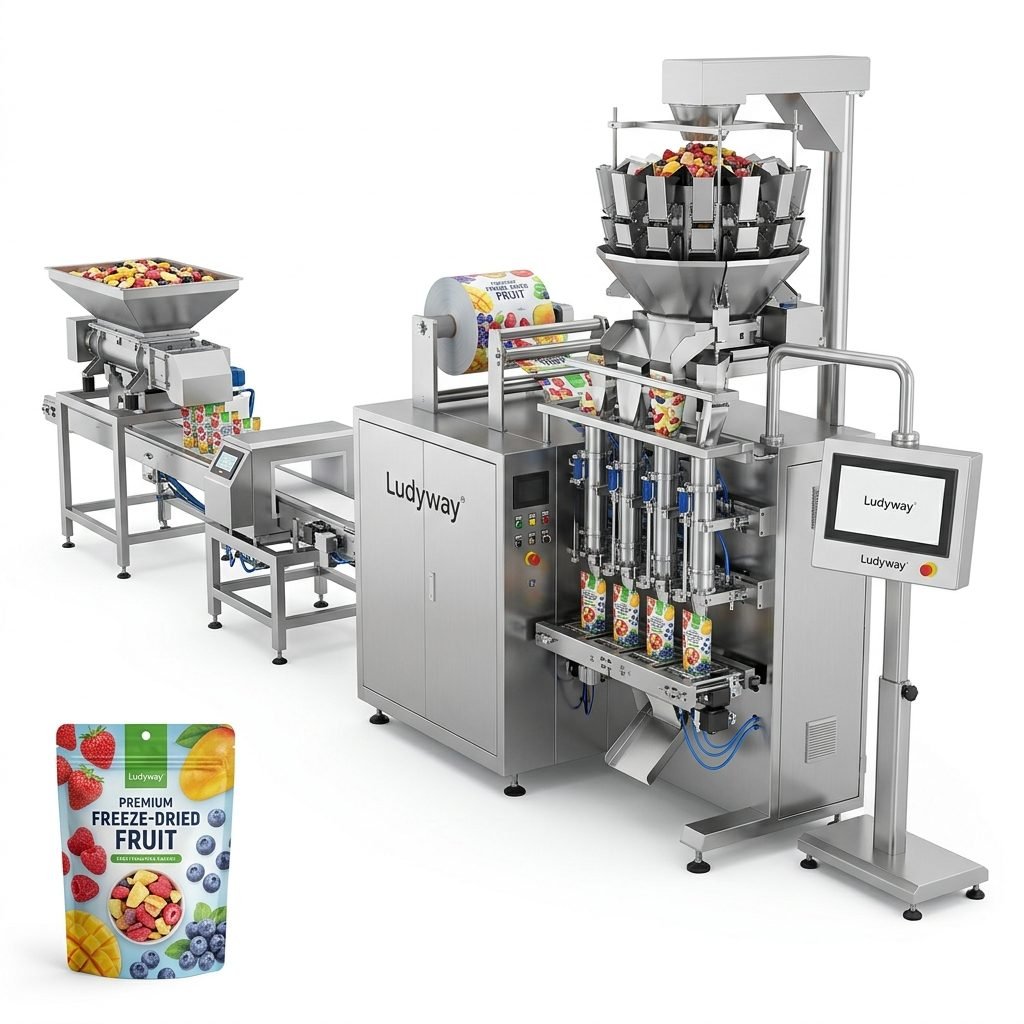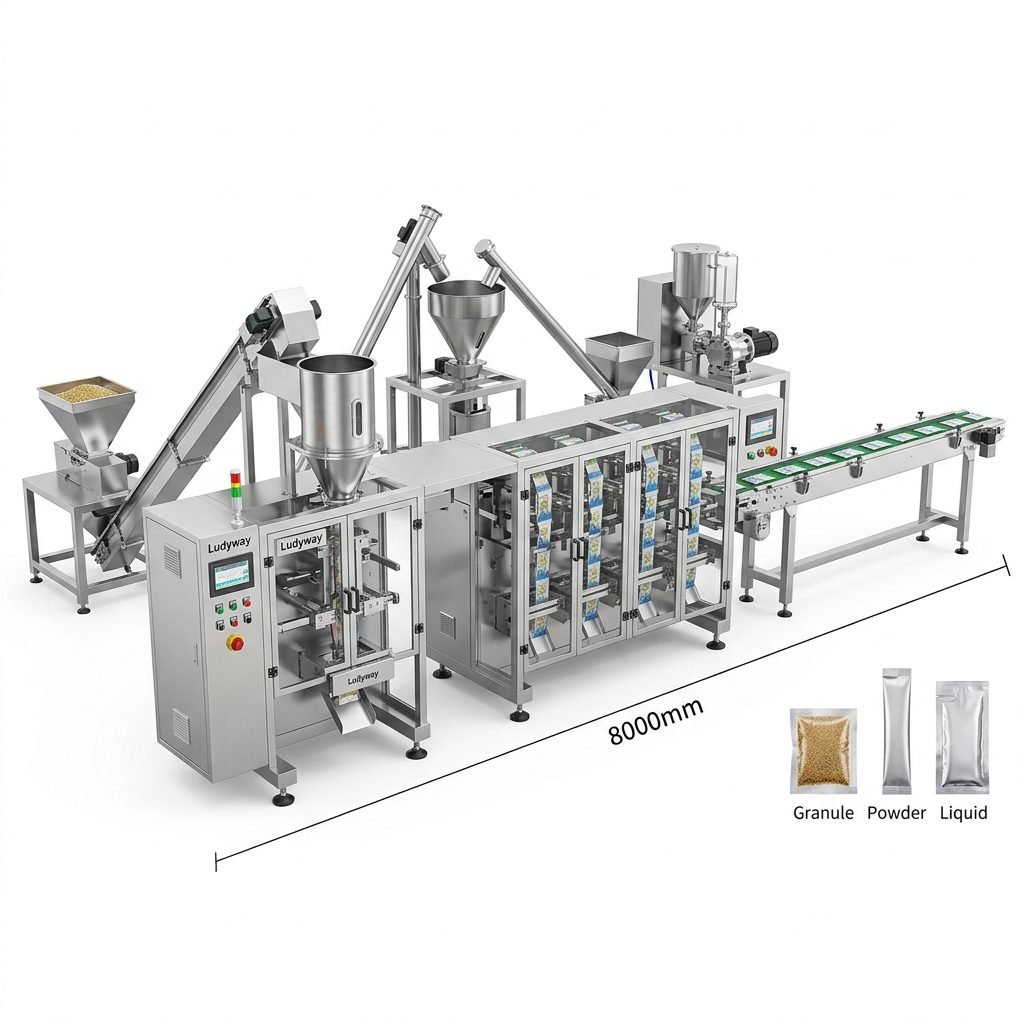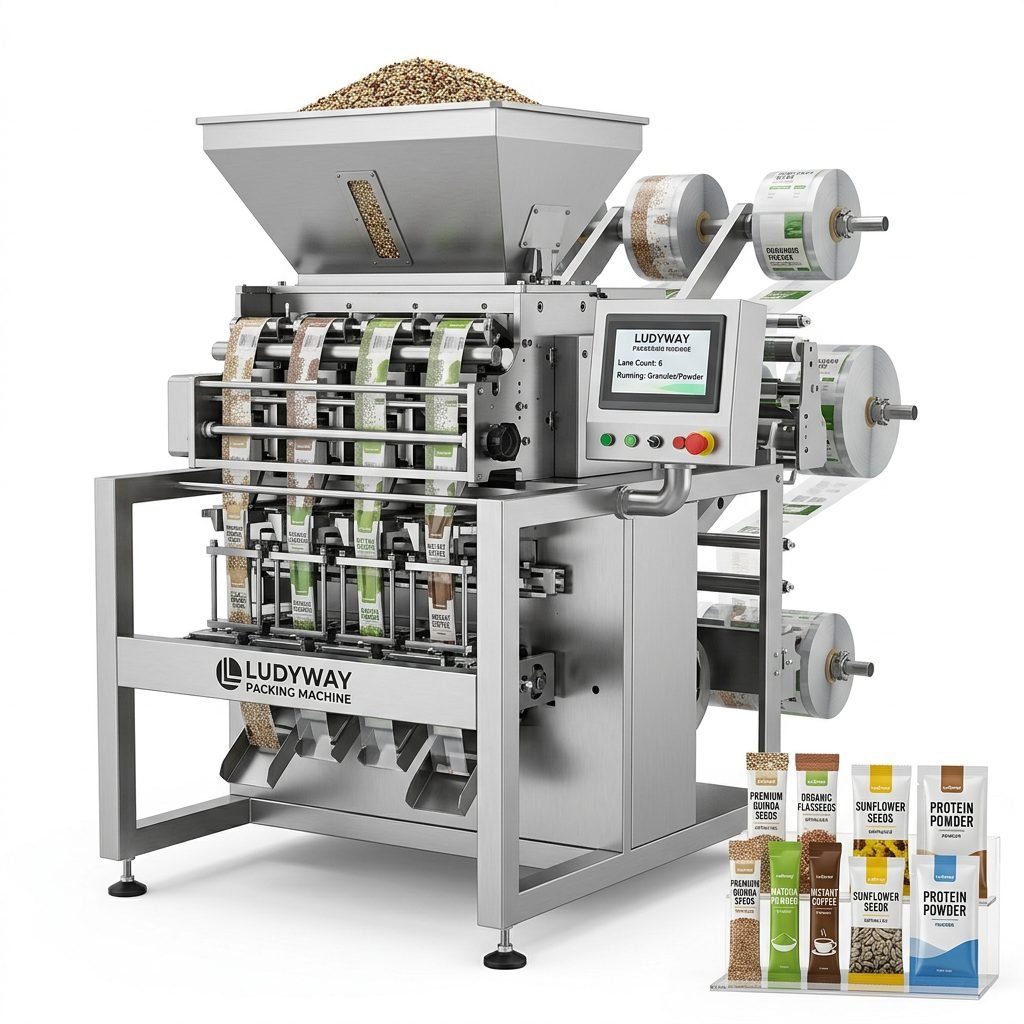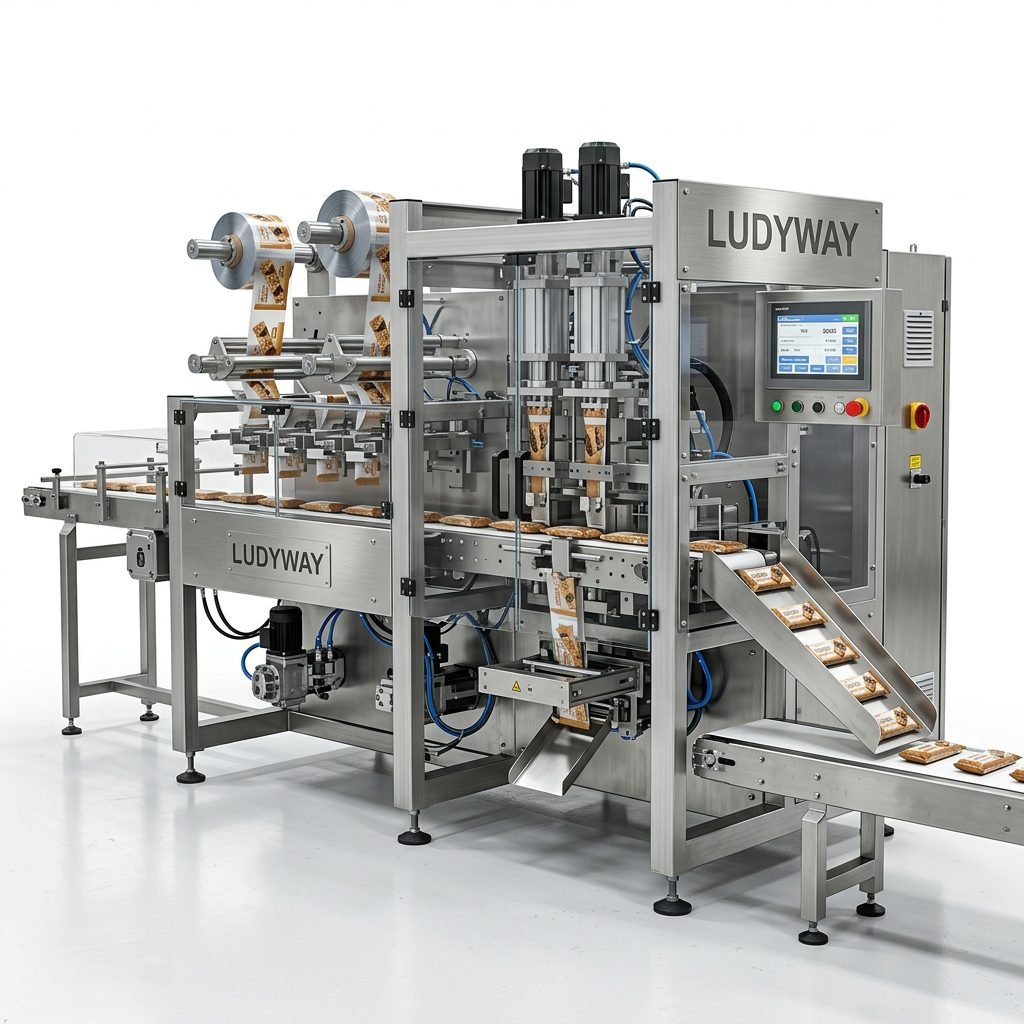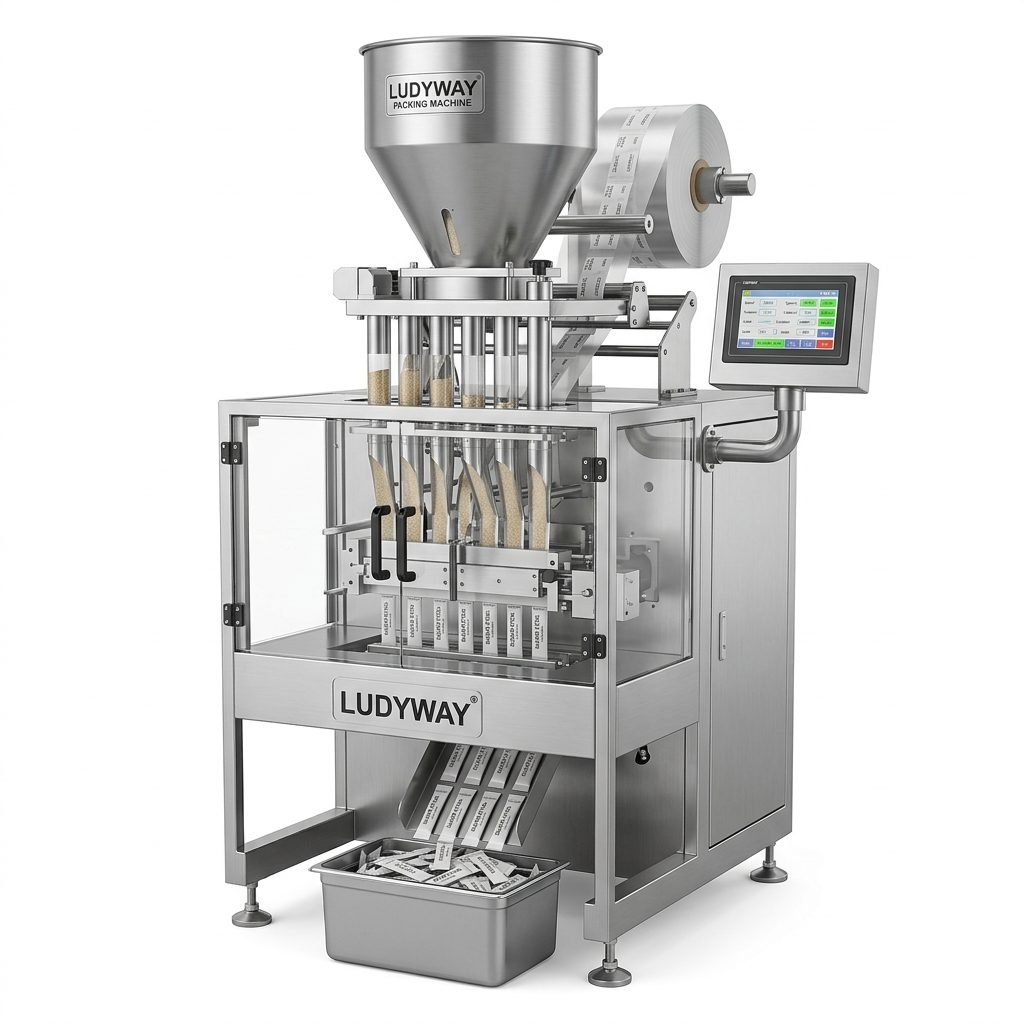
Cleaning a liquid pouch filling machine the right way is essential for product safety, sealing quality, stable output, and longer equipment life. Whether your machine handles sauces, shampoo, sanitizer, detergent, juice, or pharmaceutical liquids, a structured cleaning process helps reduce contamination risks, avoid downtime, and maintain consistent filling accuracy.
This guide explains how to clean a liquid pouch filling machine step by step, what tools you need, what parts demand extra attention, and how to build an efficient maintenance routine for daily production.
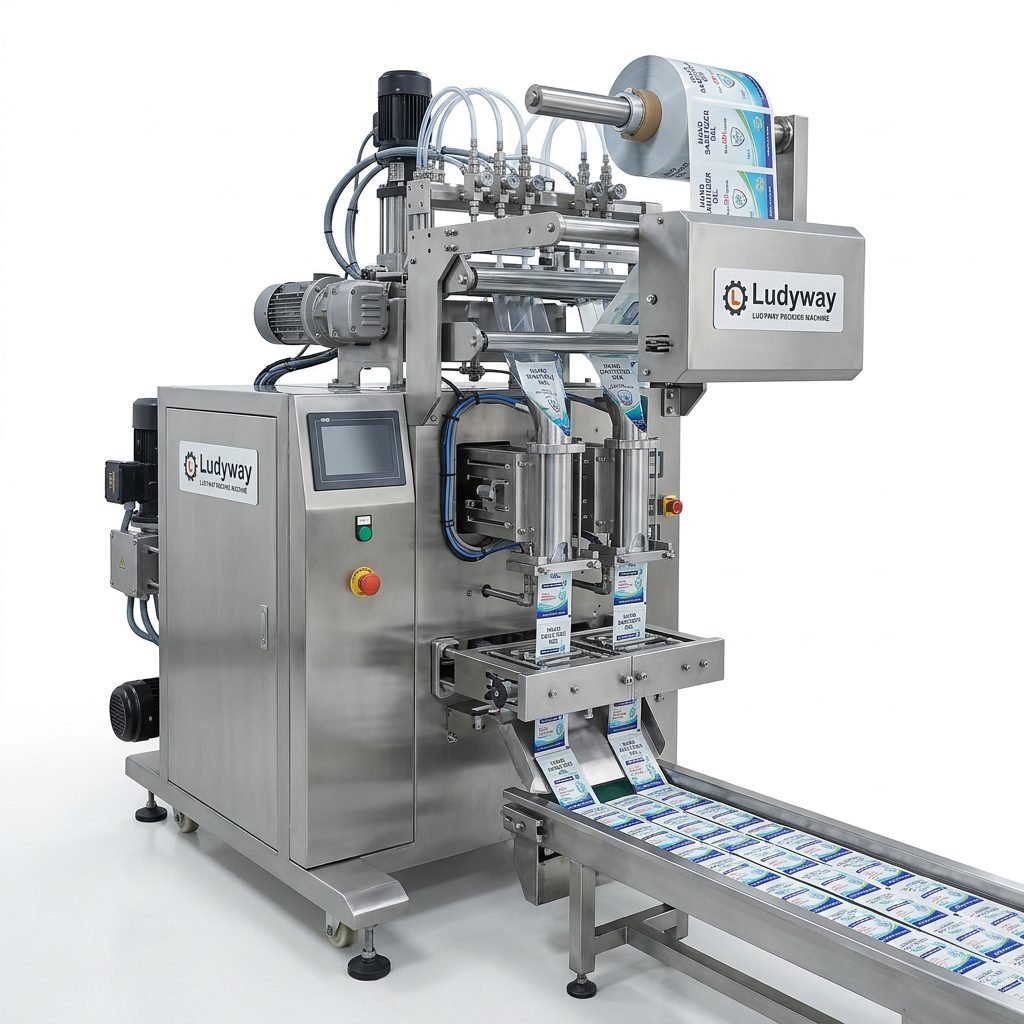
Why Proper Cleaning Matters
Liquid products can leave behind residue in tanks, pipes, nozzles, pumps, valves, and sealing areas. If residue builds up, it may cause:
- Microbial growth in food, pharma, or cosmetic applications
- Cross-contamination between batches
- Inaccurate filling volumes
- Nozzle dripping or blockage
- Poor pouch sealing performance
- Unexpected machine wear and unplanned stoppages
Routine cleaning also supports compliance with internal hygiene standards, GMP-oriented workflows, and customer quality expectations.
Before You Start: Safety Preparation
Before cleaning any liquid pouch packaging system, always create a safe maintenance condition first.
Basic Safety Checklist
- Stop production completely
- Disconnect electrical power or follow lockout/tagout procedures
- Shut off compressed air if required
- Drain all remaining product from tanks and pipelines
- Wait for hot sealing parts to cool down
- Wear gloves, safety glasses, and appropriate protective clothing
- Review the machine manual for product-specific cleaning instructions
| Area | Key Safety Action |
|---|---|
| Electrical system | Isolate power before opening covers or accessing internal parts |
| Pneumatic section | Release air pressure before disconnecting hoses or valves |
| Sealing system | Allow sealing jaws and heaters to cool before wiping |
| Product path | Drain residual liquid fully to avoid spills and contamination |
Tools and Supplies You May Need
Use only approved cleaning materials compatible with your machine construction and product type.
- Soft brushes
- Lint-free cloths or microfiber wipes
- Food-grade or application-approved cleaning solution
- Warm water or purified water
- Sanitizer if required by your process
- Small tools for disassembly
- Compressed air for dry external areas only where appropriate
- Drain tray or collection container
Avoid harsh metal brushes, corrosive chemicals, or excessive water around electrical components.
Step-by-Step: How to Clean a Liquid Pouch Filling Machine
1. Remove Remaining Product
Start by emptying the hopper, tank, or product reservoir. Run the machine in manual mode if needed to push out as much residual liquid as possible from the filling path. This reduces waste and makes the next cleaning stages faster.
2. Flush the Product Path
Flush tanks, hoses, pumps, and nozzles with warm water or the recommended cleaning solution. For sticky or viscous products such as syrup, sauce, lotion, or gel, multiple rinse cycles may be necessary.
- Use low to moderate pressure
- Ensure all corners and dead zones are reached
- Continue flushing until discharge runs clear
3. Disassemble Contact Parts When Needed
Remove nozzles, valves, pipes, filters, and other product-contact parts according to the machine design. Cleaning removable components separately often gives better hygiene results than surface rinsing alone.
Pay special attention to:
- Filling nozzles
- Check valves
- Piston or pump cavities
- Tank outlet joints
- Gaskets and O-rings
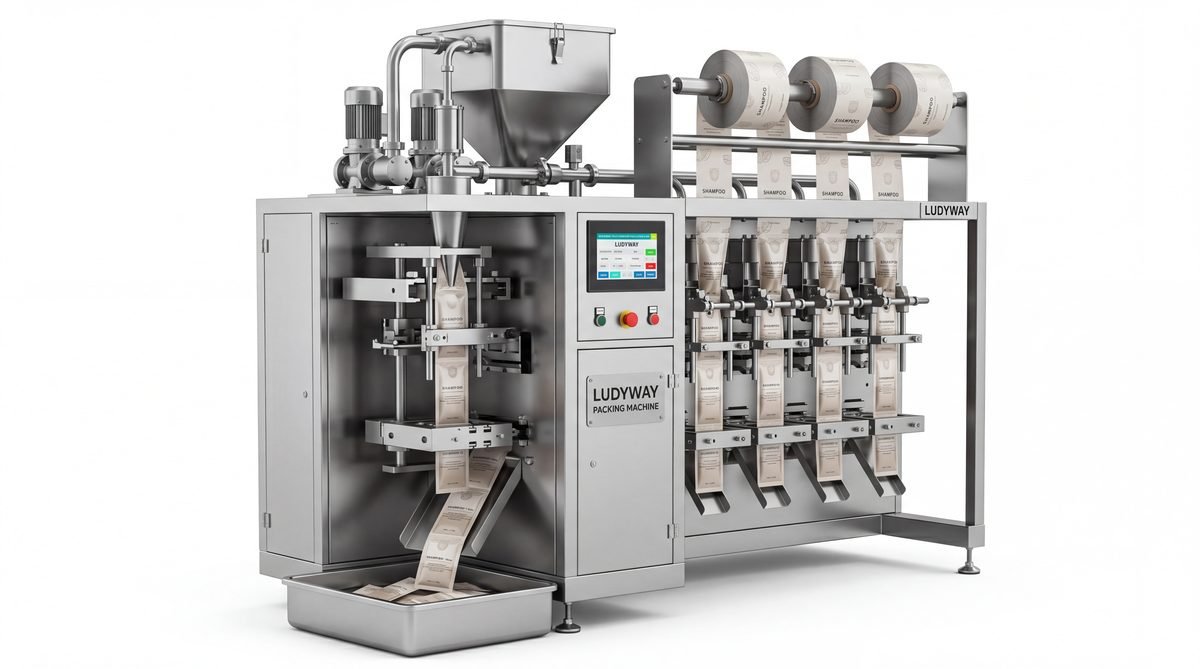
4. Clean the Hopper or Tank Thoroughly
Wash the hopper or storage tank using a suitable detergent and soft brush. Focus on weld joints, inner corners, level sensors, and outlet sections where buildup is more likely. Rinse thoroughly so no cleaner residue remains.
5. Clean the Filling Nozzles and Dosing System
Nozzles directly affect filling precision and pouch cleanliness. Even a small residue can cause dripping, splashing, or uneven dosage. Soak removable nozzles if needed, then brush and rinse carefully.
If your machine handles foam, cream, gel, or high-viscosity liquids, nozzle cleaning should be especially detailed.
6. Wipe the Film Feeding and Pouch Forming Area
Liquid splashes can reach the film path, pouch collar, guide rollers, and nearby frame surfaces. Wipe these areas with a damp cloth and approved cleaner. Keep sensors, rollers, and guide components free from residue and dust.
7. Clean the Sealing Jaws
Sealing jaws must stay clean to maintain strong and uniform pouch seals. Product splashes on heated sealing surfaces can create wrinkles, leaks, or incomplete seals.
- Wait until the jaws are cool enough to handle safely
- Use a soft cloth only
- Remove carbonized residue gently
- Do not scratch sealing surfaces
8. Inspect and Clean Sensors and External Surfaces
Photoelectric sensors, registration mark sensors, and safety switches should be kept clean for accurate machine operation. Wipe the exterior frame, control panel surfaces, doors, and guards as part of every cleaning cycle.
9. Sanitize if Required
For food, pharmaceutical, health supplement, or cosmetic production, sanitization may be required after cleaning. Apply the approved sanitizer to relevant product-contact surfaces, then follow the specified contact time and rinse rules.
10. Dry All Parts Completely
Moisture left in the system may dilute the next batch, promote corrosion, or affect sensitive products. Dry tanks, nozzles, hoses, and machine surfaces thoroughly before reassembly.
11. Reassemble and Run a Test
Reinstall all removed parts securely. Check gaskets, clamps, and fittings. Once the machine is reassembled, run a short test cycle with water or the next approved product to verify:
- No leaks
- Smooth dosing
- Stable pouch feeding
- Consistent sealing
- Correct machine response from sensors
Parts That Need the Most Attention
| Machine Part | Why It Matters | Cleaning Frequency |
|---|---|---|
| Product tank / hopper | Direct contact with liquid and high residue risk | Every batch or shift |
| Nozzles and valves | Affects dosing precision and drip control | Every batch or shift |
| Pipes and hoses | Can trap residue internally | Daily or after product change |
| Sealing jaws | Dirty jaws lead to weak seals and leaks | Daily |
| Sensors and film path | Supports stable tracking and pouch formation | Daily |
How Often Should You Clean the Machine?
The correct cleaning schedule depends on the liquid type, production hours, hygiene requirements, and whether you change products frequently.
Recommended Cleaning Schedule
- After every shift: wipe external surfaces, sealing area, nozzles, and visible residue points
- After every batch: flush product path, tank, and dosing system if products change
- Daily: deeper cleaning of all product-contact parts
- Weekly: inspection of wear parts, filters, seals, and hard-to-reach areas
- Monthly: preventive maintenance review with cleaning validation records if needed
Common Cleaning Mistakes to Avoid
- Cleaning too quickly and missing internal product-contact parts
- Using incompatible chemicals that damage stainless steel, seals, or hoses
- Spraying water directly onto motors, control panels, or electrical cabinets
- Skipping nozzle and sealing jaw cleaning
- Reassembling the machine while parts are still wet
- Ignoring worn gaskets and O-rings during cleaning
A clean machine can still perform poorly if damaged seals, blocked valves, or worn filling parts are not replaced in time.
Best Practices for Safe and Efficient Maintenance
- Create a standard cleaning SOP for each liquid product type
- Train operators to identify residue points and cleaning risks
- Keep cleaning records for traceability
- Use dedicated tools for food, pharma, or chemical zones
- Inspect seals, pumps, and nozzles during every deep clean
- Schedule preventive maintenance together with cleaning routines
When to Call Technical Support
If cleaning does not solve the issue, technical inspection may be necessary. Contact support if you notice:
- Persistent filling inaccuracy
- Frequent nozzle dripping
- Sealing defects after thorough cleaning
- Abnormal pump noise or unstable flow
- Sensor errors or repeated machine alarms
Choosing a Machine That Is Easier to Clean
If you are planning to upgrade or expand production, machine design plays a major role in cleaning efficiency. Look for features such as hygienic stainless steel construction, quick-disassembly product-contact parts, accessible filling systems, smooth internal surfaces, and user-friendly maintenance access.
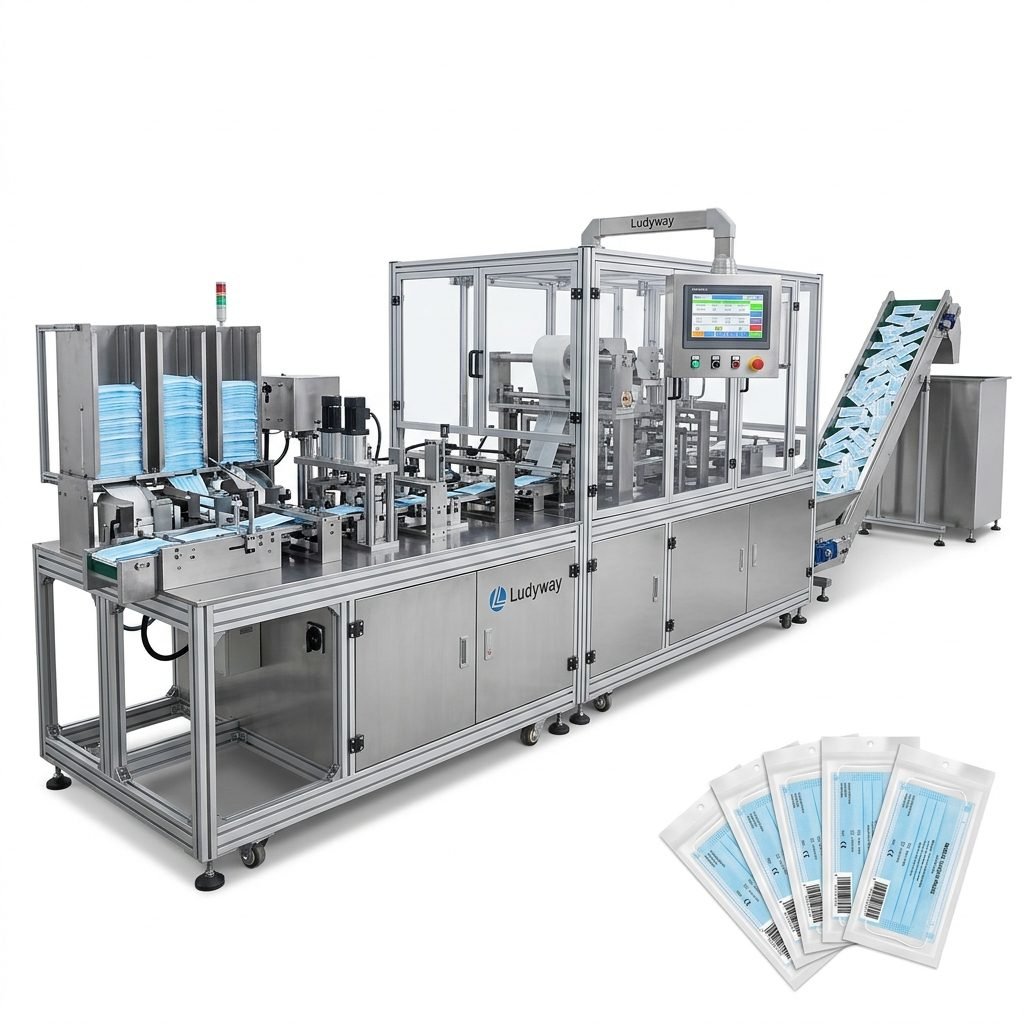
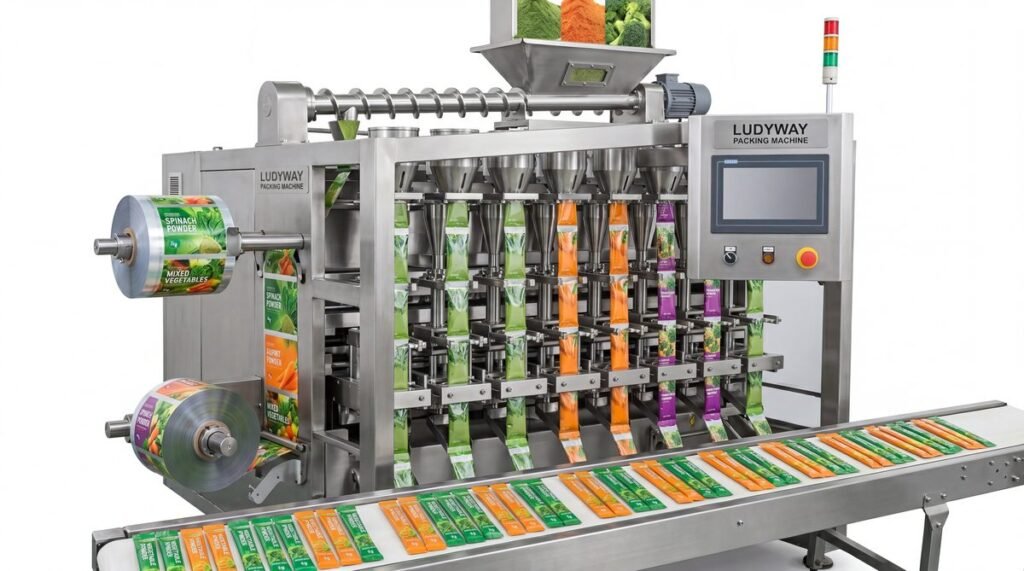
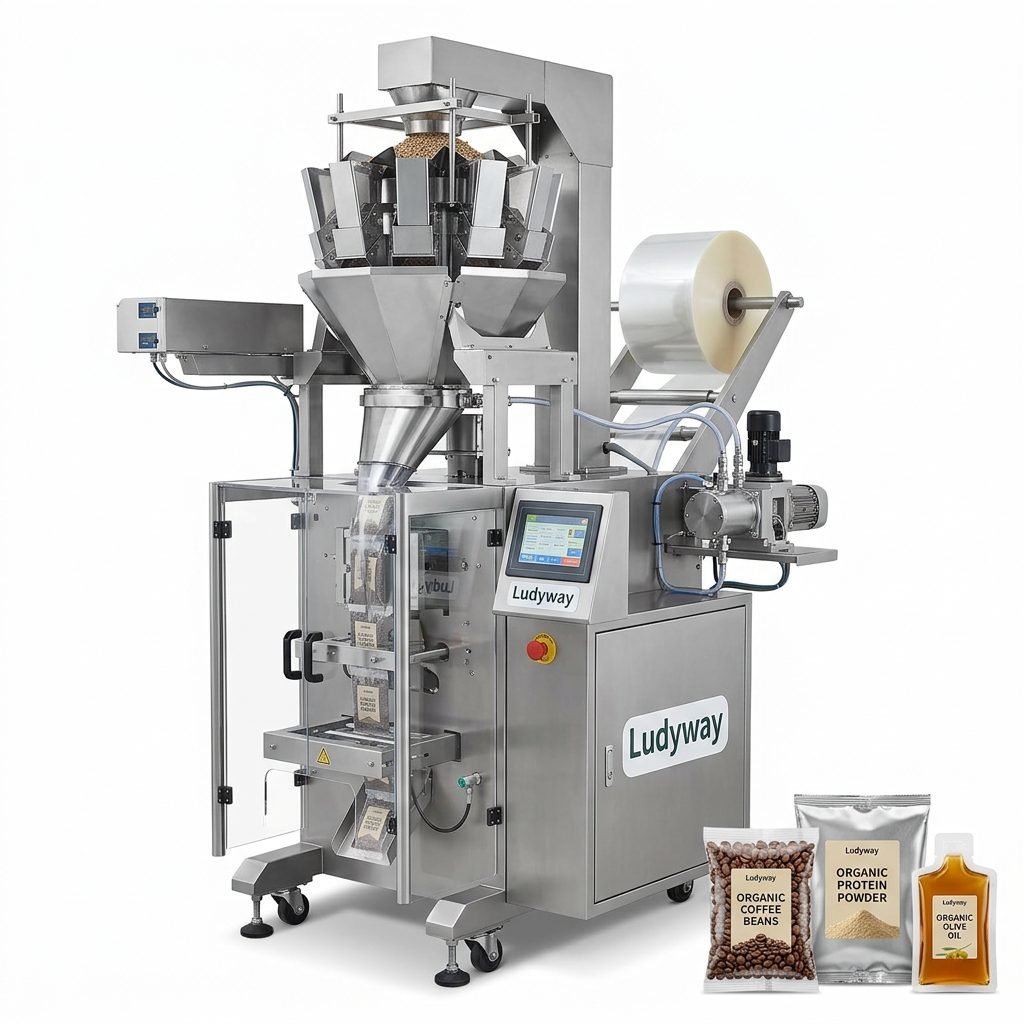
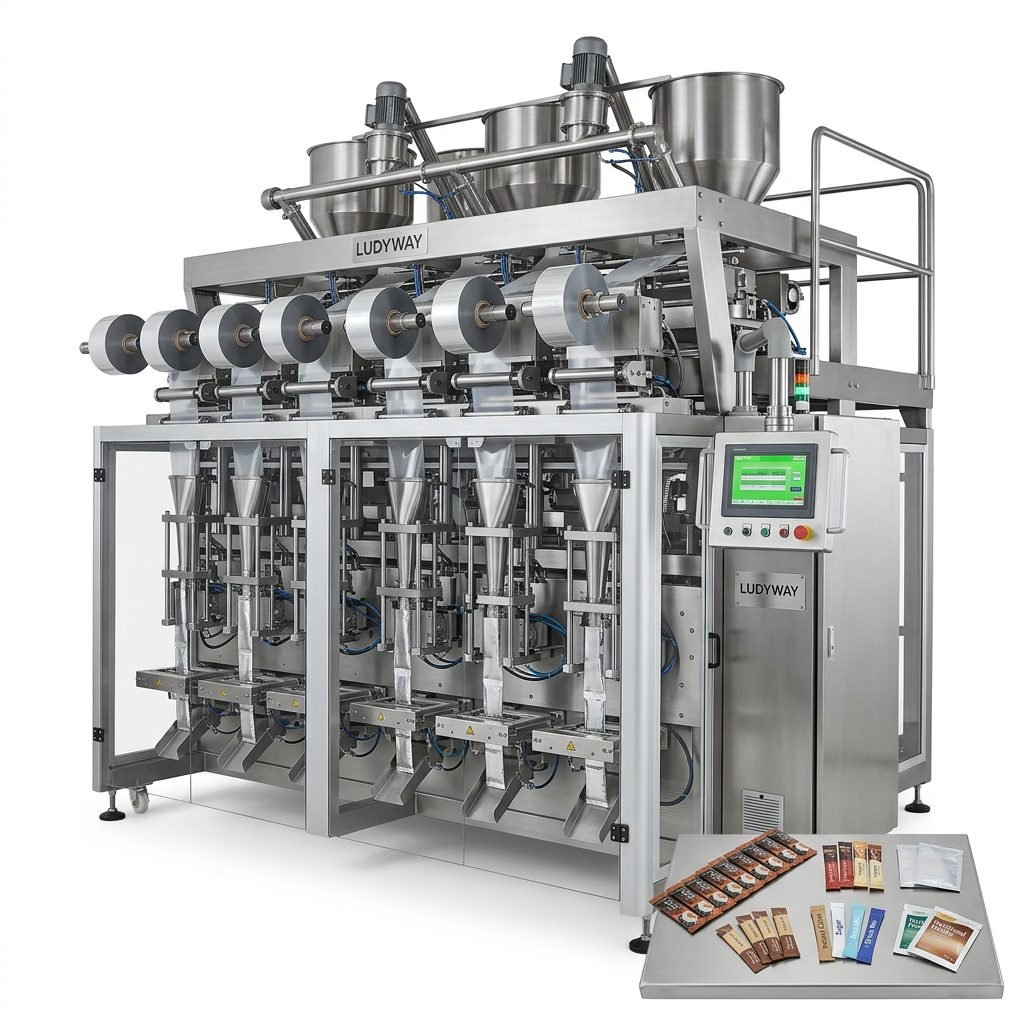
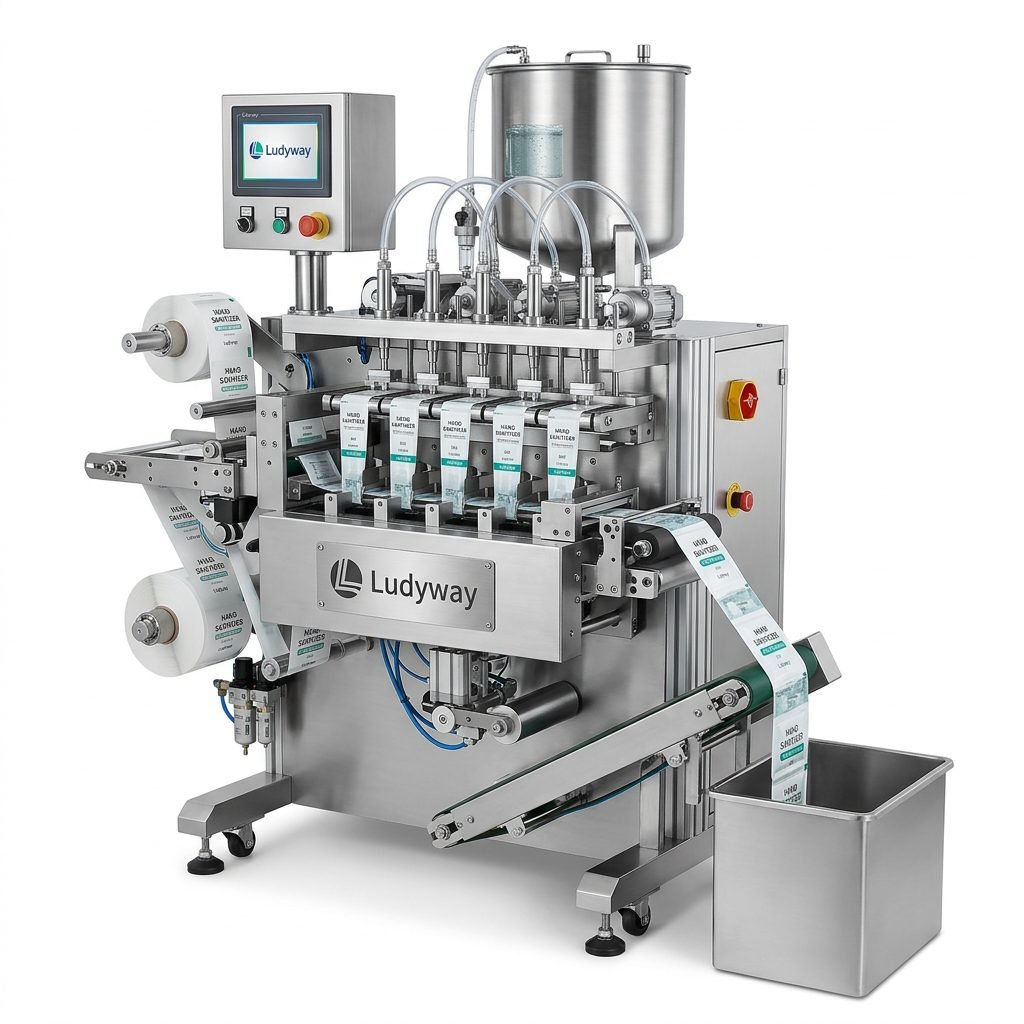
For manufacturers looking for advanced liquid pouch and sachet packaging solutions, liquid pouch filling machine solutions from Ludyway can support efficient production, easier maintenance, and integrated turnkey packaging line planning.
Final Cleaning Checklist
| Task | Completed |
|---|---|
| Production stopped and machine isolated safely | □ |
| Residual liquid drained from hopper and lines | □ |
| Product-contact parts flushed and cleaned | □ |
| Nozzles, valves, and seals checked | □ |
| Sealing jaws and film path wiped clean | □ |
| Sanitization completed if required | □ |
| Parts dried, reassembled, and tested | □ |
A well-cleaned liquid pouch filling machine is not just about appearance. It is a critical step in protecting product quality, improving uptime, and maintaining reliable packaging performance day after day.