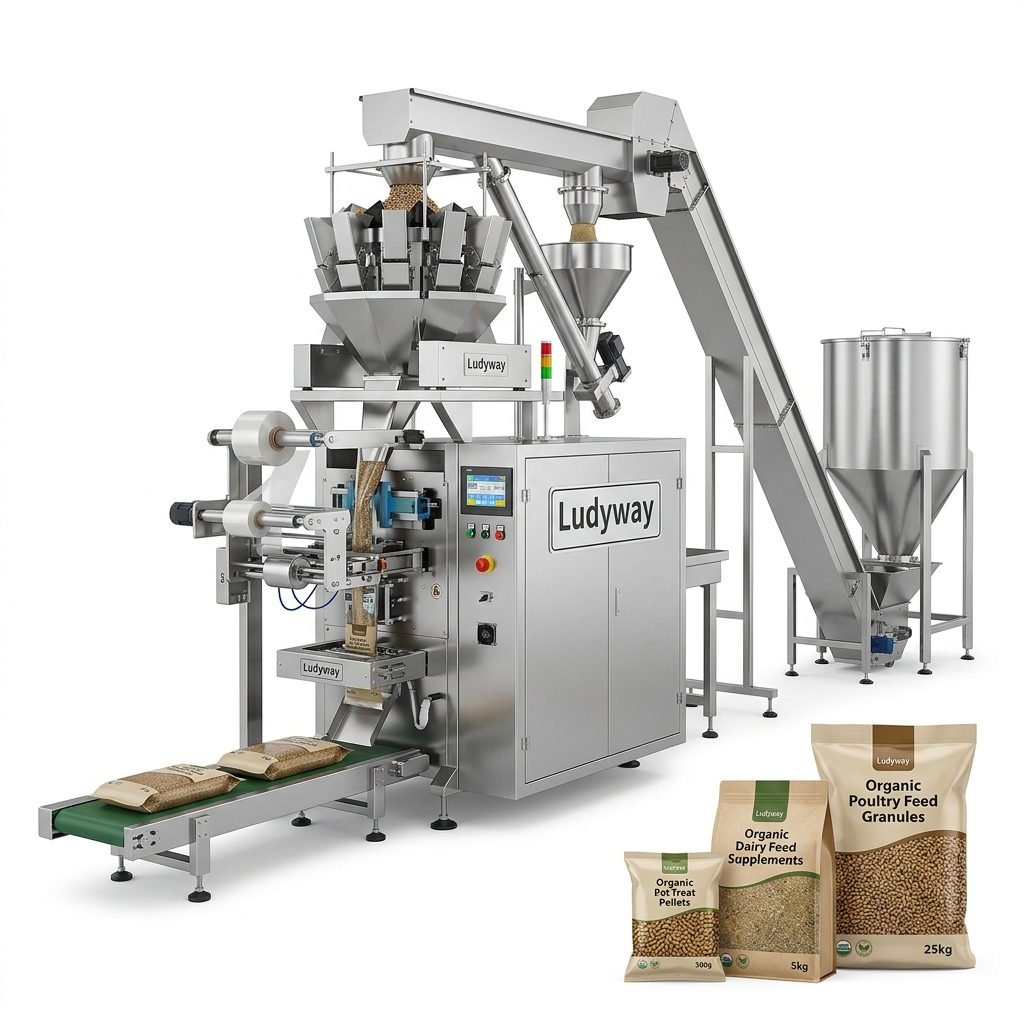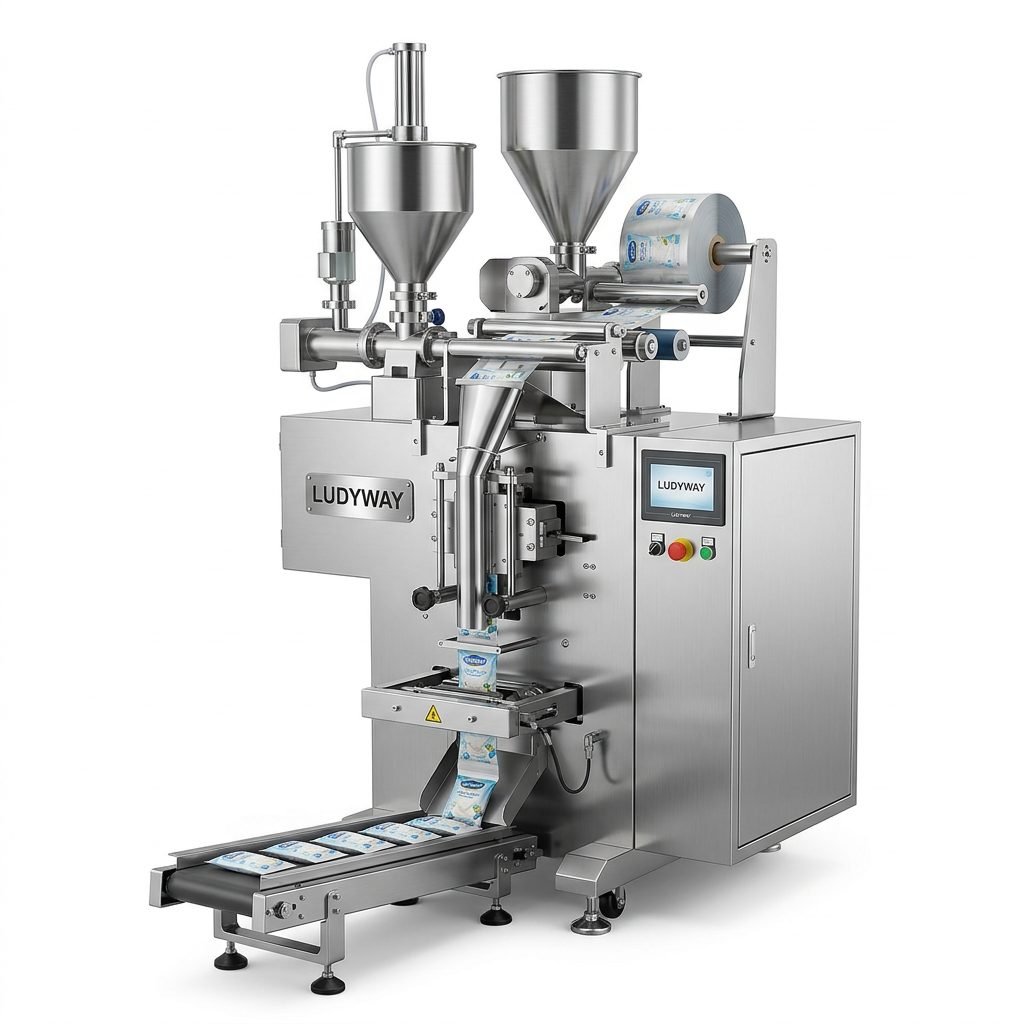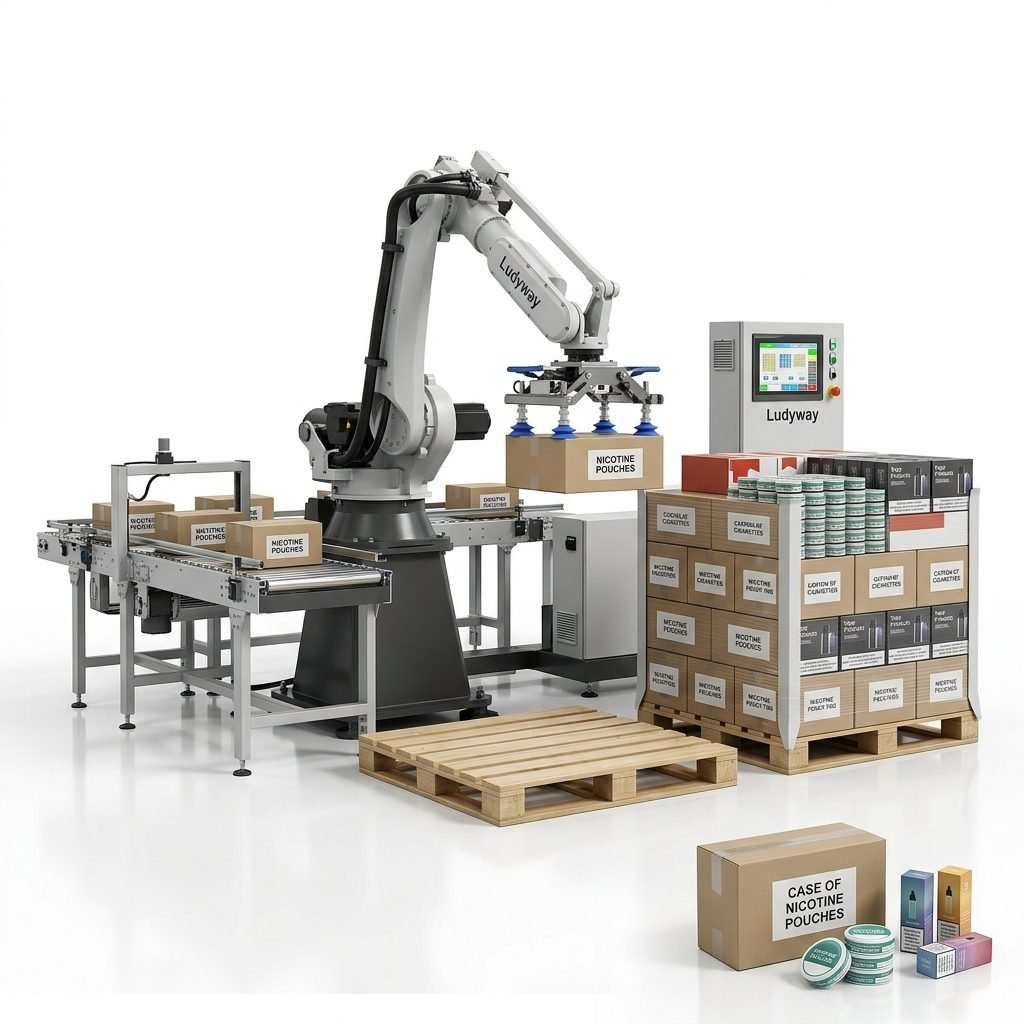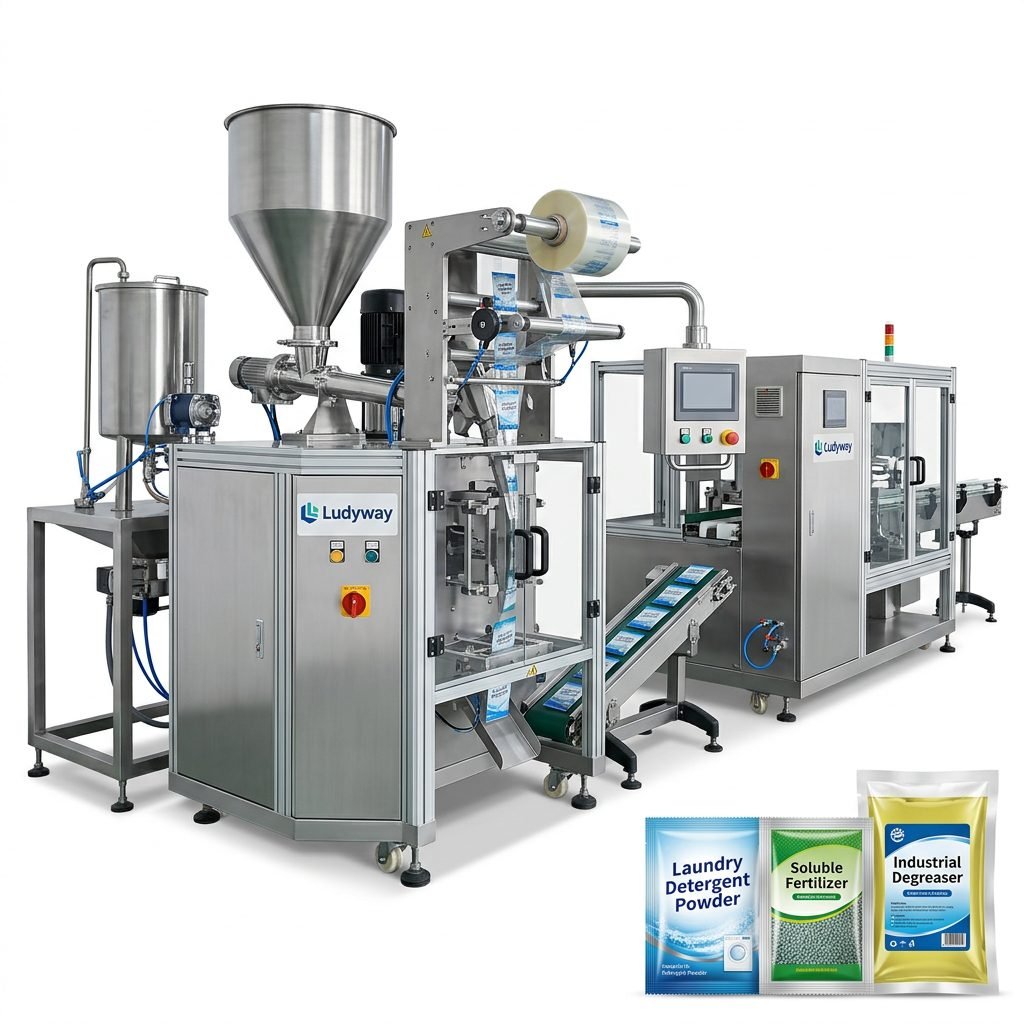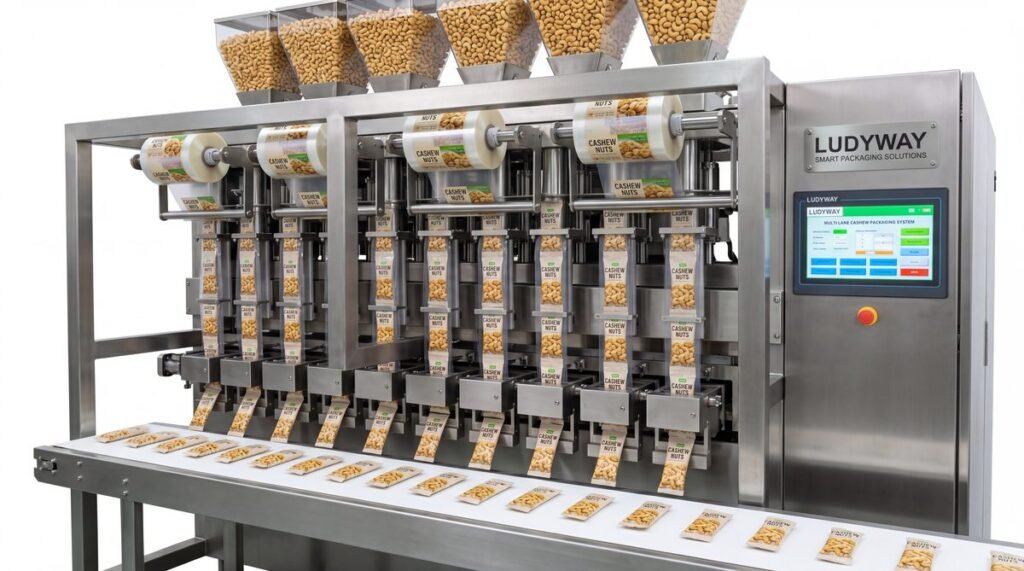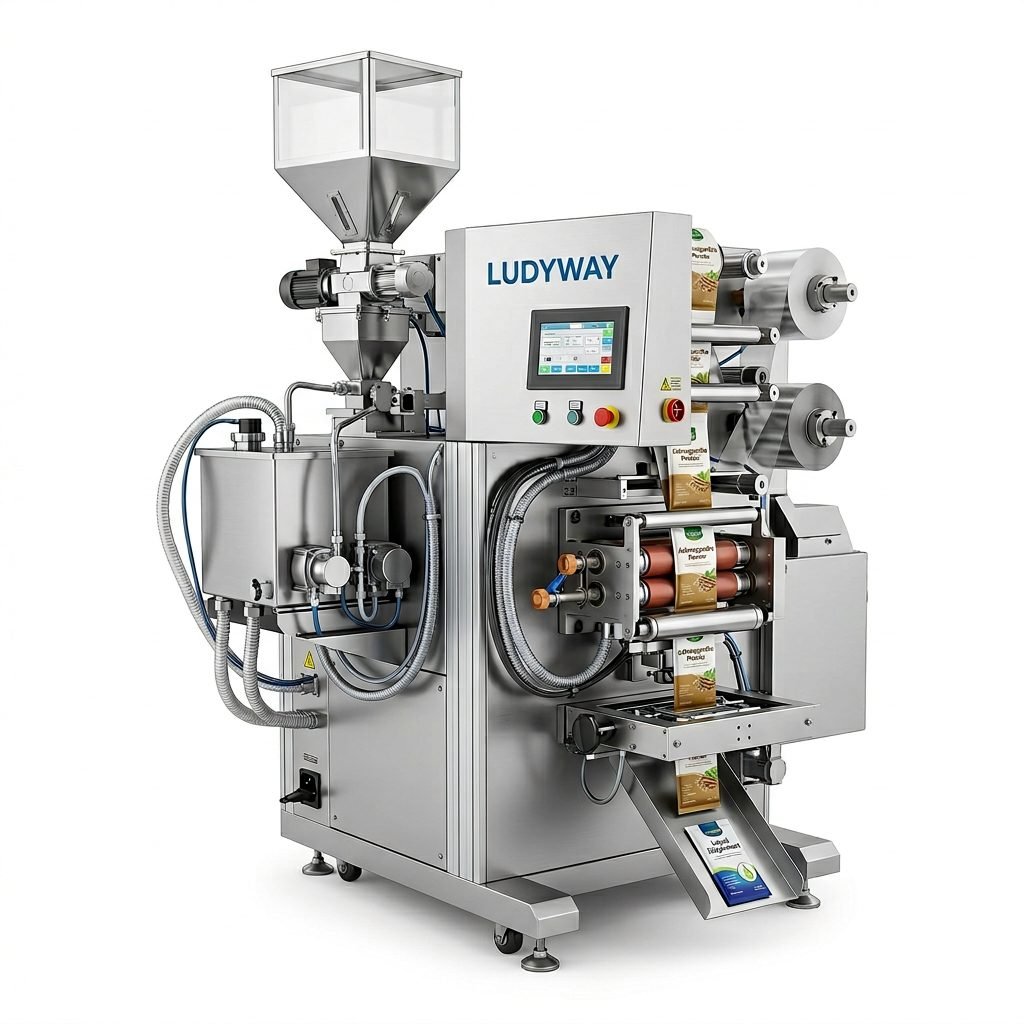
Installing packaging machinery correctly is a critical step toward achieving efficient, safe, and consistent production. Whether you are setting up a new production line or upgrading existing equipment, a systematic approach ensures optimal performance, operator safety, and minimal downtime. This guide provides a detailed, step-by-step methodology for installing various types of packaging machinery, from single sachet packers to complete turnkey lines.
Pre-Installation Planning and Site Assessment
Before any physical work begins, thorough planning is essential. This phase sets the foundation for a smooth installation.
Key Planning Steps:
1. Review Technical Documentation: Carefully study the machine manuals, layout drawings, and foundation plans provided by the manufacturer, such as those from Ludyway Machinery.
2. Site Preparation: Ensure the installation area is clean, level, and has adequate space for operation, maintenance, and material flow. Verify floor load capacity.
3. Utility Verification: Confirm the availability and specifications of required power (voltage, phase, amperage), compressed air (pressure, CFM), water, and any other utilities.
4. Safety & Compliance Check: Identify all necessary personal protective equipment (PPE) and ensure the site meets local safety and electrical codes.
Uncrating and Initial Inspection
Upon delivery, inspect the crates for signs of damage during transit. Using appropriate lifting equipment, carefully move the machinery to the prepared installation site. Uncrate the machine and perform a thorough visual inspection of all components against the packing list. Check for any visible damage, missing parts, or loose fittings. Report any discrepancies to the supplier immediately.
Step-by-Step Installation Process
Follow these sequential steps for a safe and precise installation.
Step 1: Positioning and Leveling
This is arguably the most crucial mechanical step. Improper leveling can cause vibration, wear, and inaccurate packaging.
- Use a precision spirit level on the machine’s main frame or baseplate.
- Adjust the machine’s leveling feet until the bubble is centered in both longitudinal and transverse directions.
- For heavy machinery, epoxy grouting or anchor bolts may be required for permanent stability.
Step 2: Mechanical Assembly and Connection
Assemble any sub-components shipped separately, such as hoppers, conveyors, or discharge chutes. Connect all mechanical linkages, drive belts, or chains as per the manual. Ensure all guards and safety enclosures are fitted correctly and securely.
Step 3: Electrical and Pneumatic Hookup
⚠️ Critical Safety Note: All electrical work must be performed by a qualified electrician with the machine completely isolated from power.
Connect the main power supply to the machine’s terminal box, strictly following the wiring diagram. Connect pneumatic lines to the air preparation unit (FRL – Filter, Regulator, Lubricator), ensuring correct thread sealing and orientation. Set the air pressure to the manufacturer’s specified range.
Step 4: Auxiliary System Integration
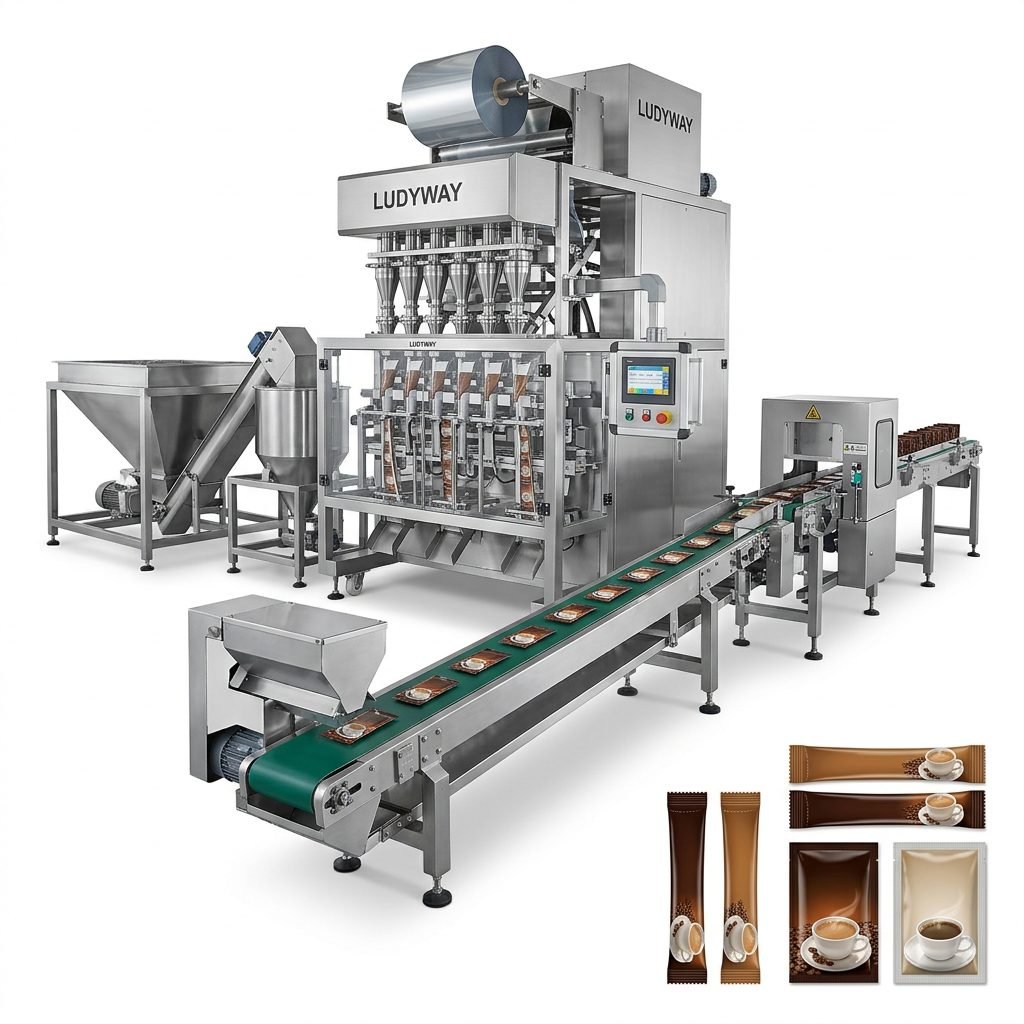
Connect peripheral systems. This may include feeding systems (like augers or vibratory feeders), checkweighers, date coders, or downstream cartoning machinery. Ensure communication signals (e.g., photocell triggers, PLC signals) are correctly wired between interconnected units.
Commissioning, Testing, and Calibration
With installation complete, the commissioning phase validates functionality and prepares for production.
Dry Run and Functional Test
Before introducing product, run the machine empty. Jog the machine at low speed to check for unusual noises, binding, or misalignment. Test all safety interlocks, emergency stops, and operator controls. Activate pneumatic and electrical actuators individually to confirm proper operation.
Parameter Setup and Product Calibration
Input basic machine parameters like film type, package dimensions, and sealing temperatures into the Human-Machine Interface (HMI). For dosing machines (powder, granule, liquid), perform a calibration run. Run a known quantity of your actual product through the dosing system and adjust the fill volume until the target weight is consistently achieved. This may require fine-tuning auger speeds, piston strokes, or vibration settings.
First Article Inspection and Trial Run
Run a batch of product at low speed. Inspect the first packages for:
- Seal Integrity: Check for strong, consistent seals with no leaks or wrinkles.
- Fill Accuracy: Weigh multiple packages to ensure they are within specified tolerances.
- Code Clarity: Verify date/batch codes are legible and correctly positioned.
Gradually increase speed to the operational rate while monitoring performance. Document all optimal settings for future reference.
Operator Training and Documentation Handover
Effective training is vital for safety and efficiency. Conduct hands-on training for operators covering daily startup/shutdown, routine operation, film loading, basic troubleshooting, and cleaning procedures. Provide maintenance staff with training on lubrication schedules, belt tension checks, and common part replacements. Ensure all manuals, electrical diagrams, and calibration records are organized and accessible on the production floor.
Leveraging the expertise of your supplier, like the team at Ludyway Machinery with over a decade of industry experience, can significantly enhance this training process and ensure long-term machine reliability.
Maintenance Planning for Long-Term Efficiency
Proactive maintenance prevents unexpected breakdowns. Create a schedule based on the manufacturer’s recommendations for daily, weekly, and monthly tasks. Keep a log of all maintenance activities and parts replacements. Maintain an inventory of critical spare parts, such as sealing jaws, heating elements, and photocell sensors, to minimize downtime.
Common Installation & Commissioning FAQs
Q1: How long does a typical packaging machine installation take?
Installation time varies greatly. A single stand-alone machine may take 1-3 days, while a complex multi-machine production line with integration can take 1-3 weeks. Always factor in time for site prep, commissioning, and training.
Q2: What is the single most common mistake during installation?
Inadequate or improper leveling. This foundational error can lead to chronic mechanical issues, poor seal quality, and reduced machine lifespan. Never rush the leveling process.
Q3: Can we use our existing film roll stock on a new machine?
Possibly, but it requires verification. The new machine’s film unwinding system, sealing jaw width, and registration system must be compatible with your film’s core size, width, thickness, and print registration marks. Consult your machine supplier beforehand.
Q4: Who should perform the electrical connection?
Only a licensed electrician familiar with local industrial codes. Manufacturer technicians often supervise and test, but the physical connection to the plant’s power supply must be done by qualified local personnel.
Q5: What if the machine doesn’t achieve the promised output speed after installation?
First, ensure the machine is fully calibrated for your specific product and packaging material. Output can be affected by product characteristics (e.g., flowability), film quality, and ambient conditions. If performance is still lacking, contact the supplier’s technical support for a detailed analysis.