In today’s fast-paced world, preserving the freshness and quality of food is a universal concern. Whether you’re a home cook looking to extend the shelf life of bulk purchases, a meal-prepping enthusiast, or a small-scale food producer, an electric vacuum sealer packaging machine can be a game-changer. This guide will walk you through how to choose the right machine, use it effectively, and ultimately boost your food’s freshness to new heights.
Why Vacuum Sealing is Essential for Modern Food Preservation
Vacuum sealing works by removing air from a package before sealing it. Oxygen is the primary culprit behind food spoilage, as it facilitates the growth of aerobic bacteria and fungi and causes oxidation (like freezer burn or browning). By creating an oxygen-depleted environment, vacuum sealing dramatically slows down these degradation processes. The benefits are substantial: it can extend the shelf life of refrigerated foods by 3-5 times and frozen foods for years without quality loss. It also prevents dehydration, locks in flavors and juices, and protects against cross-contamination in your pantry or freezer.
Key Takeaway: The core principle is simple—no air, no spoilage. This makes vacuum sealing superior to traditional methods like plastic wraps, foil, or standard containers for long-term preservation.
How to Choose the Right Electric Vacuum Sealer
Selecting the perfect machine depends on your specific needs and frequency of use. Here are the critical factors to consider:
1. Type of Machine: External vs. Chamber
External Sealers: These are the most common for home and light commercial use. You place the open end of a special bag into the machine, which sucks out the air and heat-seals it. They are affordable, compact, and great for dry and solid foods. Some models offer accessories for sealing jars or canisters.
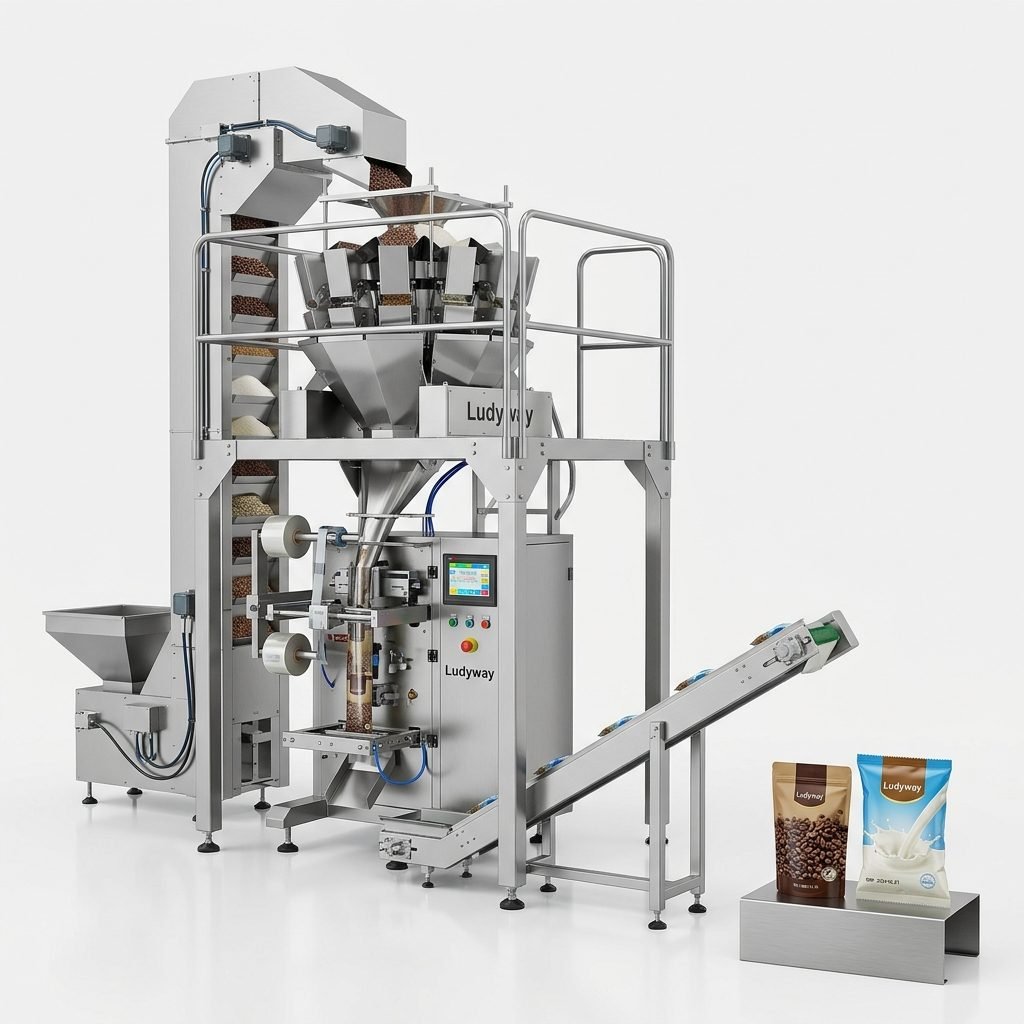
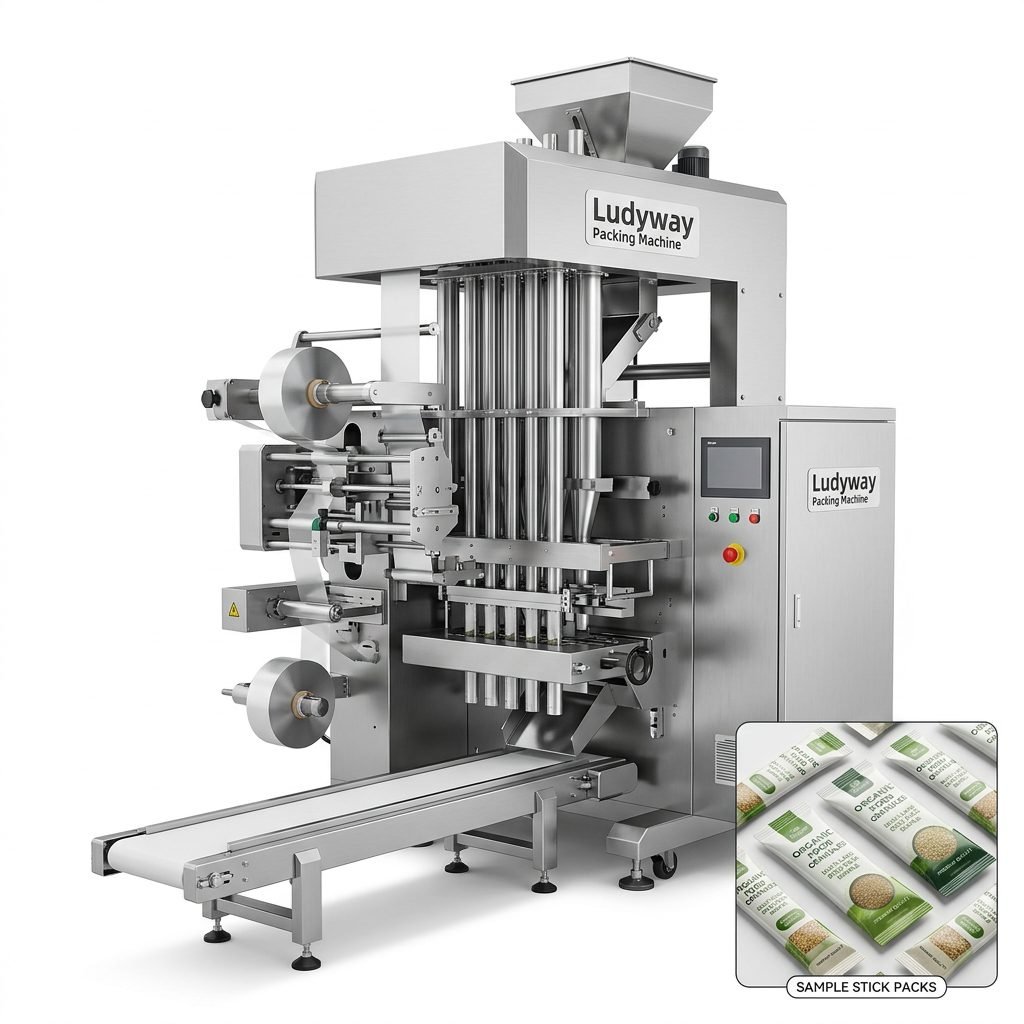
Chamber Sealers: The entire bag is placed inside a chamber, which is then vacuumed. These are ideal for liquids, powders, and delicate foods (like soft cheeses) as they prevent liquids from being sucked into the machine. They are faster, more powerful, and use less expensive bag materials but are significantly larger, more expensive, and suited for heavy-duty or commercial use, such as in facilities requiring robust packaging solutions.
2. Key Features and Specifications
- Suction Power (Pa or CFM): A higher vacuum strength removes air more thoroughly, leading to better preservation. Look for adjustable settings for delicate items.
- Seal Bar Quality & Count: Look for double or triple-seal bars for an airtight, reliable seal. Some models offer adjustable seal time.
- Bag Compatibility & Roll Storage: Many machines have a built-in cutter and storage for bag rolls, allowing you to create custom-sized bags, which is more economical.
- Wet/Dry Settings: A “Moist” or “Pulse” mode is crucial for sealing juicy meats or marinated foods without liquid interfering with the seal.
- Additional Functions: Features like a port for sealing accessory hose attachments (for vacuuming containers or wine bottles) add versatility.
A Step-by-Step Guide to Using Your Vacuum Sealer
Using your machine correctly is vital for optimal results and safety.
- Preparation: Cut your food into portion-sized pieces. Blanch vegetables before freezing. Pat dry any surface moisture on meats, fish, or fruits with a paper towel.
- Bagging: Place food inside the vacuum bag, leaving at least 2-3 inches between the food and the top of the bag. For foods with sharp edges (bones, pasta), use a protective bag or cushion the edges to prevent punctures.
- Sealing: Place the open end of the bag into the sealing channel. For external sealers, ensure the bag’s end is flat and aligned. Select the appropriate mode (Dry/Moist) and start the cycle. The machine will automatically vacuum the air and create a heat seal.
- Post-Sealing: Inspect the seal. It should be smooth, even, and firm. Label the bag with the contents and date before storing it in the refrigerator, freezer, or pantry.
⚠️ Pro Tip for Liquids: For soups or stews, freeze them flat in a silicone tray or container first, then vacuum seal the frozen block. This prevents liquid suction issues and saves storage space.
Creative Uses to Boost Freshness & Organization
Beyond preserving leftovers, vacuum sealers unlock numerous possibilities:
Meal Prepping: Pre-portion and seal complete meals or ingredients. Cook proteins like chicken or fish, vacuum seal them with marinades for deep flavor infusion, and refrigerate or freeze.
Bulk Buying & Sous Vide: Divide large meat packs from wholesale clubs into family-sized portions. Vacuum sealing is also essential for the precise, water-based cooking technique of sous vide, ensuring perfect results every time.
Non-Food Applications: Protect important documents, photos, or first-aid kits from water damage. Preserve collectibles, or organize small hardware items by sealing them in bags.
Maintenance for Longevity
Regular care ensures your machine lasts for years. Always unplug it before cleaning. Wipe the sealing strip and vacuum channel with a damp cloth after each use to remove crumbs or moisture. Empty the drip tray if your model has one. Periodically check the seal bar for residue and clean it gently with a cotton swab and rubbing alcohol. Store the machine in a cool, dry place.
Frequently Asked Questions (FAQs)
1. Can I reuse vacuum sealer bags?
It is not generally recommended. The heat seal creates a permanent bond. While you can wash and reuse bags that were only used for dry goods and were cut open (not torn), the integrity of the seal on the second use is not guaranteed, risking air leakage and spoilage. For environmental and economic reasons, using rolls to create custom-sized bags is a better approach.
2. Is it safe to vacuum seal raw mushrooms or soft cheeses?
Caution is advised. Some anaerobic bacteria (like botulism) can grow in oxygen-free environments. For low-acid, moist foods like these, they should only be vacuum-sealed if they are to be frozen immediately and kept frozen until use. For refrigerator storage, it’s safer to use traditional methods or consume quickly.
3. Why did my bag not seal properly?
Common causes include: moisture or food particles on the sealing area, a wrinkled bag edge, overfilling the bag, using the wrong bag type (not designed for heat sealing), or a worn-out sealing strip. Ensure everything is clean, dry, and flat, and refer to your machine’s manual for troubleshooting specific models, similar to maintaining more complex packaging machinery.
4. What’s the difference between a “Food Saver” and a vacuum sealer?
“Food Saver” is a popular brand name for external vacuum sealers. The term is often used generically, like “Kleenex” for tissues. All Food Savers are vacuum sealers, but not all vacuum sealers are Food Savers. When shopping, focus on the machine’s type and features rather than the brand name alone.
5. Can I vacuum seal liquids?
With a standard external sealer, sealing pure liquids is challenging as they can be sucked into the machine, damaging it. Use the “Moist” setting and freeze the liquid first, or use a chamber vacuum sealer designed specifically for liquid and wet products, a common feature in commercial liquid packaging systems.