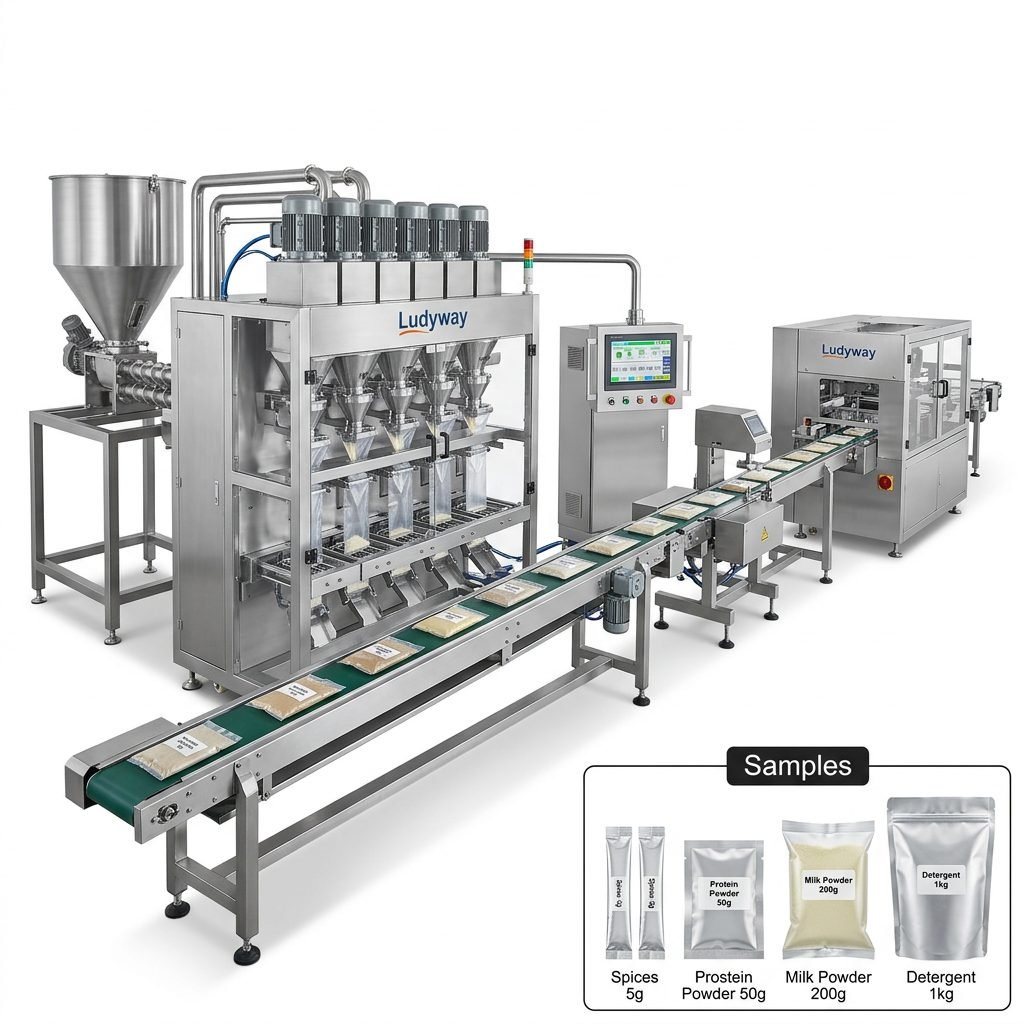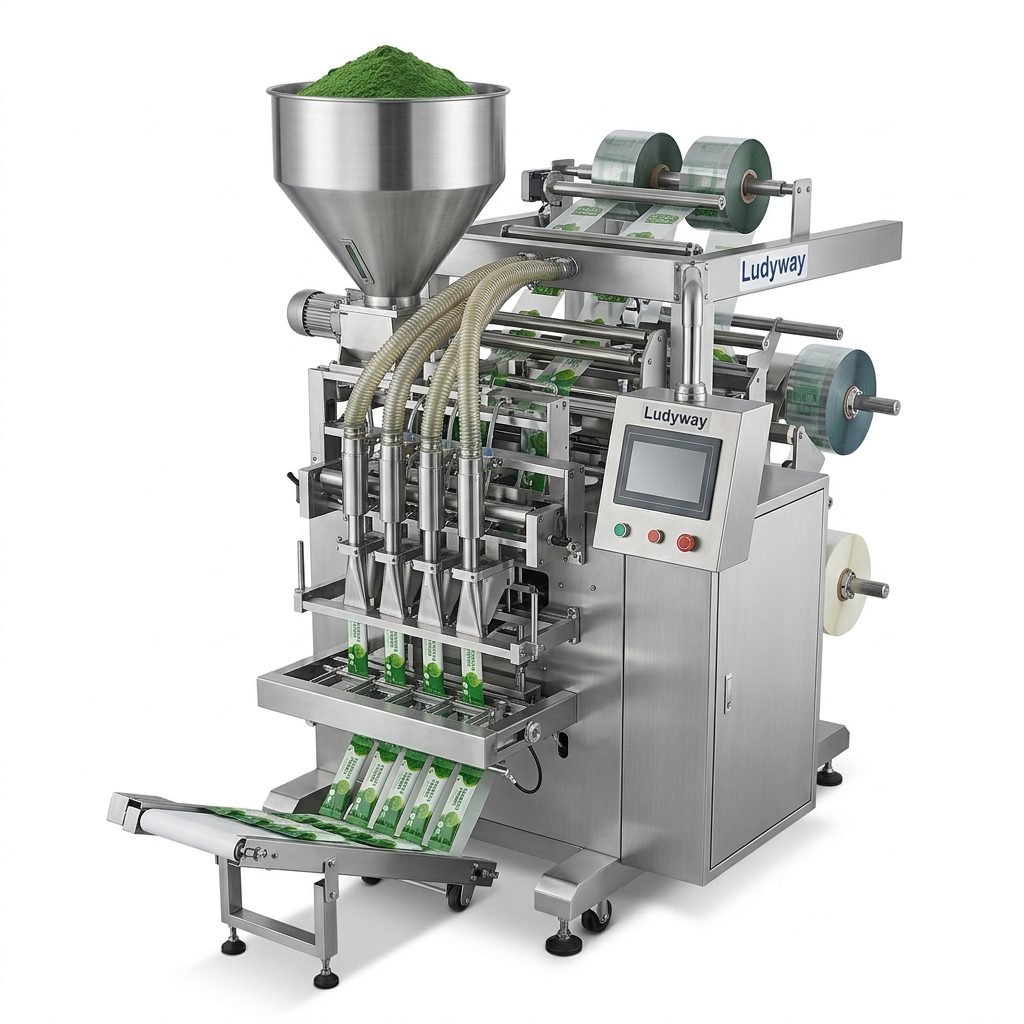
In today’s fast-paced world, preserving the freshness, flavor, and shelf life of food and other perishable items is a top priority for households and small businesses alike. Whether you’re a home cook looking to reduce waste, a small-scale food producer, or an entrepreneur selling specialty goods, a portable vacuum packaging machine can be a game-changer. This guide will walk you through everything you need to know to choose the best machine for your needs and use it effectively to protect your products.
Why Invest in a Portable Vacuum Sealer?
Portable vacuum sealers offer a compact, user-friendly solution for removing air from specially designed bags or containers. This process, known as vacuum packaging, significantly slows down spoilage by inhibiting the growth of bacteria, yeast, and mold that require oxygen. The benefits are substantial:
✔ Extended Freshness: Keep meats, cheeses, vegetables, and leftovers fresh for 3-5 times longer than conventional storage.
✔ Prevent Freezer Burn: Create an airtight barrier that locks in moisture and flavor during freezing.
✔ Space Efficiency: Vacuum-sealed bags conform to the shape of the contents, saving valuable refrigerator and freezer space.
✔ Versatility: Perfect for meal prepping, marinating foods faster, and protecting non-food items like important documents, electronics from moisture, or collectibles.
Key Features to Consider When Choosing Your Machine
Not all portable vacuum sealers are created equal. To find the right one, evaluate these critical features based on your intended use.
1. Suction Power and Vacuum Strength
The core function of the machine. Measured in Pascal (Pa) or simply as “strong,” “medium,” or “gentle” suction modes. For denser foods like meats or for commercial pre-packaging, a stronger vacuum is essential to remove maximum air. Many models offer adjustable settings, including a gentle mode for delicate items like soft berries or pastries to prevent crushing.
2. Seal Quality and Bar Width
A strong vacuum is useless without a perfect, airtight seal. Look for machines with a wide sealing bar (often dual-seal bars) and a high-wattage heating element. A good seal is uniform, with no gaps or weak spots. Some advanced models feature automatic seal detection.
3. Portability and Design
True portability means the device is lightweight, cordless (rechargeable via USB-C is a modern advantage), and ergonomically designed for easy handling. Consider its footprint for storage. For small businesses, a semi-portable model that is compact but plugs into an outlet might offer more consistent power for high-volume tasks.
4. Bag Compatibility and Accessories
Most portable sealers work with specific rolls of bag material that you cut to size. Ensure the machine is compatible with readily available, affordable bag rolls. Some can also seal pre-made bags or have attachments for vacuuming air from special containers or wine bottles. Check if it includes a starter roll and cutter.
5. Ease of Use and Maintenance
Operation should be intuitive: often a single button to start the vacuum and seal process. A clear indicator light system is helpful. The machine should be easy to clean—look for a design where the sealing area is accessible and doesn’t trap food particles.
Step-by-Step Guide to Using Your Vacuum Sealer
Mastering your vacuum sealer ensures optimal results and longevity of the device.
Step 1: Preparation is Key
Before sealing, prepare your items. For foods, pat dry any surface moisture with a paper towel, as liquid can interfere with the seal and be sucked into the machine. Arrange items in a single layer when possible. For sharp or bony foods (like ribs), place a piece of paper towel or a specialized protective pad over the points to prevent puncturing the bag.
Step 2: Cutting and Filling the Bag
Cut a section of bag roll longer than you think you need, leaving ample space (at least 2-3 inches) above the contents. Place your items inside, ensuring they don’t touch the top where the seal will be formed. For liquids or wet foods, partially freeze them first or use the “Pulse” or “Moist” setting if your machine has one.
Step 3: Initiating the Vacuum and Seal
Insert the open end of the bag into the machine’s sealing channel, ensuring it is flat and straight. Close the lid or press the unit down to activate the suction. You will hear the machine remove the air; the bag will shrink tightly around the contents. The process automatically progresses to the sealing phase, where the bar heats up to melt the bag layers together. Wait for the indicator light to signal completion.
Step 4: Post-Sealing and Storage
Once sealed, let the bar cool for a few seconds before removing the bag. Check the seal by gently pulling on it. Label the bag with the contents and date using a permanent marker. Store based on your plan: immediately freeze, refrigerate, or place in your pantry.
Pro Tip for Small Businesses: Consistency is vital for product presentation. Develop a standard operating procedure (SOP) for packaging that includes exact bag sizes, weight/portion guidelines, and seal inspection. This ensures every product looks professional and maintains quality. Partnering with a reliable supplier for your packaging materials and equipment is crucial for smooth operations. Companies like Ludyway Packing Machine, with decades of experience in packaging solutions, can be a valuable resource for durable equipment and professional advice, even for smaller-scale needs.
Applications for Home and Small Business
For the Home Kitchen:
- Bulk Buying & Meal Prep: Portion and seal large packs of meat, poultry, or fish for easy weekly cooking.
- Garden Harvest: Preserve herbs, blanched vegetables, and fruits from your garden at their peak.
- Sous-Vide Cooking: Vacuum sealing is essential for this precise cooking method.
- Travel & Camping: Create leak-proof, space-saving packs for snacks and ingredients.
For Small Businesses:
- Cottage Food Producers: Package baked goods, dry spice mixes, coffee beans, or jerky with a professional, airtight finish that extends shelf life for retail.
- Small-Scale Catering/Meal Delivery: Pre-portion ingredients or complete meals, ensuring freshness and simplifying logistics.
- Specialty Retail: Package delicate products like artisan cheeses, smoked meats, or high-end pet treats. A reliable sealer is an investment in product quality and customer satisfaction. Exploring intelligent packaging machine models can provide insights into more automated options as your business grows.
- E-commerce & Shipping: Protect non-food items like crafts, metal parts, or documents from moisture and dust during storage and shipping.
Maintenance and Troubleshooting
Regular care keeps your machine running smoothly. Always unplug or power off the device before cleaning. Wipe the sealing bar and channel with a soft, dry cloth after each use to remove any residue. Never submerge the unit in water. For sticky residue, use a cloth slightly dampened with a mild cleaner, but avoid getting moisture into the electrical components.
Common Issues:
- Weak or No Vacuum: Check the bag for punctures, ensure the bag mouth is properly positioned in the channel, and clear any debris from the vacuum port.
- Poor Seal: The sealing bar might be dirty. Clean it thoroughly. The bag might be wrinkled at the seal point, or the contents may be too close to the top, introducing moisture.
- Machine Stops Mid-Cycle: This is often an automatic overheating protection feature. Turn it off and let it cool down for 15-20 minutes.
For persistent technical issues, consult the manufacturer’s manual. Choosing equipment from a provider known for professional service and quality-focused manufacturing ensures you have access to support when needed.
Frequently Asked Questions (FAQs)
1. Can I reuse vacuum sealing bags?
It is generally not recommended. The sealing process melts the plastic layers together. Cutting open the seal weakens the bag’s integrity, and it is nearly impossible to get a perfect, airtight seal a second time with a home machine. For the best food safety and preservation results, use new bags each time.
2. Is vacuum packaging a substitute for refrigeration or freezing?
No. Vacuum packaging extends shelf life by removing oxygen, but it does not kill all spoilage microorganisms. Perishable foods like meat, poultry, fish, and dairy must still be refrigerated or frozen. Vacuum packaging is a complementary preservation method, not a replacement for proper temperature control.
3. What types of foods should NOT be vacuum sealed?
Avoid vacuum sealing raw mushrooms and onions (they release gases and can inflate the bag), soft cheeses like brie (they can be crushed), and freshly baked bread with a hard crust (it can get crushed). Also, never vacuum package raw garlic or onions in oil at room temperature, as this can create a risk for botulism.
4. How do I choose between a handheld portable sealer and a countertop chamber sealer?
Handheld/portable sealers are affordable, compact, and ideal for occasional home use or dry goods. Chamber vacuum sealers are larger, more expensive, and professional-grade. They can seal liquids effortlessly and use cheaper, non-textured bags, making them more cost-effective for high-volume small businesses, especially those dealing with soups, sauces, or marinated products.
5. My portable sealer struggles with moist foods. What can I do?
Most portable sealers have a “Moist” or “Pulse” setting. Use this for damp foods. The pulse function lets you manually control the vacuum, allowing you to stop it before liquid reaches the seal area. For very wet items, the best practice is to freeze them solid first, then vacuum seal. Alternatively, consider if a chamber vacuum sealer would be a better long-term investment for your business needs.