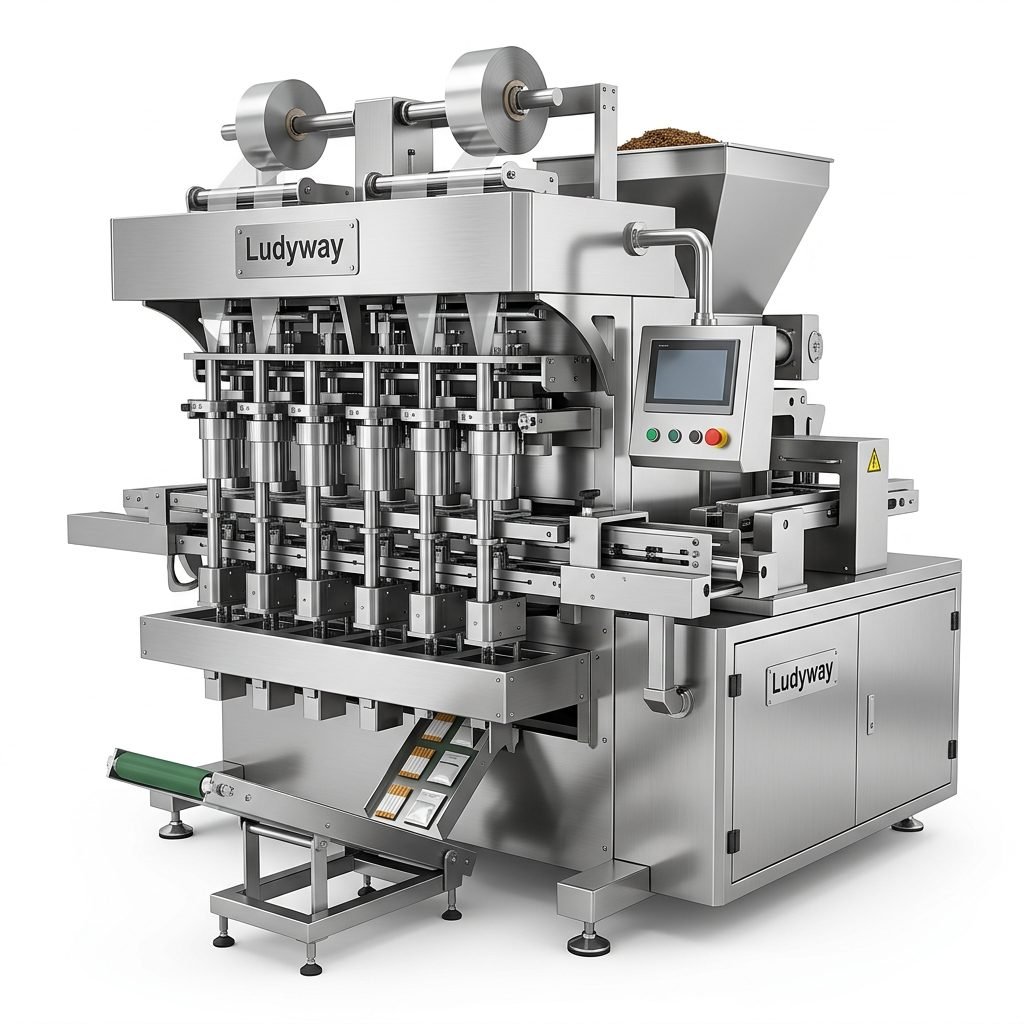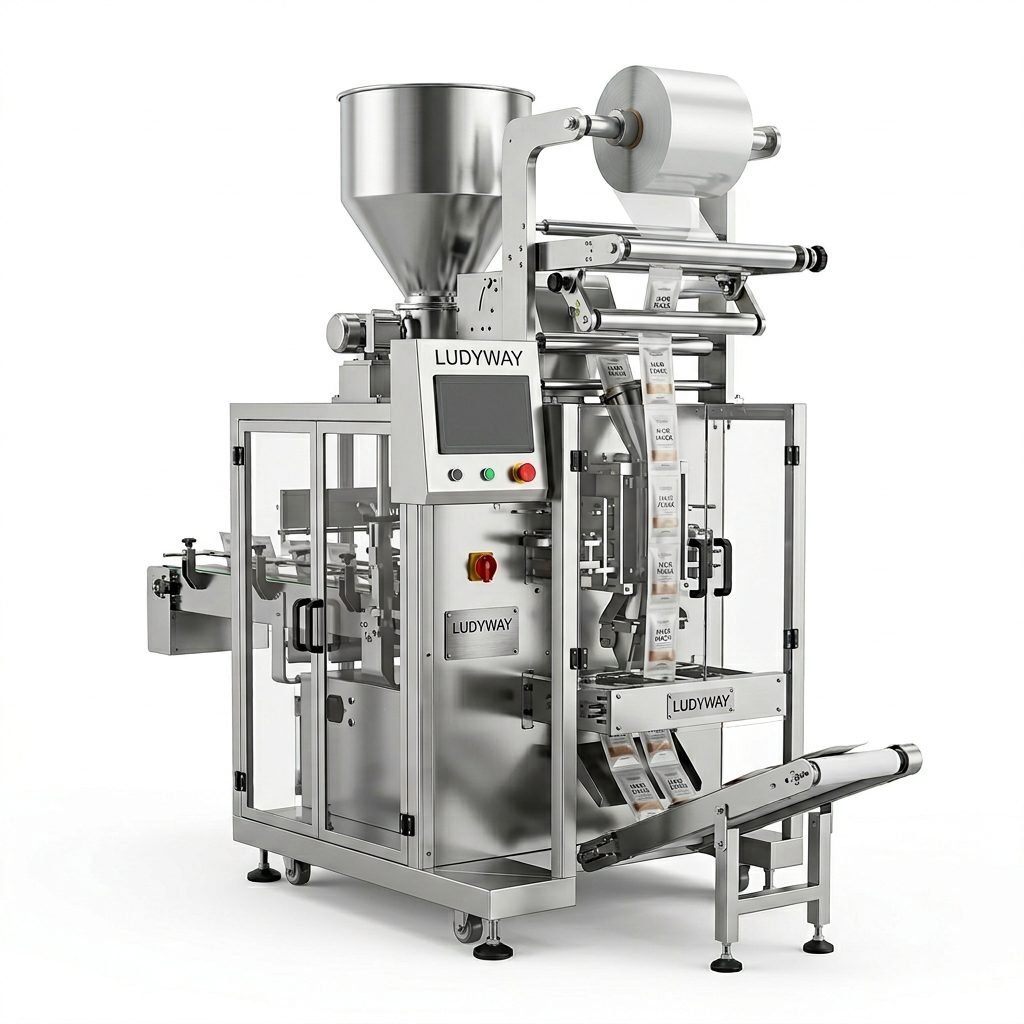
Installing a new packaging machine correctly is one of the most important steps in achieving stable output, accurate filling, safe operation, and long-term equipment performance. A rushed or poorly planned installation can lead to alignment issues, product waste, frequent downtime, safety risks, and expensive rework. Whether you are setting up a single unit or a complete packaging line, a structured approach will help your team reduce startup errors and reach production targets faster.
For manufacturers in food, pharmaceutical, health supplement, cosmetic, and chemical industries, successful installation starts long before the machine arrives. It includes site planning, utility checks, unloading procedures, assembly verification, electrical and pneumatic connection, commissioning, operator training, and performance validation.
Why Proper Packaging Machine Installation Matters
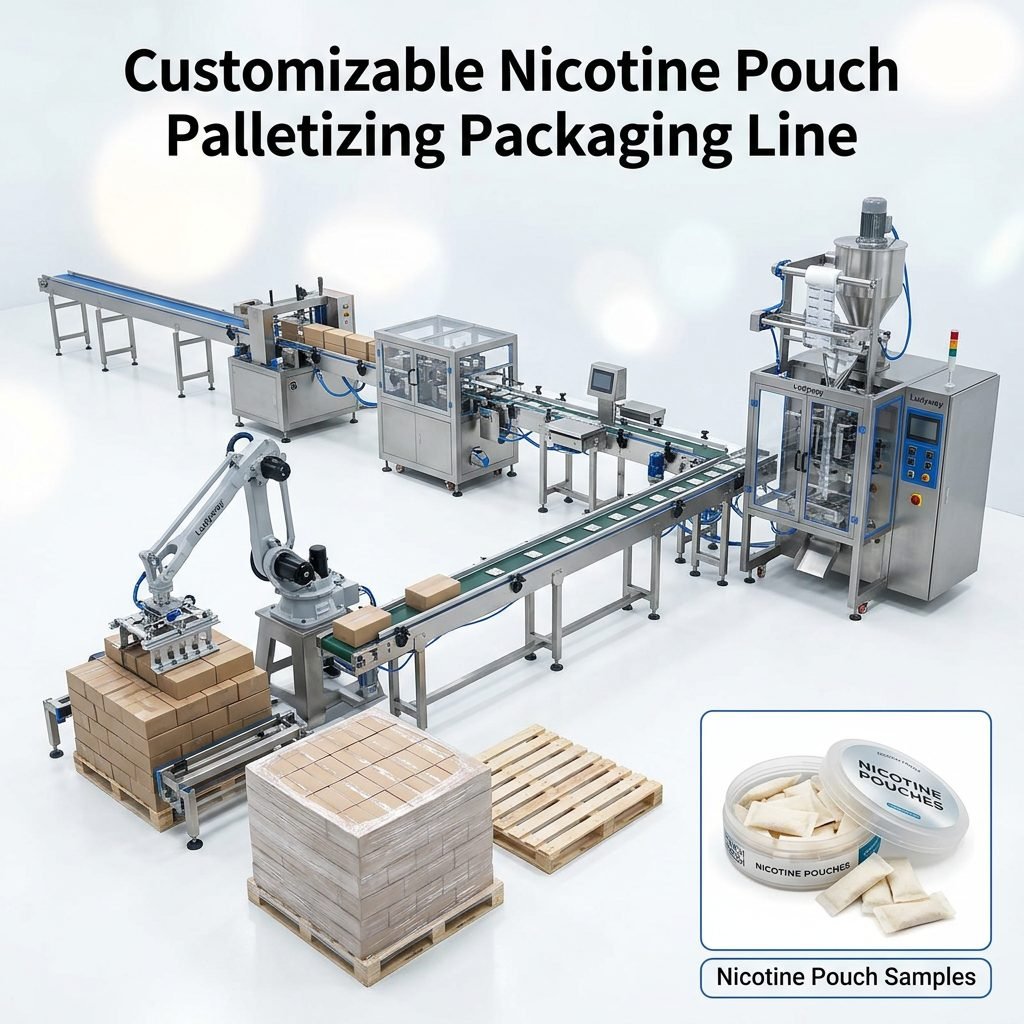
A packaging machine is not just a standalone asset. It interacts with upstream feeding equipment, downstream conveyors, coding systems, checkweighers, sealing stations, cartoners, and palletizing units. If the installation is off by even a small margin, the entire production flow can become unstable.
- Improves startup efficiency by reducing troubleshooting time
- Protects machine accuracy for filling, sealing, and cutting operations
- Supports operator safety through correct guarding and electrical connection
- Extends equipment life by preventing vibration, overload, and misalignment
- Helps maintain product quality across every batch
Step 1: Confirm the Installation Site Before Delivery
Before the machine is shipped, review the production area carefully. This is where many companies avoid costly delays. The available floor space must match the machine layout, maintenance access zones, and material flow path.
Key site preparation checks
- Measure the equipment footprint and surrounding service space
- Check floor flatness and load-bearing capacity
- Ensure enough height clearance for hoppers, lifts, or feeders
- Verify door width, corridor width, and unloading path
- Prepare adequate lighting and ventilation
- Separate clean and non-clean production zones if required
For food and pharmaceutical facilities, installation should also align with hygiene standards, cleaning procedures, and validation requirements. If your machine handles powders, liquids, granules, or sensitive formulations, environmental conditions such as humidity, room temperature, and dust control should be assessed in advance.
| Preparation Item | Why It Matters |
|---|---|
| Floor level | Prevents vibration, frame distortion, and inaccurate filling |
| Utility access | Ensures smooth connection to power, air, and other services |
| Operator clearance | Allows safe use, cleaning, and maintenance |
| Material flow | Reduces bottlenecks and unnecessary product handling |
Step 2: Verify Utilities and Technical Requirements
Every packaging machine requires matching site utilities. These may include electrical power, compressed air, vacuum, water cooling, steam, nitrogen, or exhaust systems depending on machine type and application.
Utility points to confirm
- Voltage, frequency, and phase match the machine specification
- Compressed air pressure and quality meet operating range
- Cable size and breaker capacity are properly rated
- Grounding is available and compliant
- Network ports are ready for HMI, PLC, or remote support if needed
Never connect the machine without checking the technical manual and nameplate data first. Incorrect power supply is one of the most common causes of startup failure and component damage.
Step 3: Inspect the Machine on Arrival
Once the equipment reaches your facility, inspect the shipment before moving it into production. Shipping vibration, handling impact, or moisture exposure can affect components if not detected early.
Arrival inspection checklist
- Check packaging condition and crate integrity
- Confirm model, serial number, and ordered configuration
- Inspect machine frame for dents, scratches, or deformation
- Verify accessories, spare parts, tooling, manuals, and certificates
- Review sensor mounts, wiring terminals, guarding, and sealing assemblies
- Take photos of any damage for records and claims
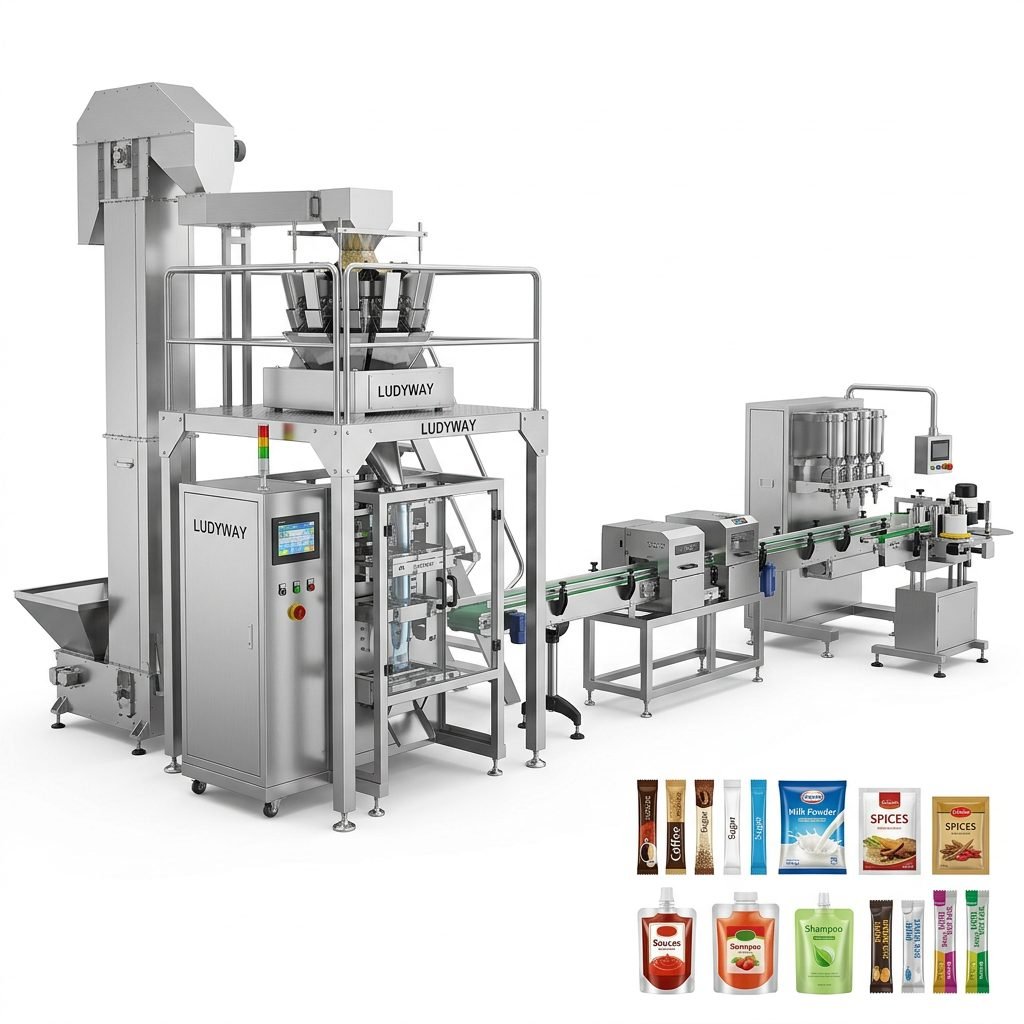
If the machine is part of a full line, verify that conveyors, feeders, coding units, inspection systems, and discharge equipment all arrived together and match the approved layout.
Step 4: Move and Position the Equipment Safely
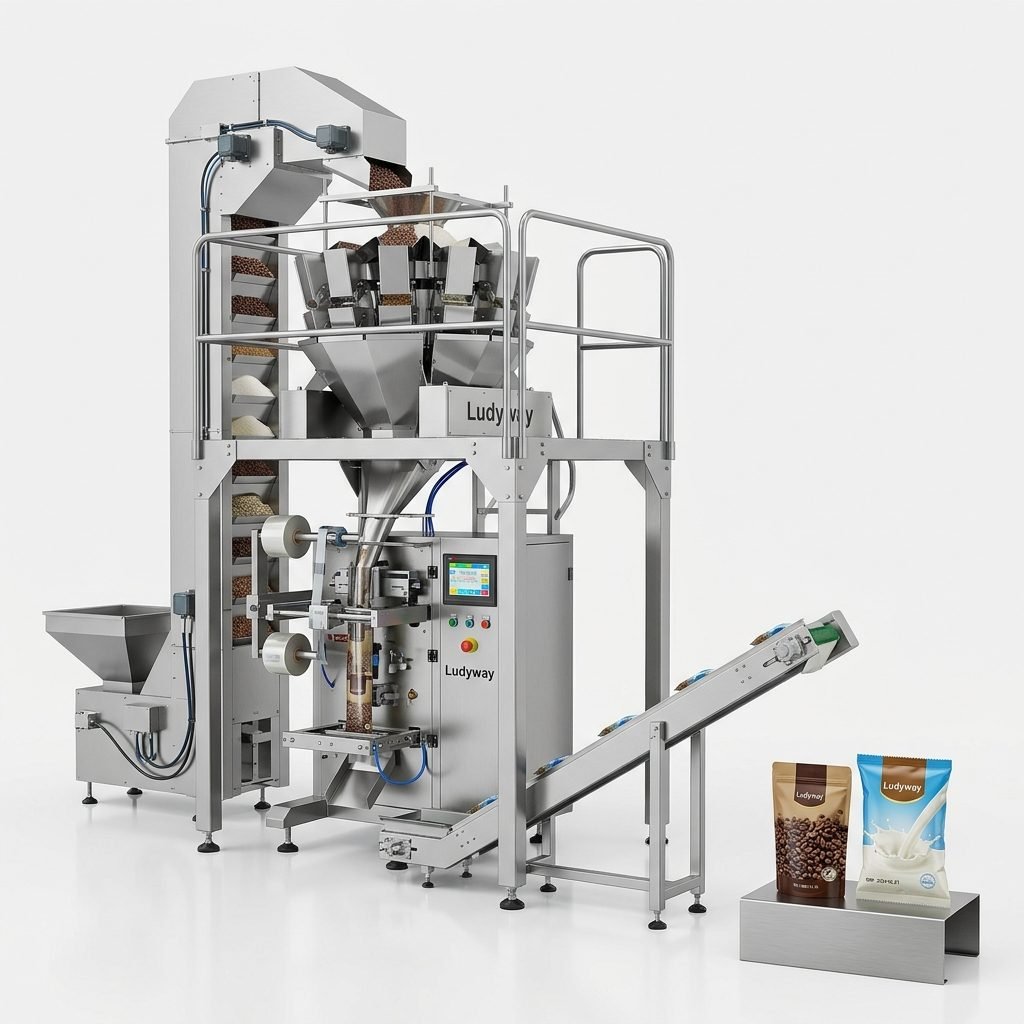
Positioning should follow the installation drawing provided by the manufacturer. Avoid lifting the machine from incorrect points. Use forklifts, cranes, or skates only where approved.
- Use designated lifting points
- Protect sensors, touch screens, and guarding during movement
- Keep the machine upright unless the manufacturer allows otherwise
- Set the machine on a clean, stable, and dry surface
- Leave enough space for maintenance doors and product loading
After positioning, level the machine carefully. An unlevel machine can cause poor film tracking, inconsistent filling, sealing defects, conveyor drift, and abnormal wear.
Step 5: Assemble Components According to the Layout
Some machines are delivered in modules to simplify transport. These may include the main frame, feeder, hopper, discharge conveyor, printer bracket, dust cover, or palletizing section. Assemble each part in sequence based on the approved layout drawing.
During assembly, check the following
- All bolts and fasteners are tightened to the correct torque
- Conveyors are aligned with infeed and outfeed points
- Guarding panels are fixed securely
- Pneumatic tubing is routed without sharp bends
- Cables are organized to avoid pinch points and heat sources
- Product-contact parts are installed cleanly and correctly
If your project includes a turnkey line, make sure every station is aligned for smooth product transfer. Even small offset errors between modules may reduce speed and create jams later.
Step 6: Complete Electrical and Pneumatic Connections
Electrical and pneumatic work should be completed by qualified technicians. Follow local electrical safety codes and lockout procedures throughout the installation.
| Connection Type | Main Checkpoints |
|---|---|
| Electrical | Voltage, polarity, grounding, overload protection, emergency stop circuit |
| Compressed Air | Pressure range, filter condition, moisture removal, leak inspection |
| Data/Network | PLC communication, remote diagnostics, printer or ERP connection |
| Auxiliary Utilities | Vacuum, cooling, exhaust, nitrogen, or water lines if applicable |
Before powering on, confirm that no loose tools, transport brackets, or packaging materials remain inside the machine.
Step 7: Remove Transport Locks and Protective Materials
Many packaging machines are shipped with transport locks, braces, wraps, foam blocks, or temporary fixing parts to protect moving assemblies. These must be removed before startup.
- Check servo axes and sealing units for shipping locks
- Remove protective tape from sensors and guides
- Clean anti-rust oil from designated surfaces if required
- Inspect belts, chains, rollers, and gears for free movement
Skipping this step can result in sudden mechanical damage as soon as the machine is powered up.
Step 8: Perform Initial Mechanical Checks
Before live operation, rotate or jog key moving parts at low speed. Watch for unusual friction, misalignment, or abnormal noise.
Mechanical checkpoints
- Chain and belt tension
- Sealing jaw alignment
- Film roll mounting and guide path
- Auger, pump, or weighing unit rotation direction
- Conveyor tracking and clearance
- Lubrication points and oil levels where applicable
This is the ideal stage to correct small issues before they affect actual packaging materials and products.
Step 9: Power On and Test Control Functions
Once the machine is mechanically ready, begin controlled startup. Power on the system and verify the HMI, indicators, emergency stops, safety doors, alarms, and basic motion functions.
- Switch on the main power supply
- Check HMI boot sequence and parameter access
- Test emergency stop response
- Open and close guards to confirm interlock function
- Jog motors individually at low speed
- Monitor air cylinders, sensors, and actuators
If any alarm appears, stop and solve the cause before moving to the next stage. Never bypass safety interlocks for convenience during commissioning.
Step 10: Calibrate Filling, Sealing, and Detection Systems
Packaging accuracy depends on proper calibration. Different machine types need different calibration methods, but the goal is always the same: stable and repeatable output.
Common calibration tasks
- Set target fill weight or volume
- Adjust sealing temperature, pressure, and dwell time
- Center film tracking and registration mark reading
- Configure cutting length and pouch dimensions
- Calibrate checkweighers, printers, and coding systems
- Verify metal detector or vision inspection sensitivity if included
Use actual packaging material and actual product during final calibration whenever possible. Test runs with substitute materials can help, but they rarely reflect full production behavior.
Step 11: Run Dry Tests First
Before introducing product, run the machine without load. A dry test helps identify motion or timing problems without risking waste.
During the dry run, observe:
- Synchronization between machine stations
- Servo response and acceleration
- Sensor detection timing
- Pneumatic action sequence
- Abnormal sounds, heat, or vibration
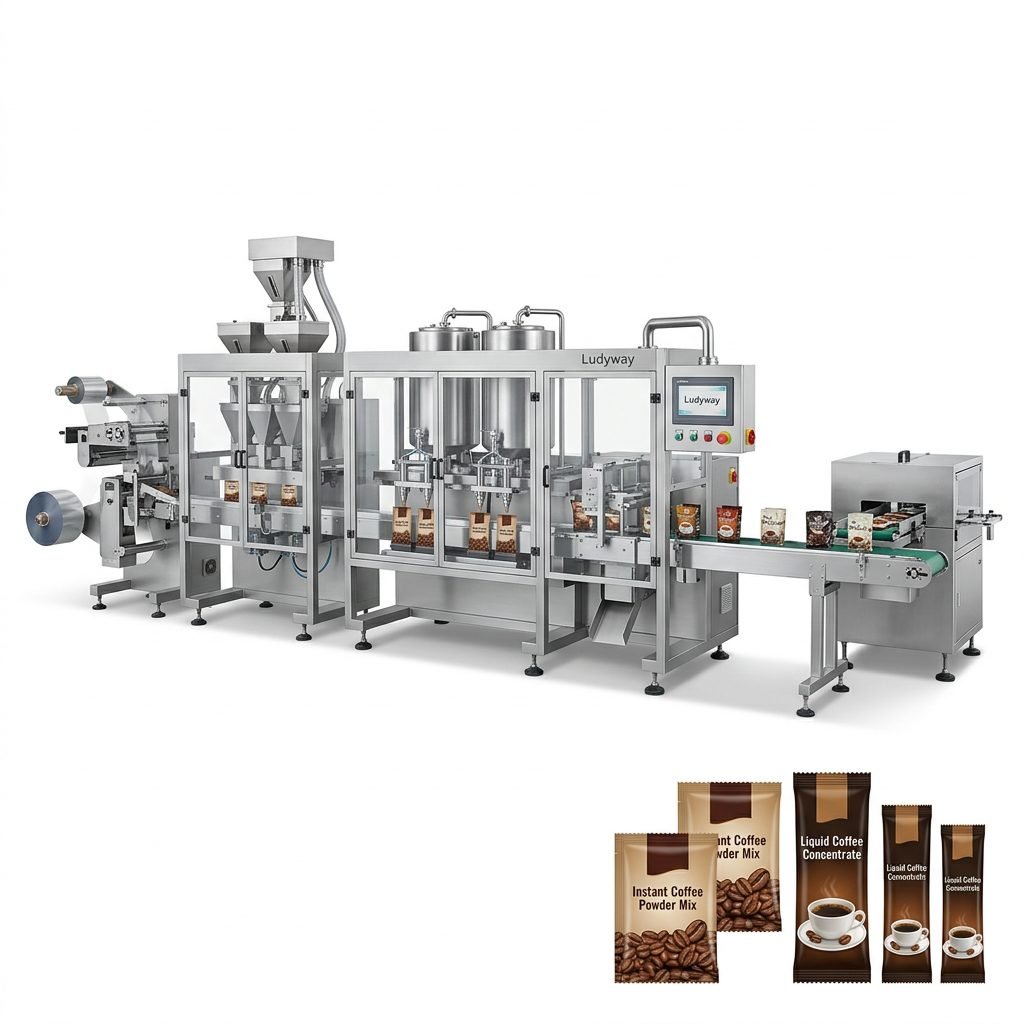
Dry testing is especially useful for high-speed sachet, stick pack, pouch, cartoning, and complete line integration projects.
Step 12: Conduct Product Trial Runs
After dry testing, begin trial production with small batches. Monitor product flow, package integrity, sealing quality, output speed, and reject rates.
What to evaluate in trial runs
- Weight or volume consistency
- Seal strength and leak resistance
- Package appearance and cut quality
- Print position and code readability
- Machine speed stability under real conditions
- Waste rate during startup and steady operation
Do not jump directly to full capacity. Increase output gradually while watching key performance indicators.
Step 13: Validate Safety and Compliance
Once performance is stable, complete a formal safety review. For regulated industries, this may also include documentation, IQ/OQ protocols, traceability records, and internal validation steps.
- Test all safety stops and alarm responses
- Confirm labels, warnings, and lockout points
- Review guarding for rotating and hot parts
- Confirm sanitation and cleanability standards
- Store electrical drawings and manuals for maintenance teams
In pharmaceutical and medical sectors, installation may need to follow stricter qualification procedures. Make sure the machine setup aligns with your site’s quality system.
Step 14: Train Operators and Maintenance Staff
A correctly installed machine still needs a trained team. Operator errors after installation can quickly undo the benefits of a good setup.
| Training Area | Focus |
|---|---|
| Operators | Startup, shutdown, product changeover, cleaning, alarm handling |
| Maintenance Team | Inspection points, wear parts, lubrication, troubleshooting, spare management |
| Quality Team | Packaging integrity, validation checks, parameter records, sampling standards |
Good training reduces downtime, improves consistency, and helps the machine operate as intended from day one.
Step 15: Establish a Post-Installation Maintenance Plan
Installation is only the beginning. A new machine should enter a preventive maintenance program immediately after commissioning.
Recommended post-installation actions
- Create a daily cleaning and inspection checklist
- Track initial wear during the first weeks of operation
- Retighten approved fasteners after early production hours if required
- Record baseline machine settings for future reference
- Stock critical spare parts such as seals, belts, sensors, and cutters
This helps your team maintain stable packaging performance and reduce unexpected stoppages.
Common Mistakes to Avoid When Installing a Packaging Machine
- Ignoring floor leveling requirements
- Connecting incorrect voltage or unstable air supply
- Skipping transport lock removal
- Rushing directly into full-speed production
- Failing to align upstream and downstream equipment
- Not training operators before handover
- Using trial materials that do not match real production conditions
When to Ask the Manufacturer for Installation Support
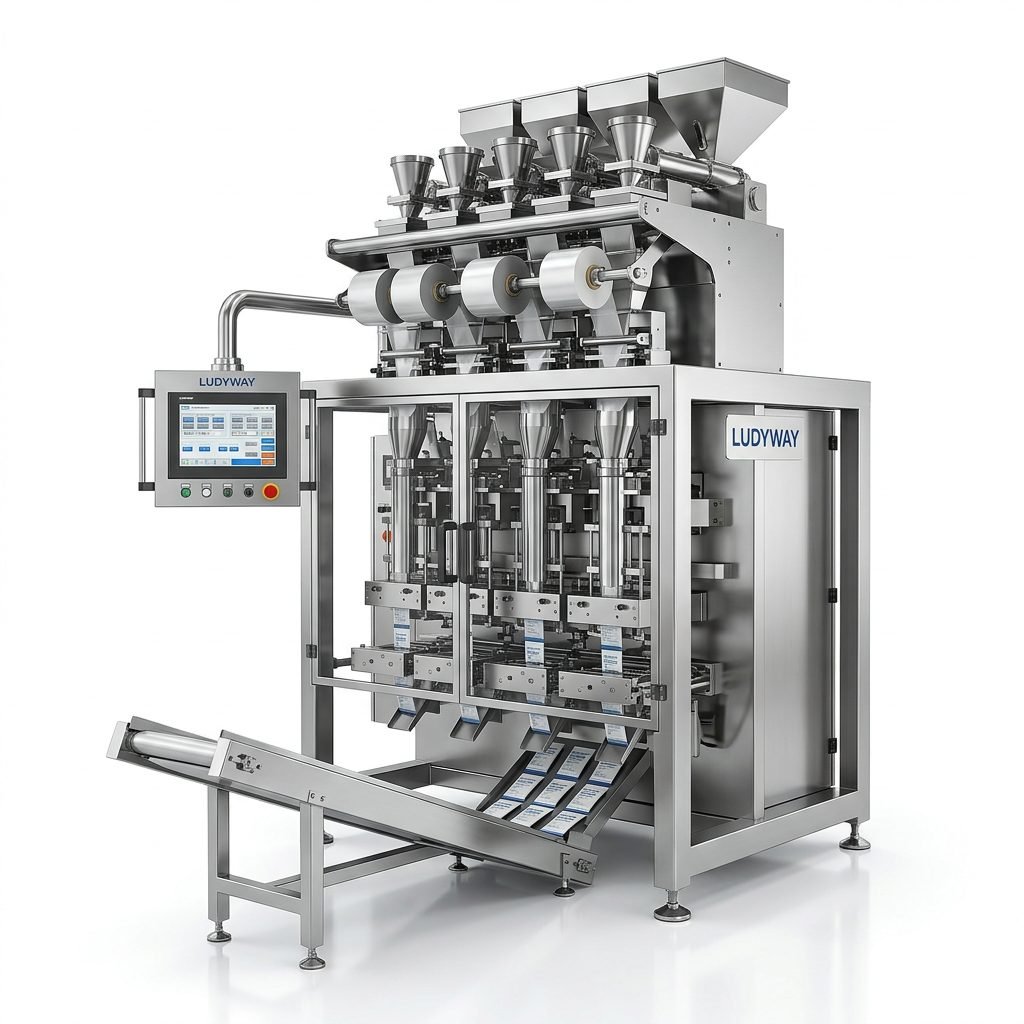
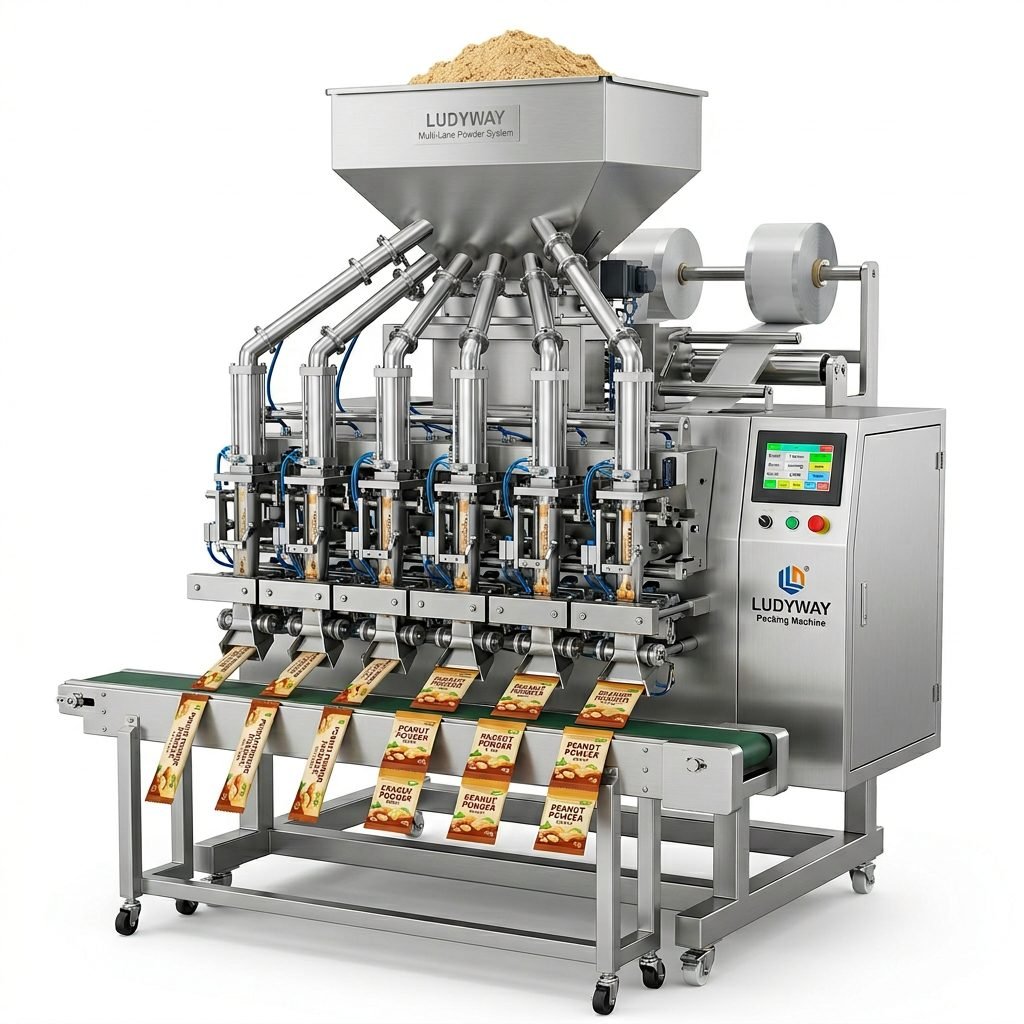
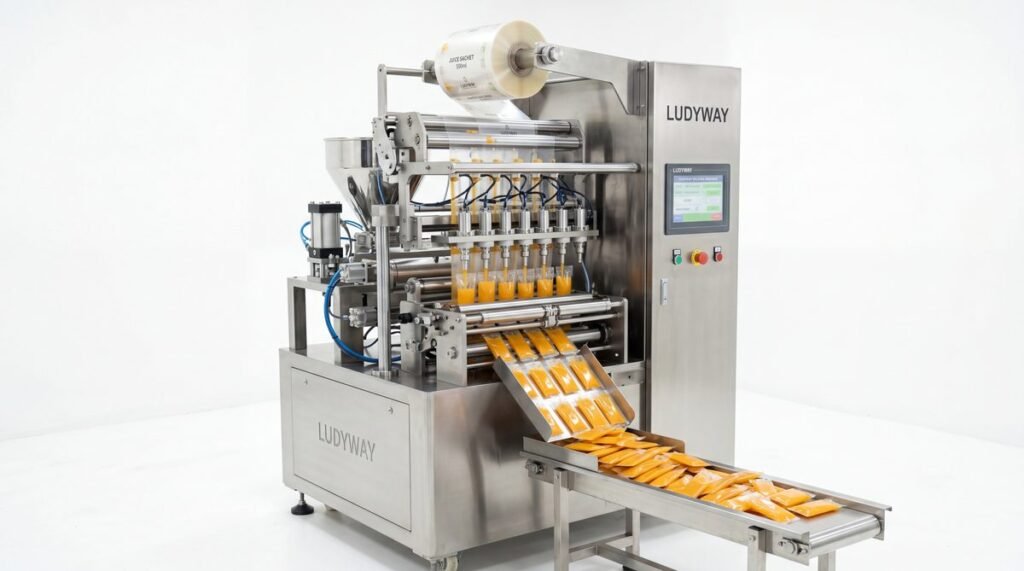
For advanced systems such as multi-lane stick pack machines, pharmaceutical packaging lines, liquid sachet systems, integrated counting and cartoning lines, or turnkey automation projects, manufacturer support is highly recommended. Professional installation assistance can improve line balance, parameter tuning, and long-term reliability.
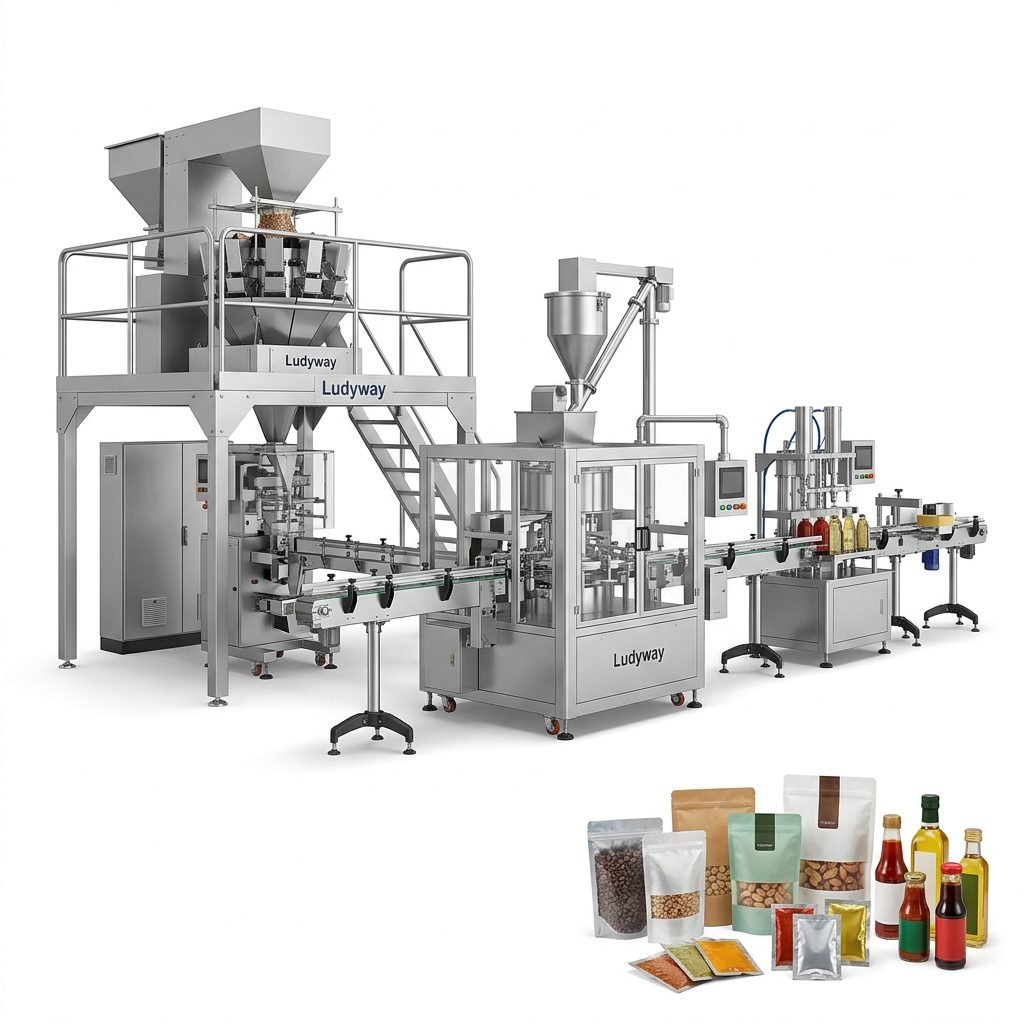
If you are planning a new setup or line expansion, working with an experienced supplier such as Ludyway packaging machine manufacturer can help simplify layout planning, machine integration, commissioning, and technical support for different packaging formats and industries.
Final Installation Checklist
- Site prepared and measured
- Utilities verified
- Shipment inspected
- Machine safely positioned and leveled
- Modules assembled correctly
- Electrical and pneumatic connections completed
- Transport locks removed
- Mechanical motion checked
- Control system tested
- Calibration completed
- Dry run successful
- Product trial approved
- Safety validated
- Staff trained
- Maintenance plan launched
Installing a new packaging machine correctly is a structured process, not a single event. When each step is completed carefully, your operation gains a faster startup, lower risk, better package quality, and stronger return on investment.