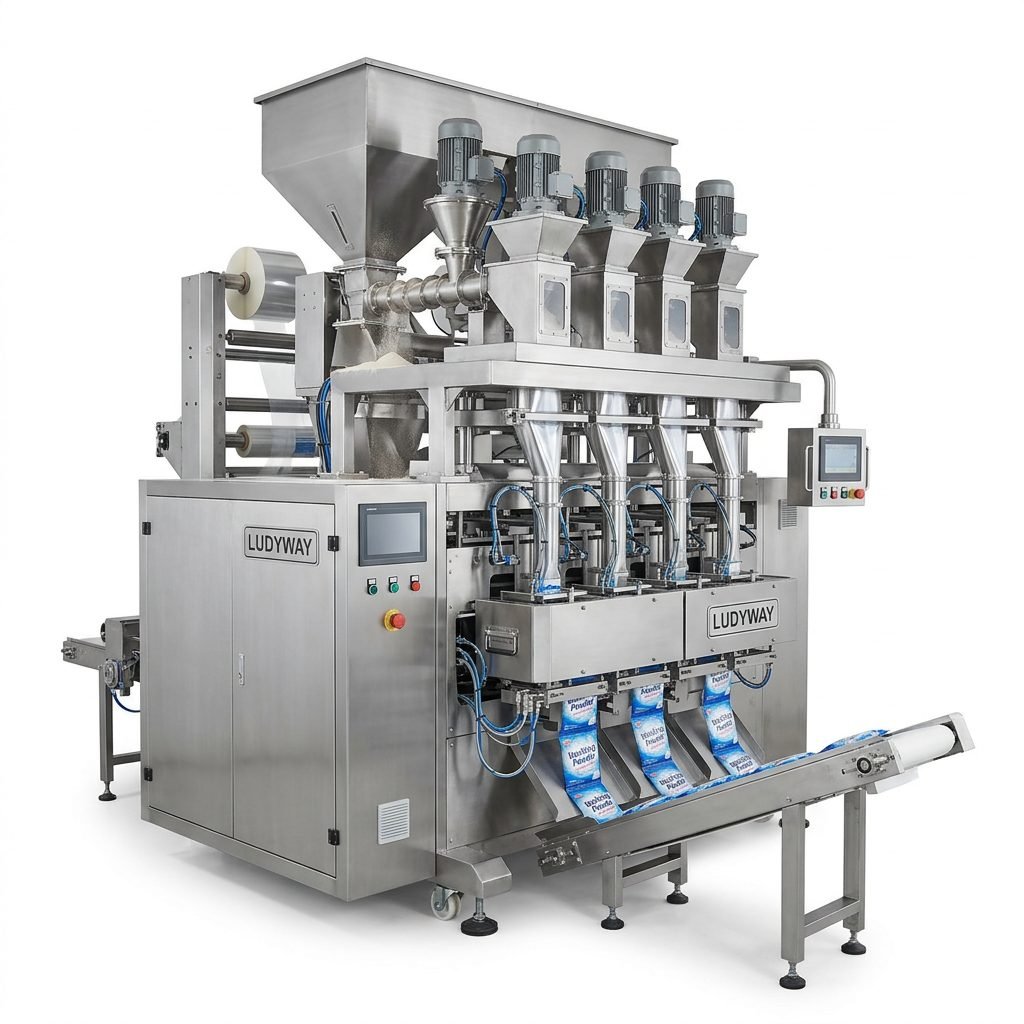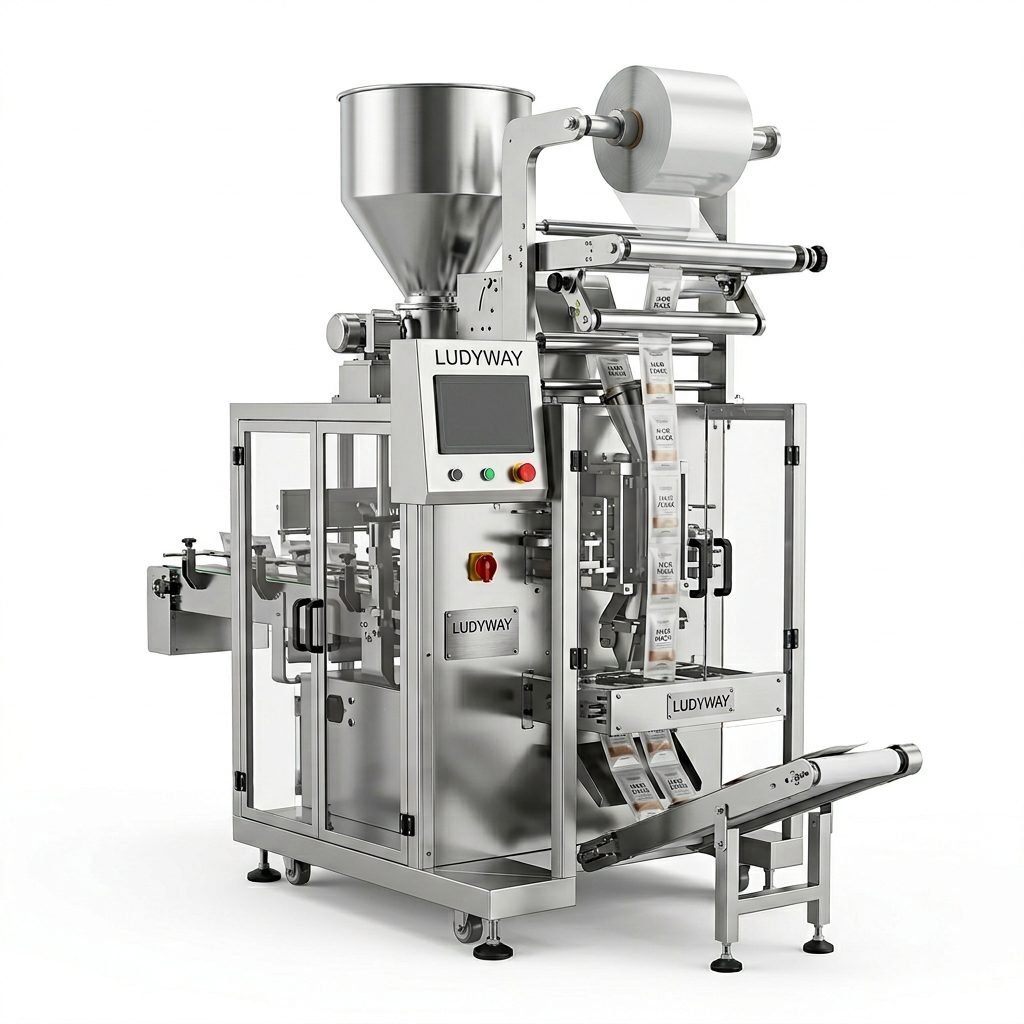
Choosing the right home food packaging machine can transform your kitchen from a simple cooking space into a hub of efficiency and freshness preservation. Whether you’re meal prepping for the week, preserving garden harvests, or simply looking to reduce food waste, a reliable sealer is an invaluable tool. This guide will walk you through everything you need to know to select the perfect machine for your culinary needs.
Understanding Your Packaging Needs
Before diving into specifications and brands, it’s crucial to assess what you’ll primarily use the machine for. Are you sealing leftovers, portioning bulk purchases, or preparing sous-vide meals? The intended use dictates the type of machine and features you require.
Key Considerations:
- Frequency of Use: Daily use demands a more durable, commercial-grade machine, while occasional use may suit a simpler model.
- Food Types: Will you be sealing dry goods, liquids, or items with sharp edges? This affects bag material and sealer type.
- Storage Space: Countertop vacuum sealers require dedicated space, while handheld models are more compact.
- Budget: Prices range from basic manual sealers to fully automatic systems.
Types of Home Food Sealers
There are several main categories of food packaging machines designed for home kitchens. Each has its own advantages and ideal use cases.
1. Vacuum Sealers
These machines remove air from a special bag before sealing it, significantly extending food shelf life. They are perfect for meat, cheese, and prepared meals.
Pros & Cons
✓ Pros: Excellent for long-term freezer storage, prevents freezer burn, ideal for sous-vide cooking.
✗ Cons: Requires specific vacuum bags, can be bulky, higher initial cost.
2. Heat Sealers (Impulse Sealers)
These devices use a heated wire or bar to melt and fuse plastic bags shut. They are simple, affordable, and great for sealing bags of dry goods, snacks, or pre-portioned ingredients.
3. Handheld Vacuum Sealers
Compact and portable, these devices typically work with special bags or containers and a handheld vacuum pump. They are a good space-saving option for light to moderate use.
Essential Features to Look For
Not all sealers are created equal. Paying attention to these features will ensure you get a machine that performs reliably.
Sealing Quality and Width
A strong, consistent seal is non-negotiable. Look for a sealer with a wide sealing bar (often 30cm or more) to handle larger bags in one pass. Double seals provide extra security, especially for liquids.
Vacuum Power and Settings
For vacuum sealers, suction power is measured in bar or Pascal. A more powerful vacuum removes more air. Moisture settings are critical for sealing wet or juicy foods without liquid interfering with the seal.
Ease of Use and Cleaning
An intuitive control panel, bag roll storage, and a built-in cutter add convenience. Removable drip trays and smooth, wipeable surfaces make maintenance simple.
🛠️ Pro Tip: Look for Versatility
Many modern vacuum sealers offer an “External Port” function. This allows you to use the machine’s vacuum pump with specially designed containers or wine bottle stoppers, greatly expanding its utility beyond just bags.
Choosing the Right Bags and Materials
The machine is only half the equation. Using the correct bags is essential for food safety and seal integrity.
Bag Material: Food-grade, BPA-free polyethylene or multi-layered nylon/polyethylene are standard. Ensure they are compatible with your sealer type (smooth for vacuum sealers, textured for some handheld models).
Bag Size: Having a variety of sizes on hand is practical. Consider buying rolls that you can cut to custom lengths to minimize waste.
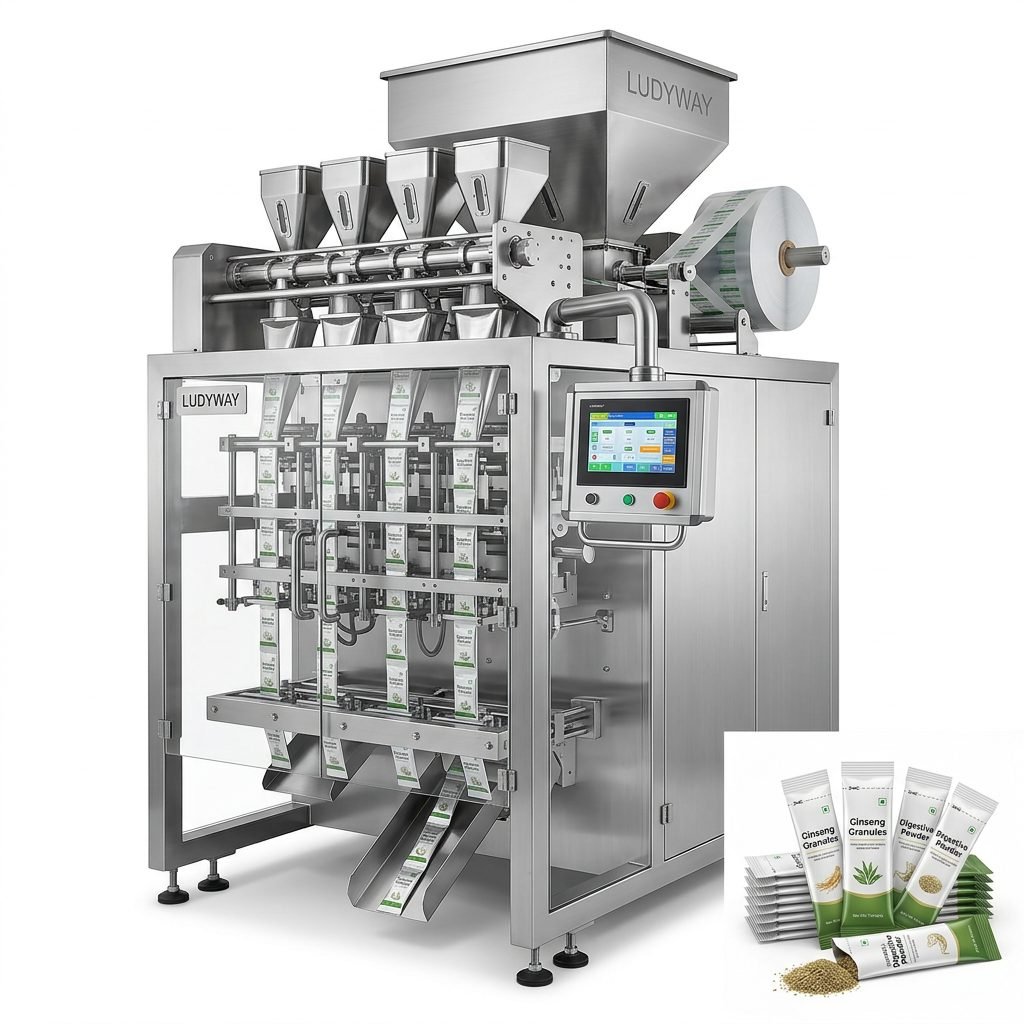
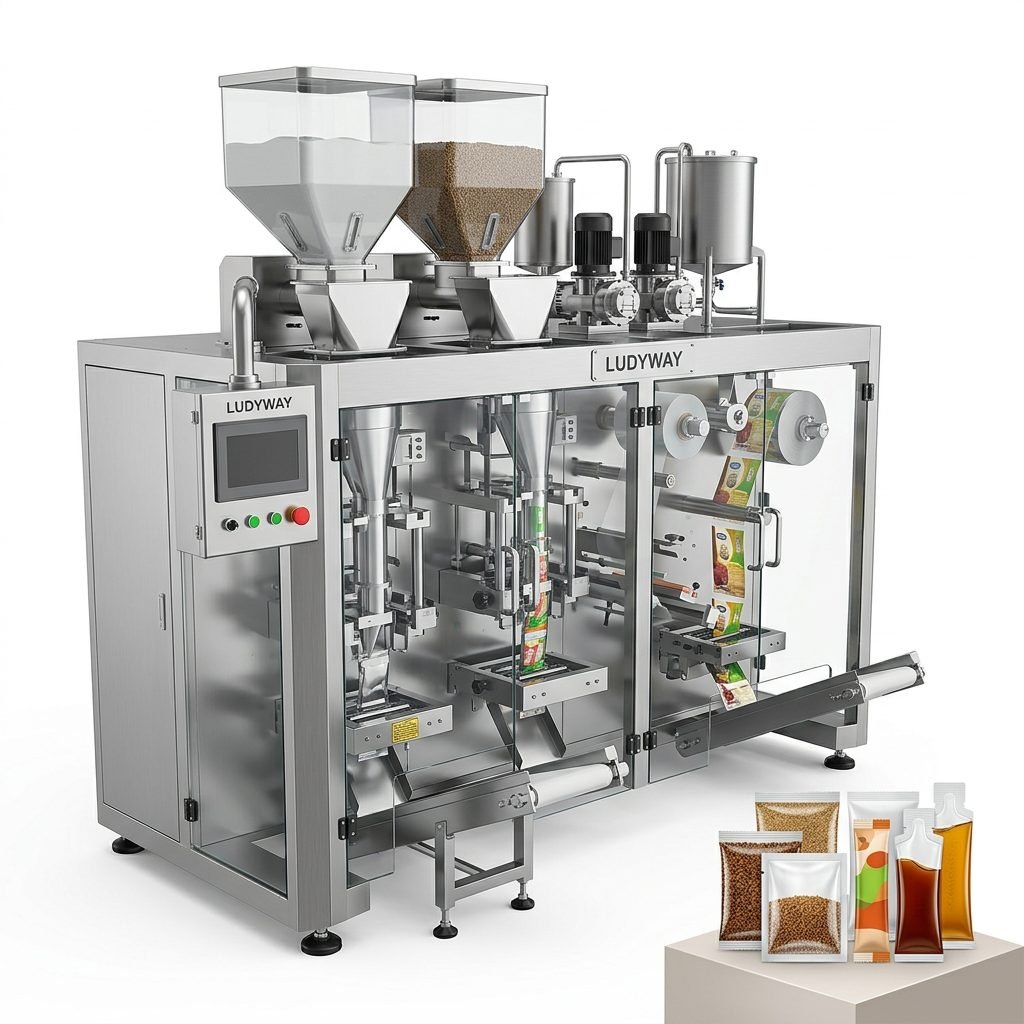
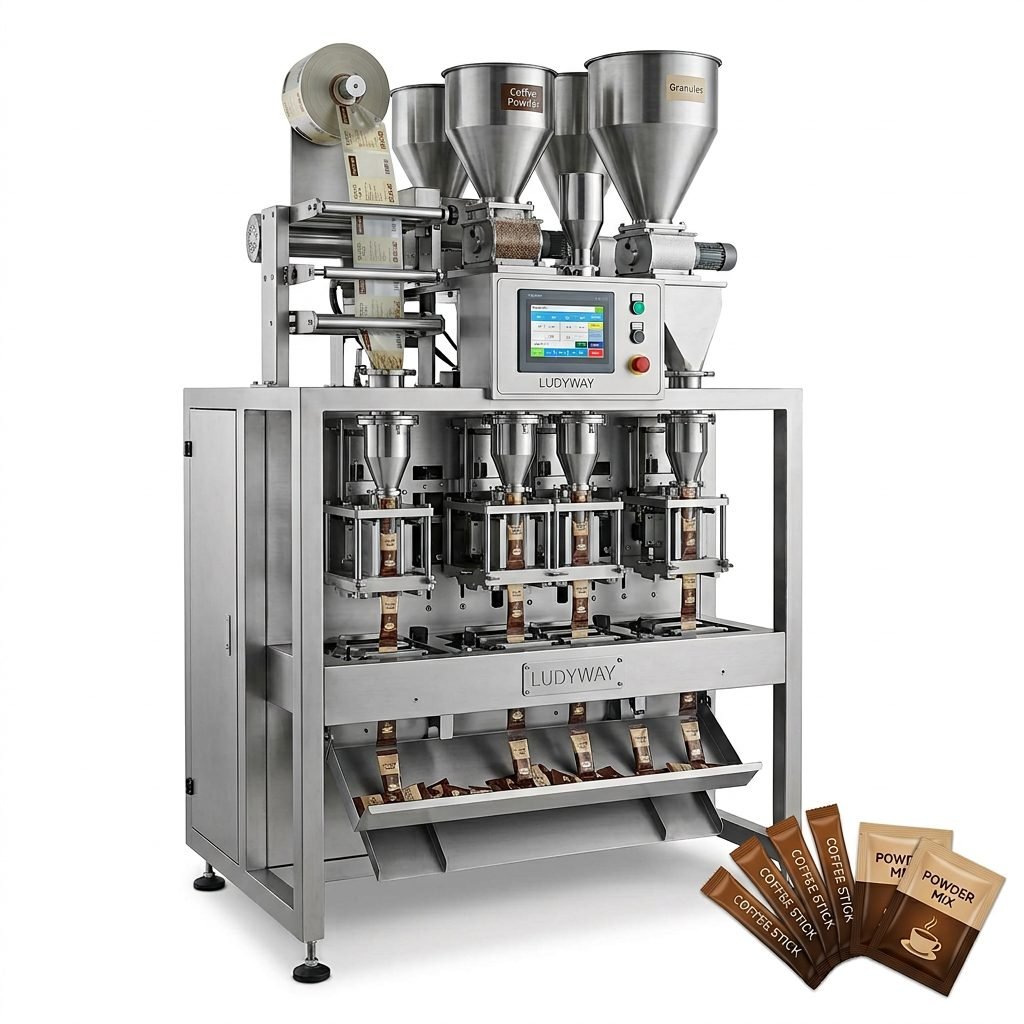
For businesses or serious home producers looking for high-volume, professional-grade solutions, exploring industrial sachet packaging machines or automated stick pack machines can provide insights into advanced packaging technology and efficiency.
Maximizing Your Sealer’s Potential
To get the most out of your investment, follow these best practices.
Preparation is Key
Pat dry any moist food surfaces. For items with sharp bones or edges, use parchment paper as a buffer to prevent puncturing the bag. When sealing liquids or purees, partially freeze them first for a mess-free process.
Organization and Labeling
Always label your sealed packages with the contents and date. Organize your freezer and pantry with a “first in, first out” system to ensure nothing gets forgotten.
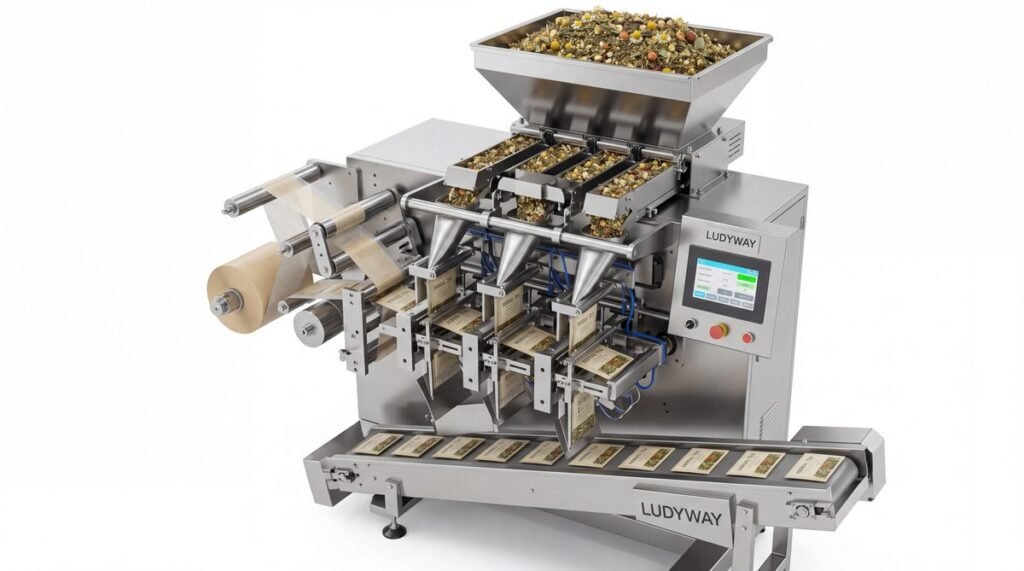
Understanding the broader context of packaging can be helpful. For instance, the principles behind reliable sealing in home machines share common ground with the engineering in commercial granule packaging lines, where consistency and hygiene are paramount.
Safety and Maintenance
Proper care ensures longevity and safe operation.
🔧 Maintenance Checklist
- Clean the sealing strip and gasket after each use to remove any food residue.
- Ensure the vacuum channel is clear of debris.
- Let the machine cool down between cycles if sealing many bags consecutively.
- Store in a cool, dry place and use a cover to prevent dust buildup.
⚠️ Important: Never attempt to seal cans, glass jars, or non-food items unless the manufacturer explicitly states it is safe to do so.
Frequently Asked Questions (FAQs)
1. Can I use any plastic bag with my vacuum sealer?
No, you cannot. Vacuum sealers require specific bags with a textured surface on one side to allow air channels for the vacuum to work effectively. Using standard plastic bags will not create a proper vacuum and may damage the machine.
2. How much longer does vacuum-sealed food last?
Vacuum sealing can extend the shelf life of food in the refrigerator by 3-5 times compared to standard storage. In the freezer, it can prevent freezer burn for up to 2-3 years, maintaining quality far longer than conventional freezer bags.
3. Is it safe to vacuum seal raw meat and then cook it later?
Yes, it is one of the best methods for storing raw meat. Ensure the meat is fresh when sealed and promptly refrigerated or frozen. Always thaw frozen, vacuum-sealed meat in the refrigerator, not at room temperature.
4. My sealer isn’t creating a strong vacuum. What should I check?
First, check the bag for wrinkles or crumbs near the seal area. Ensure the bag is properly positioned on the sealing bar. Check the machine’s rubber gasket for tears or debris, and inspect the vacuum channel for blockages. Also, make sure you are using the correct bag type.
5. Can I reuse vacuum sealer bags?
It is possible to wash and reuse them if they are in good condition, but with major caveats. They must be thoroughly cleaned and sanitized, and you must cut off the old sealed end, making the bag shorter each time. Reusing bags for raw meat or fish is not recommended due to cross-contamination risks.