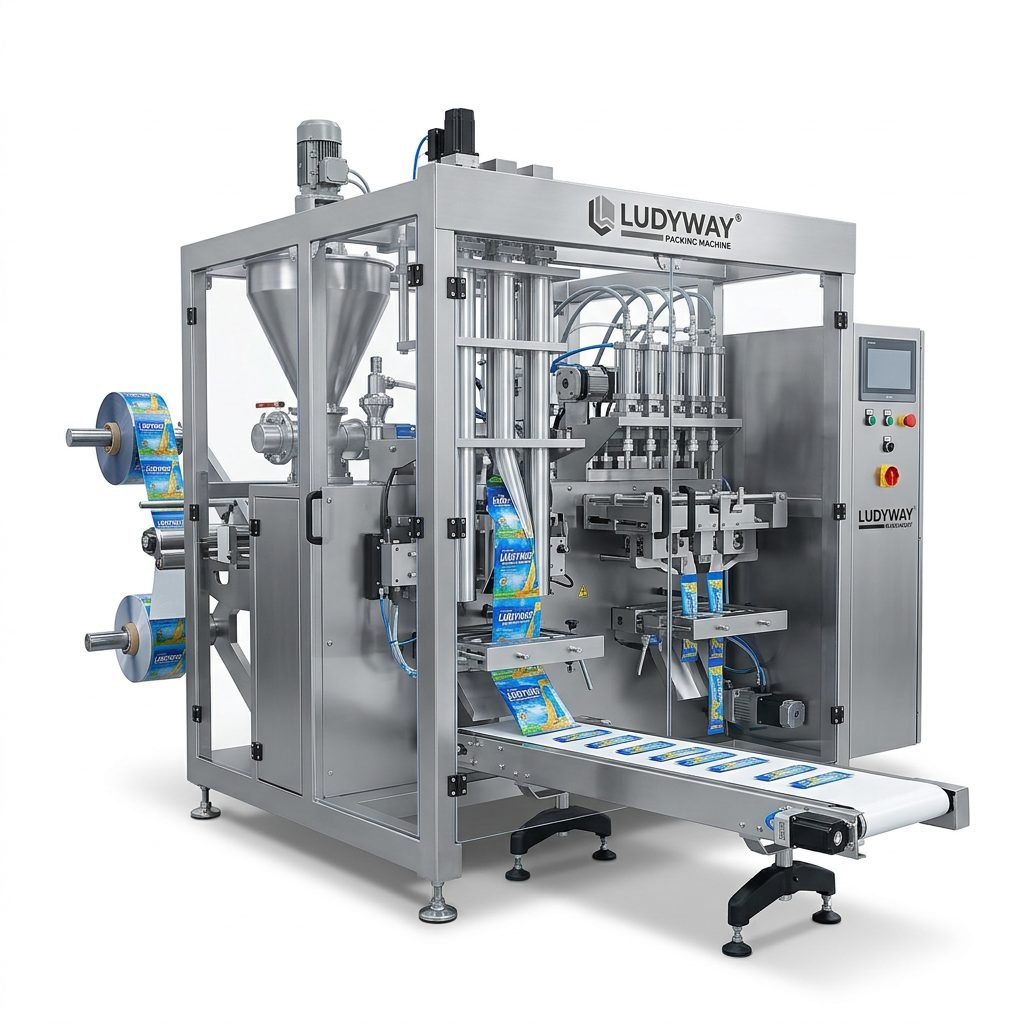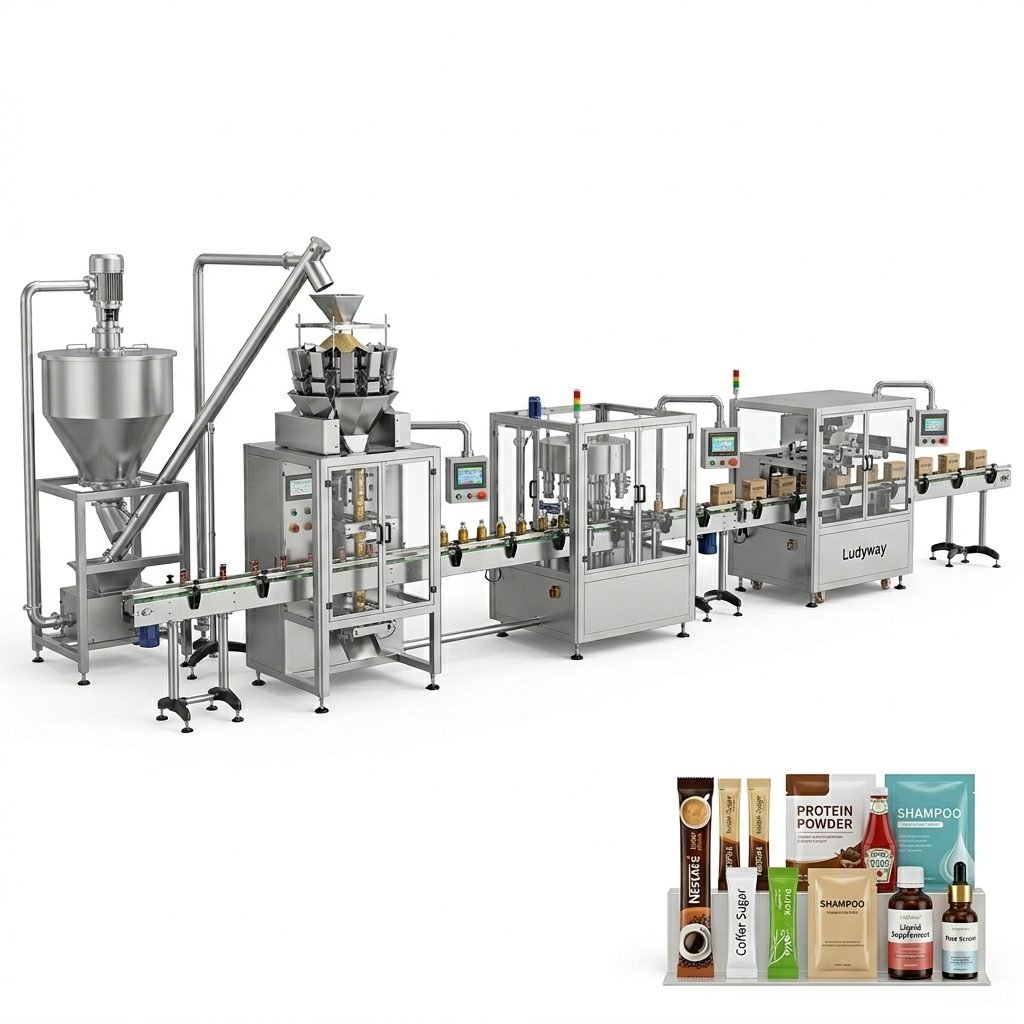
For small business owners, packaging is more than just wrapping a product—it’s the final touchpoint with customers and a critical component of brand identity and operational efficiency. However, commercial packaging machinery often comes with a hefty price tag and may not fit the unique, small-batch needs of a growing enterprise. This guide explores the practical world of DIY packaging machines, offering a pathway to build an affordable, custom packing solution that empowers small businesses to take control of their packaging process.
Why Consider a DIY Packaging Machine?
Investing in a fully automated, industrial packaging line is a significant capital expenditure. For businesses producing limited runs, testing new products, or operating with tight budgets, this is often not feasible. A DIY approach allows for incremental investment and customization. You build what you need, when you need it, scaling the complexity as your business grows. It fosters a deeper understanding of your packaging mechanics, enabling quicker troubleshooting and adaptations.
Core Benefits for Small Businesses:
- Cost Control: Dramatically lower initial investment compared to off-the-shelf industrial machines.
- Flexibility & Customization: Tailor the machine to your specific product size, shape, and packaging material.
- Scalability: Start simple and add modules (like counting, labeling, or sealing) as demand increases.
- Knowledge & Empowerment: Building your solution gives invaluable insights into your production process.
Essential Components of a Basic Packing System
Before you begin, understanding the core functional blocks of a packaging machine is crucial. A simple system for pre-made bags or pouches typically involves these stages:
1. Product Feeding & Metering
This is how your product (granules, powders, small solids) is delivered consistently. Options range from simple vibratory bowls and hoppers with manual gates to more precise auger screw feeders for powders or small volumetric cups for granules.
2. Bag Holding & Opening
A mechanism to present an open pouch for filling. This can be a simple static holder with suction cups (powered by a small vacuum pump) to gently pull the bag open, or a more sophisticated indexing carousel that moves bags through different stations.
3. The Filling Station
The heart of the machine where the measured product is transferred into the open bag. This often involves a chute or funnel guiding the product from the feeder. Precision here is key to maintaining consistent fill weight.
4. Sealing & Closing
For heat-sealable bags, this requires a pair of heated jaws. The temperature and pressure must be controllable. For other closures, like tape or staples, a simple mechanical applicator can be integrated. Safety around heat and moving parts is paramount.
5. The Control System & Actuation
This is the “brain” and “muscles” of your DIY machine. Microcontrollers like Arduino or Raspberry Pi are popular for managing sensor input and triggering actuators. Motion is typically provided by affordable stepper motors, servo motors, or pneumatic cylinders, guided by sensors (optical, proximity) to coordinate the sequence.
🛠️ Planning Your Build: Key Questions
Answer these before sourcing your first component:
- What is my primary product form (powder, granule, liquid, solid item)?
- What is my target packaging speed (bags per minute)?
- What bag/pouch type and material will I use?
- What is my absolute budget ceiling for the prototype?
- What is my own level of technical skill (mechanical, electrical, programming)?
Step-by-Step Framework for Your DIY Project
Phase 1: Design & Sourcing
Start with detailed sketches or simple 3D models (using free software like Tinkercad). Define the machine’s sequence of operations. Then, source components. Online marketplaces, electronics retailers, and industrial surplus sites are treasure troves for motors, sensors, linear rails, aluminum framing (like T-slot extrusions), and control boards. For critical parts like precise auger fillers, you might consider specialist components from packaging machinery suppliers to ensure accuracy.
Phase 2: Mechanical Assembly
Build the frame and mounting points for all components. Ensure everything is square, rigid, and aligned. This stage is like building the skeleton. Pay close attention to the alignment of the filling chute with the bag opening and the sealing jaws with the bag top. Imperfect alignment leads to spills or poor seals.
Phase 3: Electrical & Control Integration
Wire motors, sensors, heaters, and pumps to the control board according to your circuit diagram. This phase requires careful attention to safety: use proper enclosures, fuses, and wire management. Program the microcontroller’s logic to execute the packaging cycle step-by-step, incorporating sensor feedback for reliability.
Phase 4: Testing & Refinement
Begin testing with empty bags, then with actual product. Start slow. Observe, measure, and adjust. Calibrate your feeder for fill weight accuracy. Tune the heat sealer’s temperature and pressure for a consistent, strong seal. This iterative phase is where your machine transforms from a prototype to a reliable tool. Document every adjustment.
When to Consider a Professional Solution
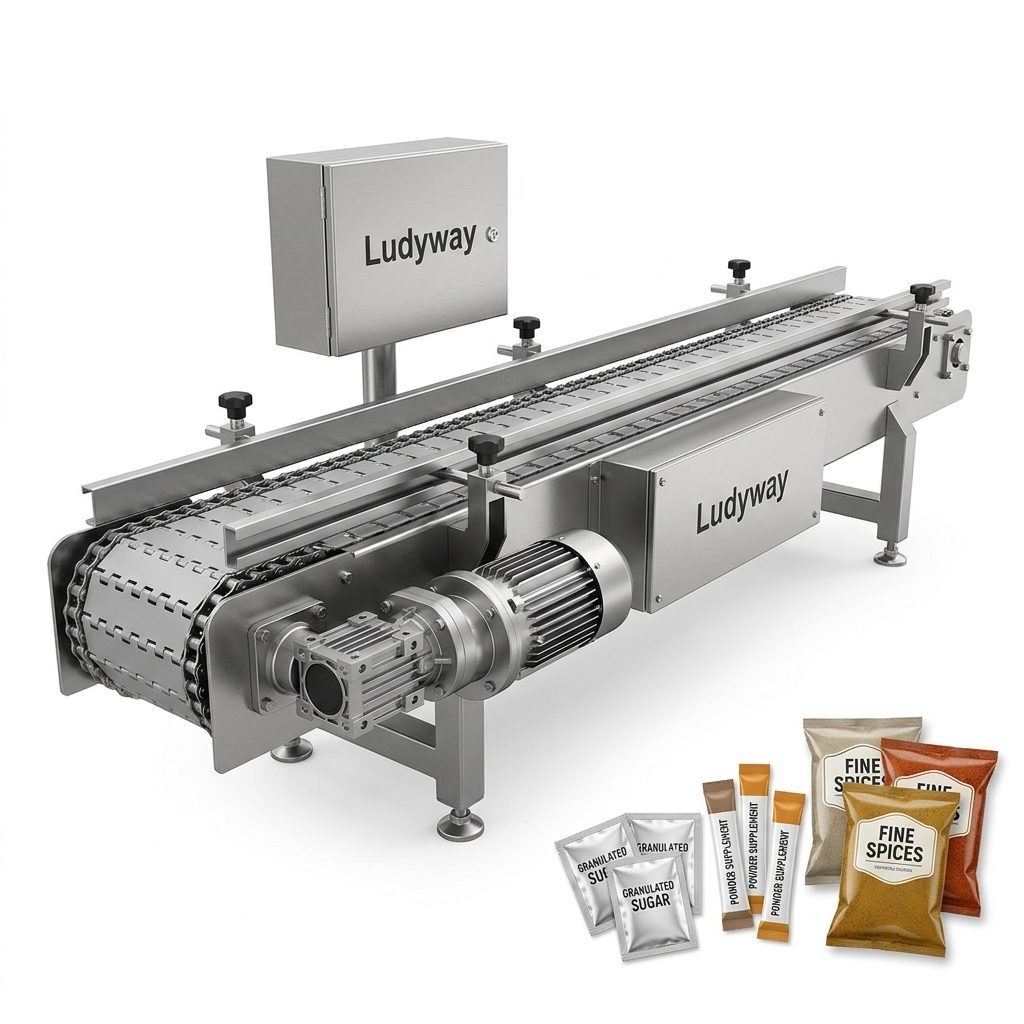
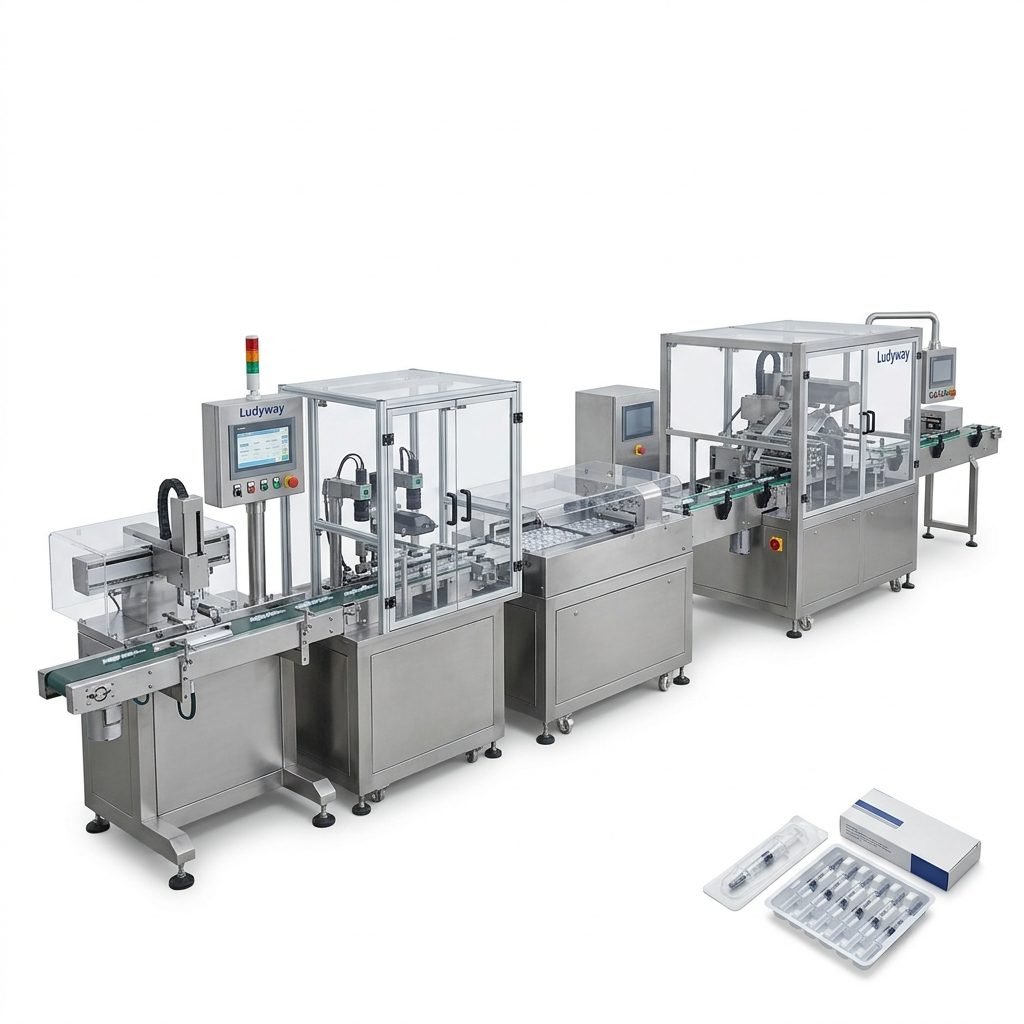
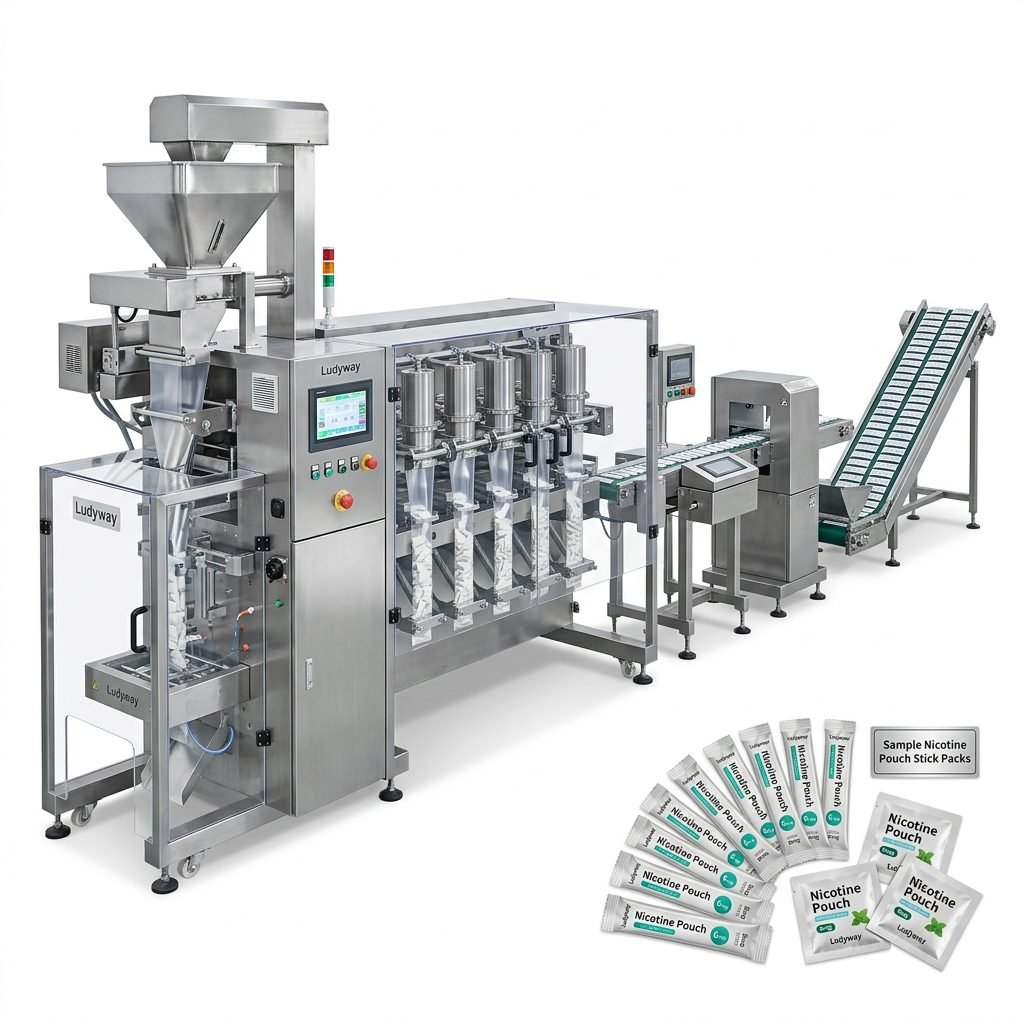
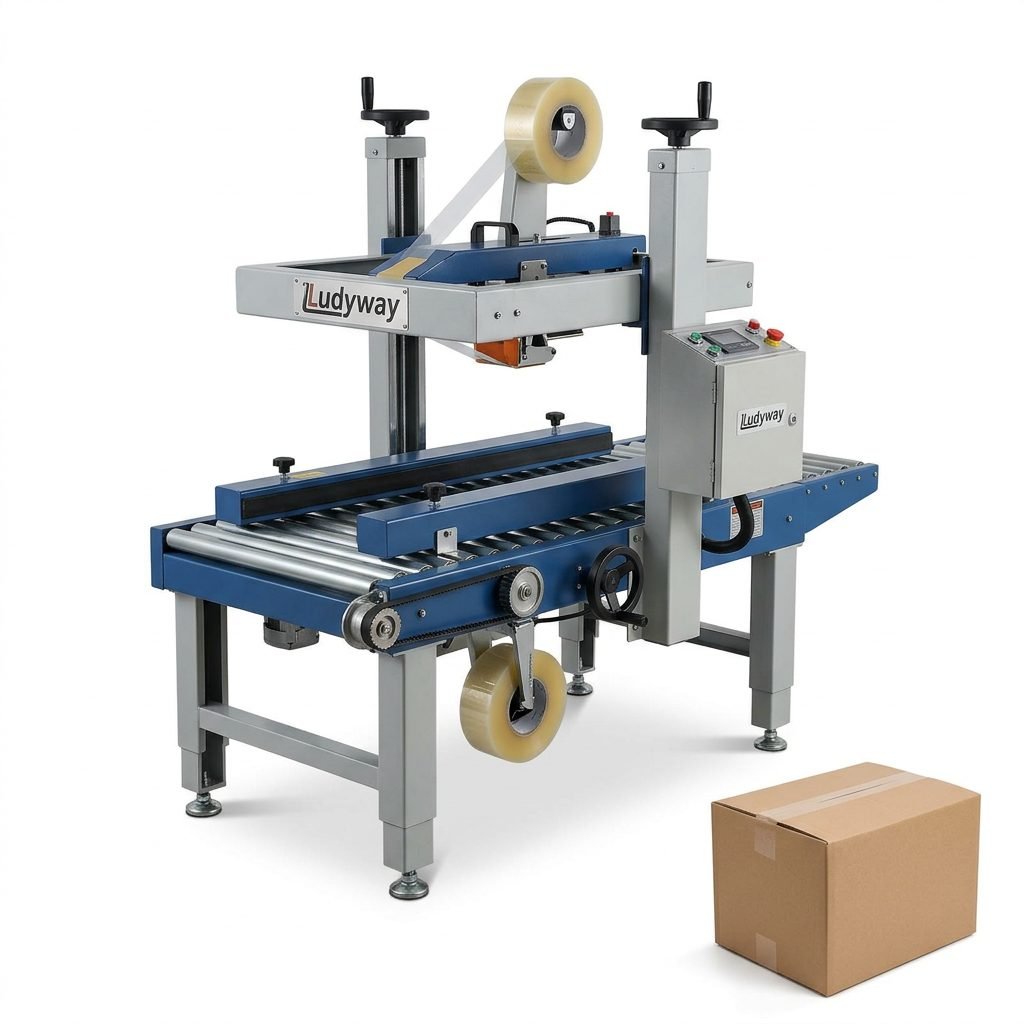
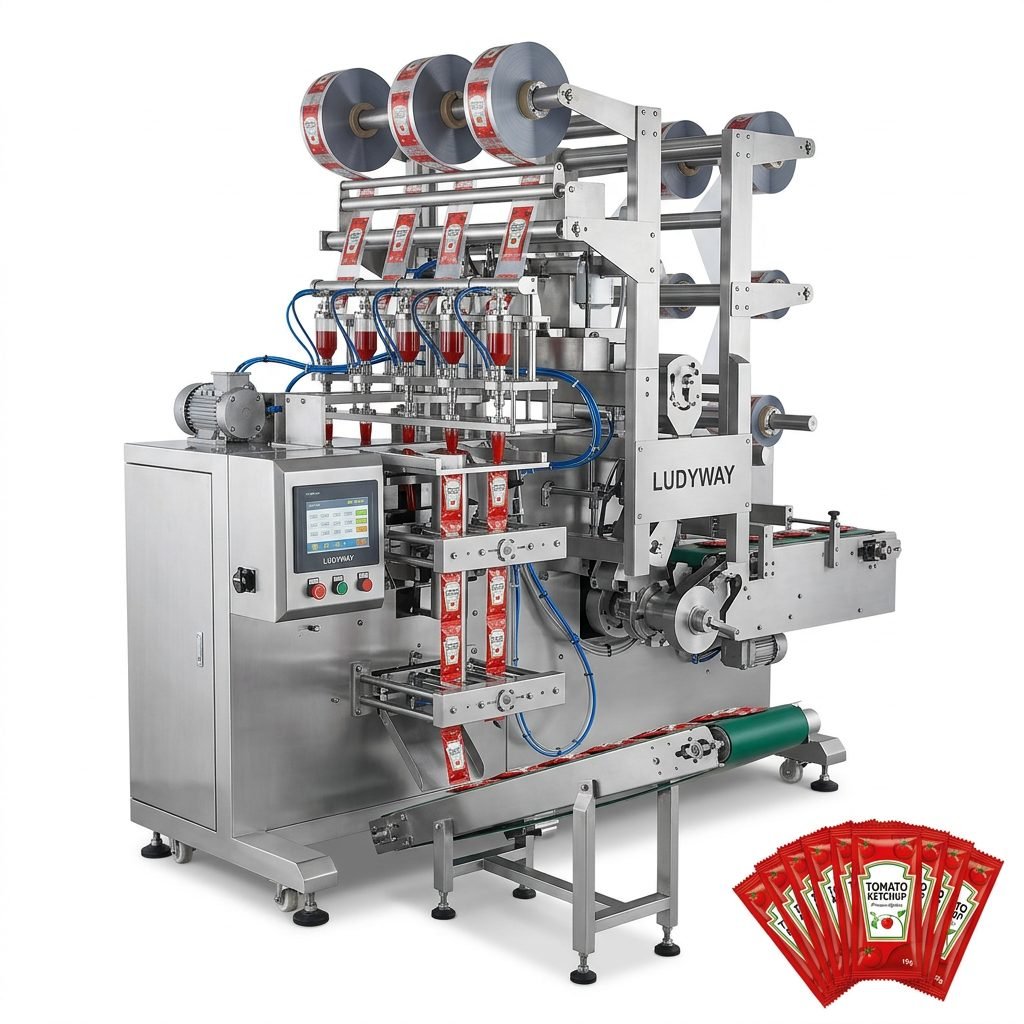
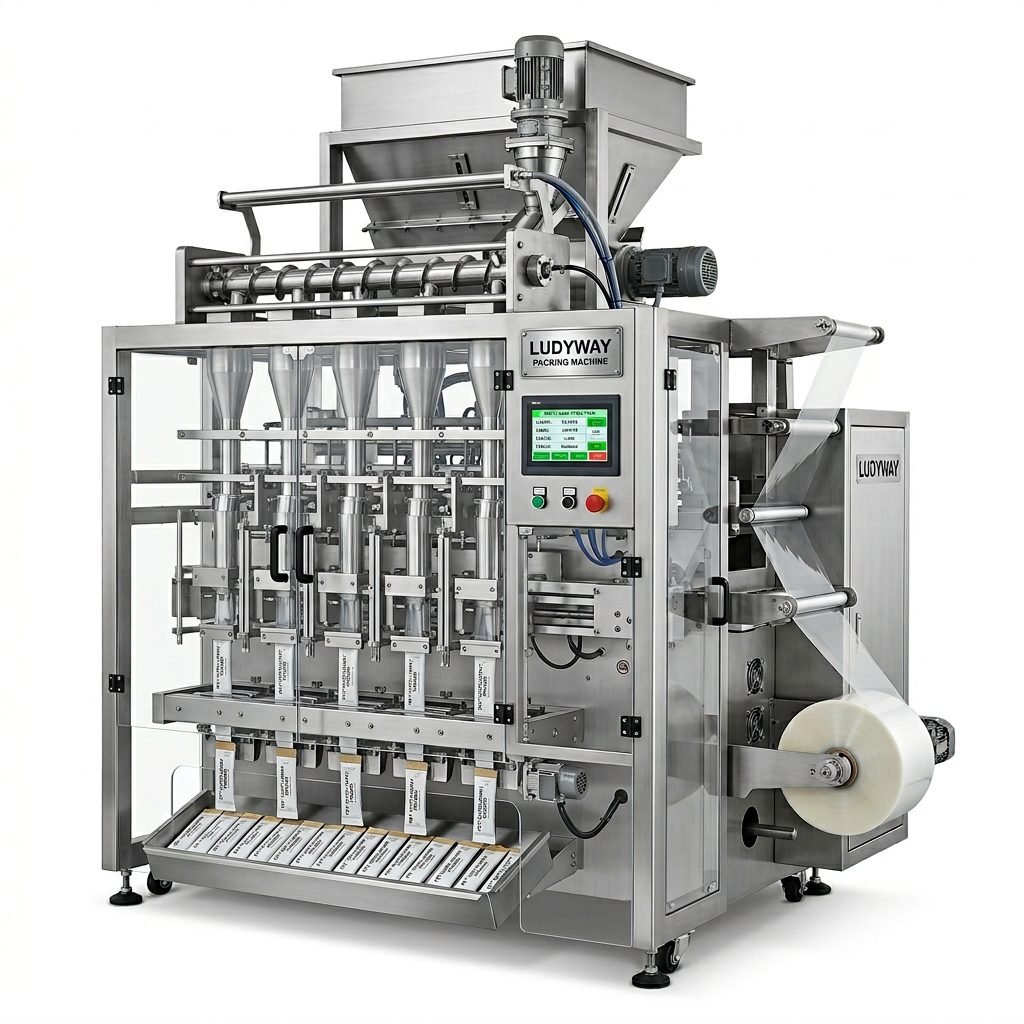
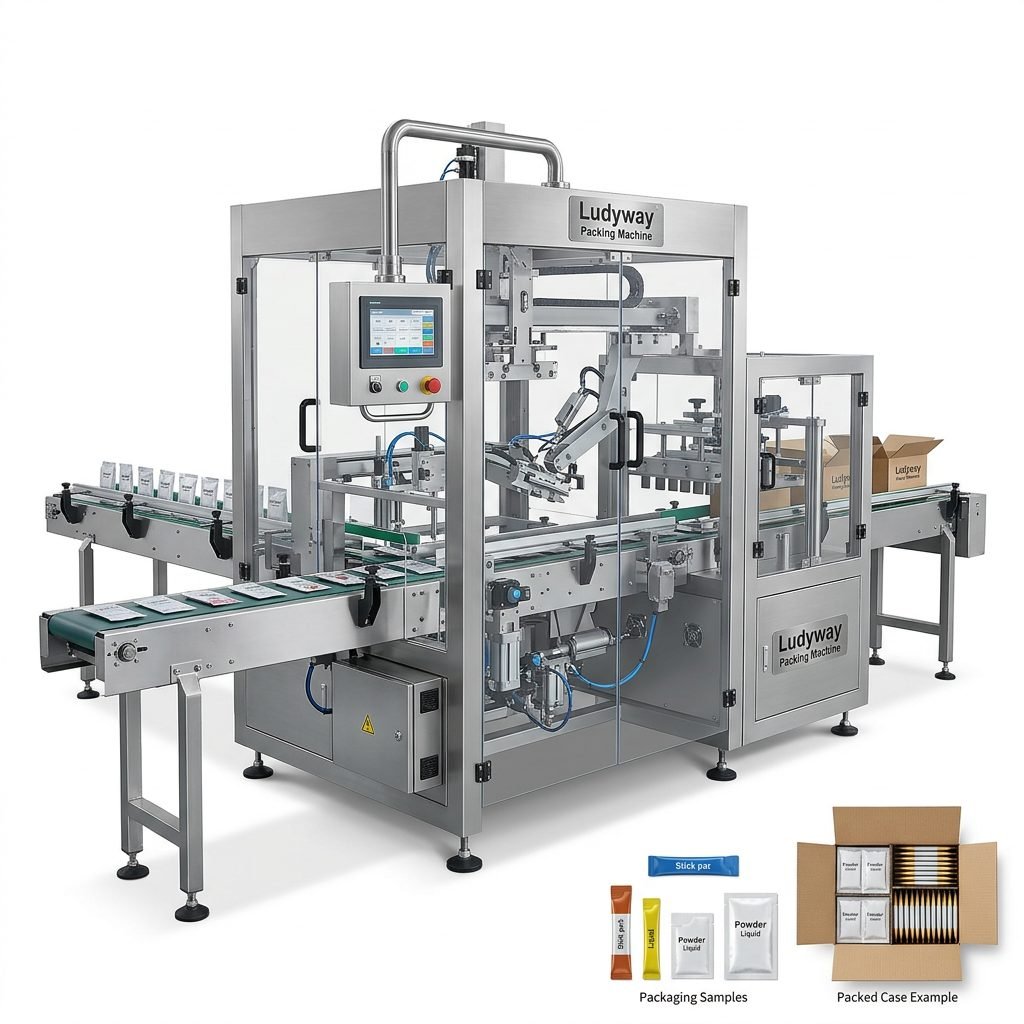
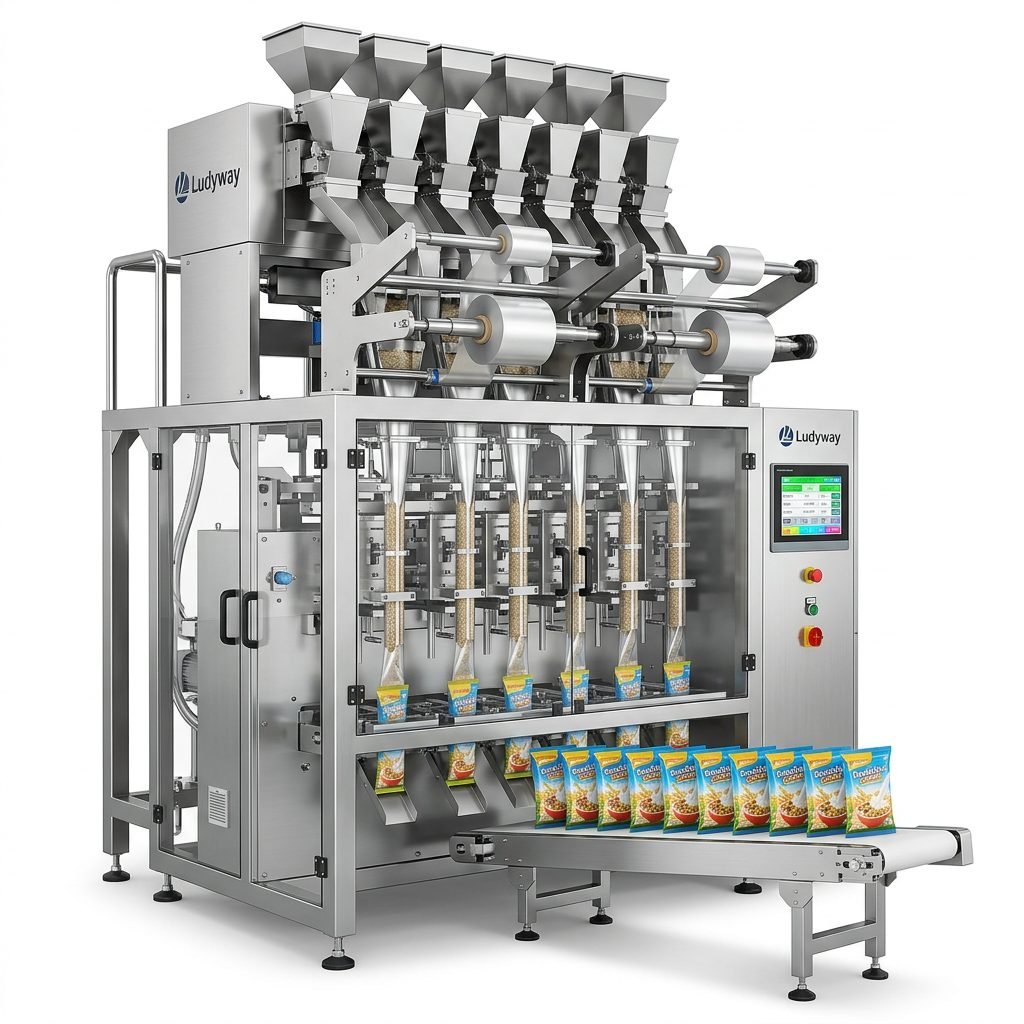
The DIY route is rewarding but has limits. Consider partnering with a professional provider like Ludyway Packing Machine when:
- Your production volume scales beyond a few hundred units per day.
- You require stringent hygiene standards (e.g., for food or pharmaceuticals).
- You need certified weighing accuracy for regulatory compliance.
- Operational reliability and uptime become critical to your business.
- You lack the time or technical resources for ongoing maintenance and upgrades.
Professional manufacturers bring 30+ years of engineering experience to solve complex packaging challenges, offering reliability that a DIY project may not guarantee at high volumes.
Conclusion: Empowering Your Business Growth
Building a DIY packaging machine is a powerful project that blends innovation with practicality. It provides a cost-effective, deeply customized solution for small businesses to streamline their operations and enhance brand presentation. Whether you use it as a stop-gap solution, a pilot for a new product line, or a learning platform, the process itself builds invaluable operational knowledge. As your business grows, this hands-on understanding will inform smarter decisions when it’s time to upgrade to higher-capacity, professional automated packaging solutions.
Frequently Asked Questions (FAQ)
1. How much can I realistically save by building my own packaging machine?
Savings can be substantial, often ranging from 60% to 85% compared to the cost of a new, entry-level commercial machine. However, this depends entirely on your desired complexity and your ability to source affordable components. A basic manual-fill, heat-seal station can cost a few hundred dollars, while a semi-automatic indexed system may run into a few thousand.
2. What is the most challenging part of a DIY packaging machine build?
Most builders find achieving consistent and accurate filling to be the greatest challenge, especially with powders or sticky products. The second major challenge is integrating all subsystems (mechanical, electrical, software) seamlessly to work reliably in a repeated cycle without jams or errors.
3. Can I build a machine for liquid packaging?
Yes, but it introduces significant complexity due to the need for precise volumetric or weight-based filling, prevention of drips, and often, handling of sterile conditions. Liquid filling DIY projects typically use peristaltic pumps or solenoid valves controlled by a flow meter or scale. It is considered an advanced DIY project.
4. Where can I find community support or plans for such projects?
Online maker communities on platforms like Reddit (e.g., r/DIY, r/Arduino), specialized forums, and video platforms like YouTube are excellent resources. Many hobbyists and small business owners share their builds, code, and lessons learned. Searching for “DIY auger filler” or “Arduino pouch packaging” will yield helpful starting points.
5. If my DIY machine works well, can I later sell products packaged with it?
For non-regulated products (e.g., crafts, dry goods), yes. However, if you are packaging food, supplements, or any product with safety regulations, you must ensure your process and machine meet all local health, safety, and labeling standards. The consistency and hygiene of a DIY setup may be difficult to certify. Always check regulations before sale.