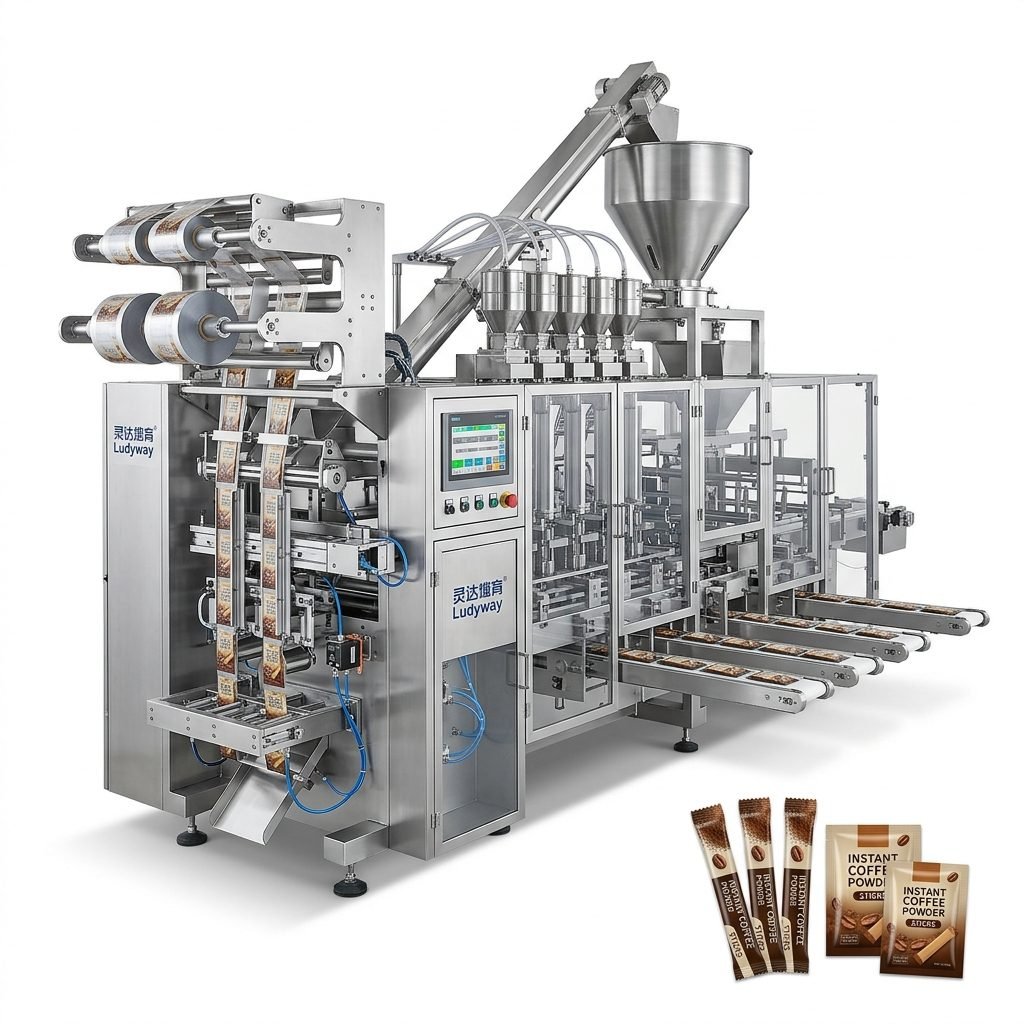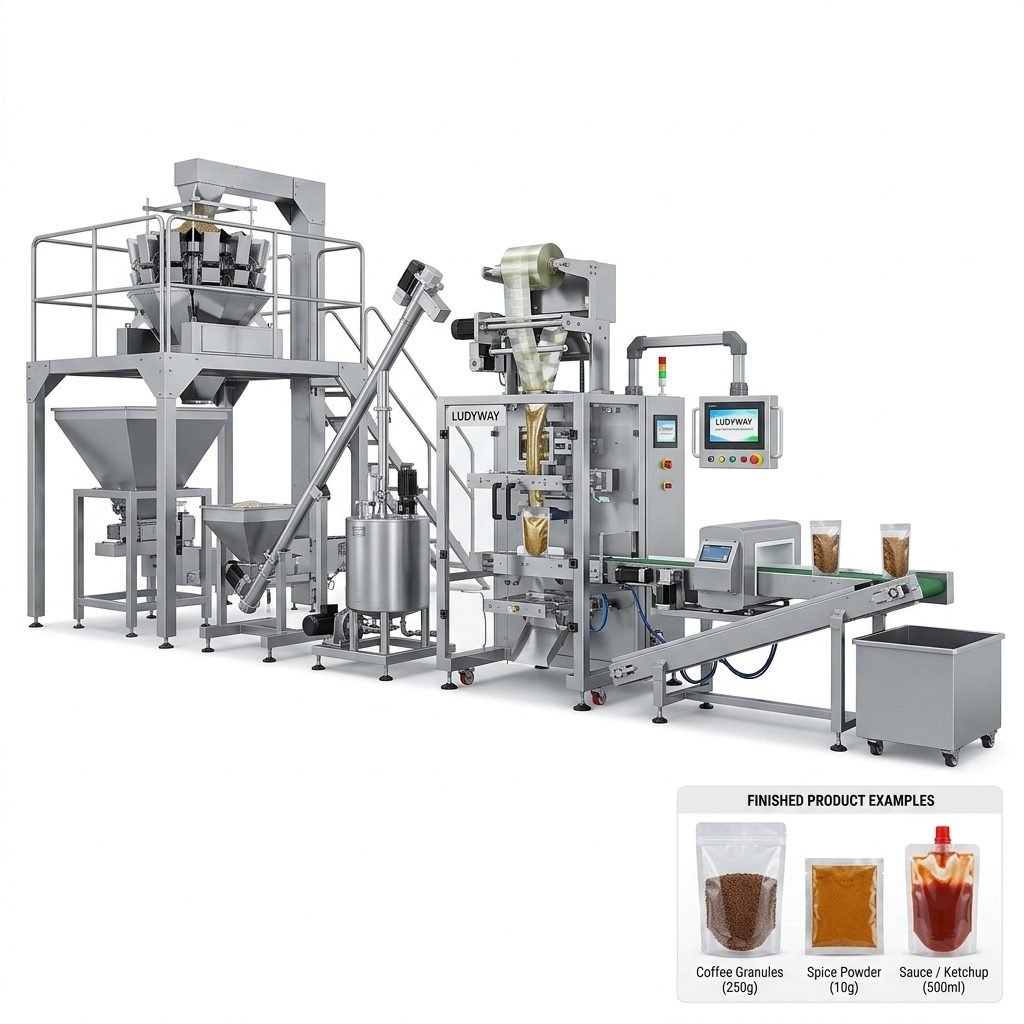
Proper cleaning is one of the most important parts of keeping a liquid packaging machine running safely, efficiently, and consistently. Whether you package sauces, beverages, oils, syrups, cosmetics, detergents, or pharmaceutical liquids, a structured cleaning process helps prevent cross-contamination, product buildup, sealing defects, filling inaccuracy, bacterial growth, and unexpected downtime.
This guide explains how to clean a liquid packaging machine step by step, what tools you need, which parts require extra attention, and how often maintenance should be performed for better machine life and product quality.
Why Cleaning a Liquid Packaging Machine Matters
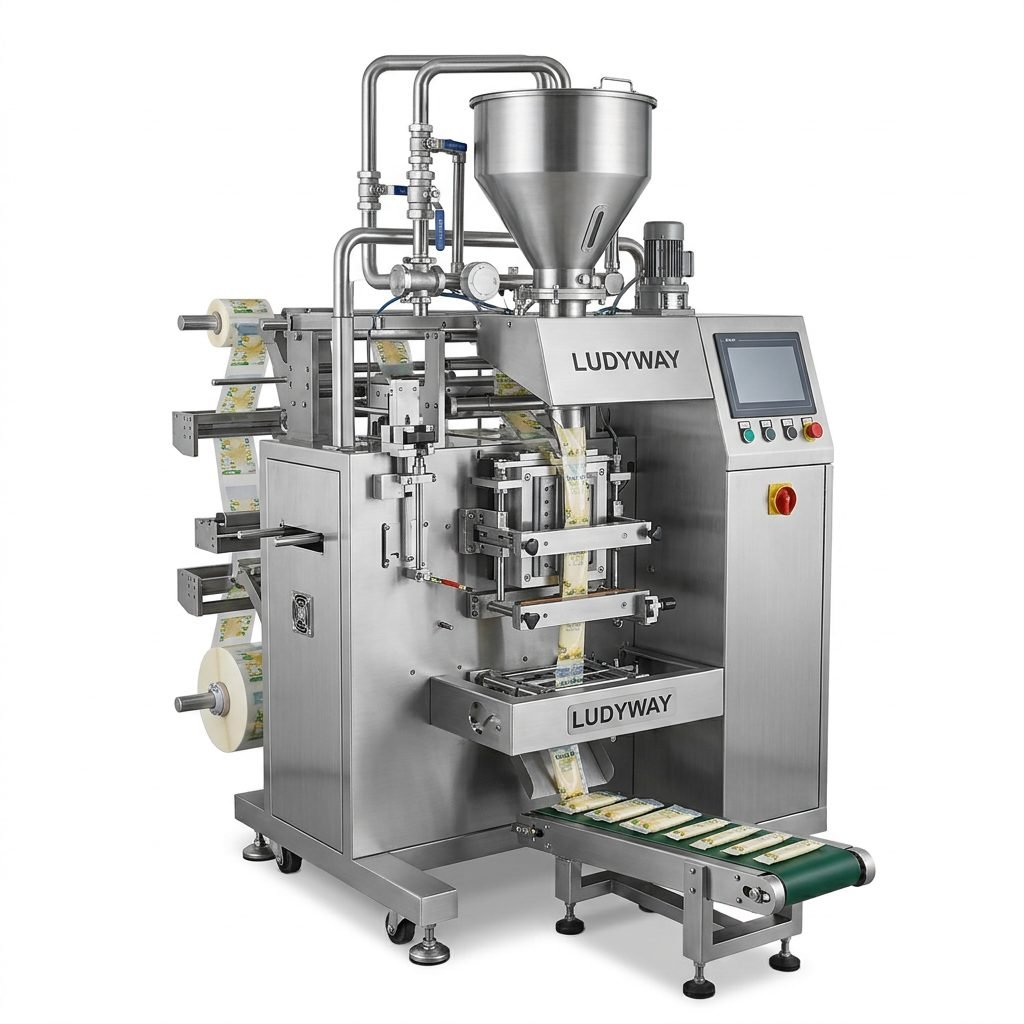
A liquid packaging machine operates in direct contact with products and packaging materials. Even a small residue left inside pipes, nozzles, pumps, hoppers, or sealing areas can affect production. In food, pharmaceutical, and cosmetic applications, poor cleaning may also create compliance and safety risks.
- Maintains hygienic production standards
- Prevents flavor, color, and formula carryover
- Reduces nozzle clogging and filling inconsistency
- Protects seals, valves, pumps, and sensors from buildup
- Improves equipment lifespan and operating stability
- Helps meet GMP, HACCP, and plant sanitation requirements
Before You Start: Safety First
Before cleaning any machine, always follow your factory’s safety and lockout procedures. Never rush this stage. Cleaning around moving parts, electrical panels, hot sealing units, or pressurized product lines can be dangerous if the machine is not properly shut down.
- Turn off the machine and disconnect the power supply.
- Release air pressure and product pressure from the system.
- Allow heated sealing parts to cool down fully.
- Wear proper PPE such as gloves, goggles, mask, and apron.
- Prepare approved cleaning chemicals based on the liquid product handled.
Recommended Cleaning Tools
| Tool / Material | Purpose |
|---|---|
| Soft brushes | Remove residue from tight areas and fittings |
| Lint-free cloths | Wipe machine surfaces without leaving fibers |
| Food-grade or approved detergent | Dissolve product residue safely |
| Sanitizer | Control microbial contamination where required |
| Warm water | Rinse soluble residues from liquid contact parts |
| Compressed air | Dry selected areas after cleaning |
| Lubricant approved for machinery | Protect moving parts after cleaning |
Step-by-Step Guide to Cleaning a Liquid Packaging Machine
1. Remove Remaining Product from the System
Start by draining all remaining liquid from the hopper, tank, feed lines, pump, and nozzles. If the machine uses a piston filler, pump filler, gravity filler, or multi-lane sachet system, make sure every product path is emptied as much as possible.
Do not let product sit inside the machine for long periods, especially if you package sticky, oily, sugary, or fast-drying liquids.
2. Disassemble Contact Parts According to the Manual
Remove all parts designed for routine cleaning, such as:
- Filling nozzles
- Hoses and tubes
- Valves
- Pumps or pump heads
- Hoppers and tanks
- Filters and screens
- Mixing components if installed
Place disassembled parts on a clean surface and keep small fittings organized to avoid assembly errors later.
3. Pre-Rinse with Warm Water
Rinse product-contact parts with warm water to loosen residue. This is especially useful for beverage concentrates, milk-based liquids, condiments, lotions, gels, and detergent products. Avoid extremely hot water unless the component material and seals are rated for it.
4. Wash with the Right Cleaning Solution
Use a compatible cleaning agent based on the product type and machine material. Stainless steel contact parts are common, but seal materials, gaskets, and tubing may require a gentler chemical approach.
| Product Type | Cleaning Focus |
|---|---|
| Sugary liquids | Remove sticky buildup from nozzles, pipes, and tanks |
| Oily liquids | Use degreasing-compatible detergent for pumps and tubing |
| Creams and viscous products | Scrub valves, piston chambers, and filling heads thoroughly |
| Pharma or cosmetic liquids | Follow validated cleaning and sanitation procedures carefully |
Use soft brushes only. Avoid metal tools that can scratch stainless steel or damage seals.
5. Clean the Filling Nozzles and Valves Carefully
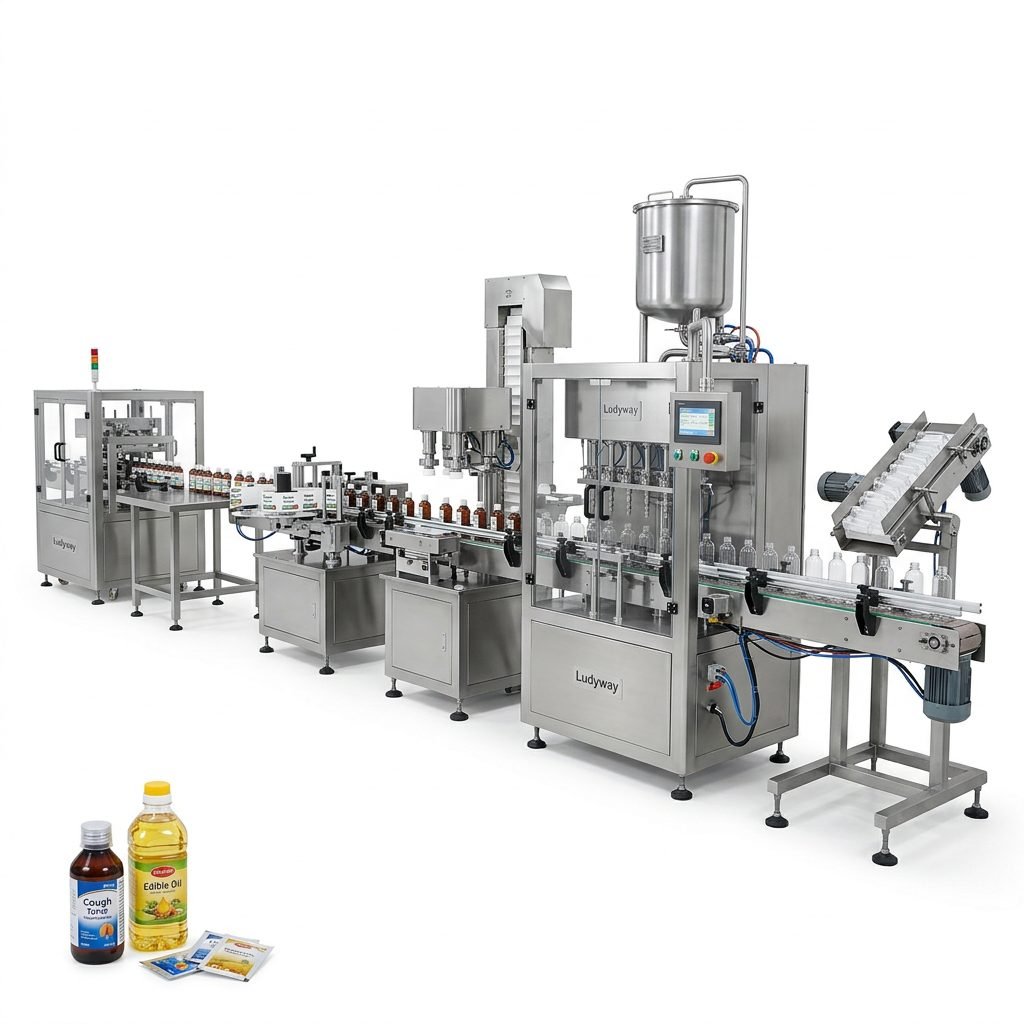
These are the most critical points in a liquid packaging machine because they directly affect fill accuracy, anti-drip performance, and hygiene. Nozzles often trap residue inside narrow passages, while valves may hold dried liquid around seals and moving elements.
- Inspect for clogging
- Check for hardened deposits
- Verify smooth opening and closing action
- Look for worn O-rings or damaged gaskets
6. Wipe Down the Machine Frame and Exterior Surfaces
After internal cleaning, wipe external surfaces including guards, control panel housing, support frame, doors, covers, and surrounding work areas. Keep water away from electrical components unless the machine is specifically designed for washdown cleaning.
Focus on areas where splashes accumulate, especially under nozzles, around conveyors, and near sealing sections.
7. Clean the Conveyor and Packaging Path
If your machine includes a conveyor, sachet forming section, pouch handling area, or bottle transport system, these should also be cleaned. Spilled liquid can create slipping, contamination, and tracking issues.
- Remove drips and spills from belts and guide rails
- Clean sensors and photoelectric eyes carefully
- Wipe support rollers and transfer points
- Check for product buildup near reject or discharge zones
8. Rinse Thoroughly
Any detergent residue left behind can contaminate the next production batch or damage sensitive products. Rinse all cleaned parts thoroughly with clean water or with the plant-approved rinse medium.
In regulated industries, this stage may require verification records or conductivity checks to confirm detergent removal.
9. Sanitize if Required
Food, beverage, pharmaceutical, personal care, and health supplement applications often require sanitizing after cleaning. Apply the approved sanitizer at the proper concentration and contact time.
Cleaning removes residue; sanitizing reduces microorganisms. Both may be necessary depending on your product and compliance standard.
10. Dry All Parts Completely
Moisture left in the machine can dilute the next batch, encourage microbial growth, or affect seal quality. Air dry or use clean compressed air where appropriate. Make sure hidden points such as tubing bends, valve seats, and nozzle chambers are dry before reassembly.
11. Reassemble and Inspect
Once parts are clean and dry, reassemble them according to the machine manual. Confirm that all clamps, seals, hoses, and connectors are installed correctly. Check for:
- Loose fittings
- Misaligned nozzles
- Damaged gaskets
- Worn moving components
- Leaks in product pathways
12. Run a Test Cycle
Before restarting production, run a test cycle using water or a plant-approved test liquid. This helps confirm that the machine is clean, assembled correctly, and filling accurately.
Watch for unusual noise, inconsistent filling, dripping nozzles, air bubbles, or sealing defects.
Parts That Need Extra Attention
Some machine sections are more likely to collect residue or wear out faster. These should be checked during every cleaning cycle.
| Machine Part | Why It Matters |
|---|---|
| Filling nozzles | Direct product contact and common clogging point |
| Pumps and pistons | Residue affects dosing accuracy and smooth operation |
| Hoppers and tanks | Large-surface contamination and sediment risk |
| Seals and O-rings | Wear leads to leakage and contamination risk |
| Sensors | Dirty sensors can cause positioning and packaging errors |
| Sealing jaws or sealing area | Product residue can cause poor seal integrity |
How Often Should You Clean a Liquid Packaging Machine?
Cleaning frequency depends on product type, production hours, hygiene standard, and changeover schedule. In general:
- After every production shift: Basic cleaning of contact surfaces and spill areas
- After every product changeover: Full cleaning to avoid cross-contamination
- Daily: Nozzles, product lines, hoppers, and conveyors
- Weekly: Deeper inspection of pumps, seals, valves, and moving parts
- Monthly: Preventive maintenance review and wear-part assessment
Common Cleaning Mistakes to Avoid
- Using harsh chemicals that damage seals or stainless steel finishes
- Skipping the rinse step
- Cleaning only visible surfaces while ignoring internal product pathways
- Reassembling parts while still wet
- Forgetting to inspect worn nozzles, O-rings, and valves
- Allowing dried liquid residue to harden overnight
- Spraying water directly into electrical cabinets or controls
Cleaning and Maintenance Go Together
Good cleaning is also a maintenance opportunity. While the machine is open, operators and technicians should check for abnormal wear, corrosion, cracks, loose fasteners, and vibration-related issues. This proactive approach can reduce emergency repairs and improve production reliability.
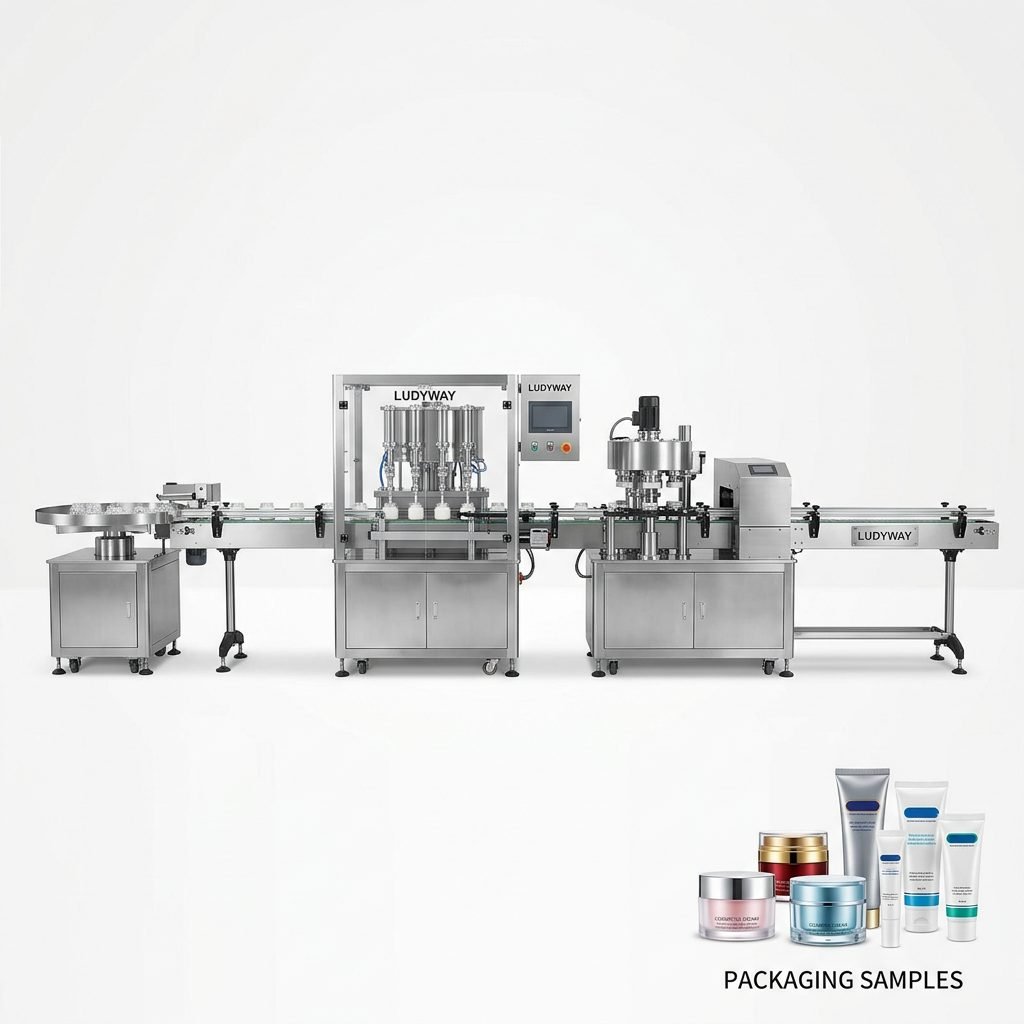
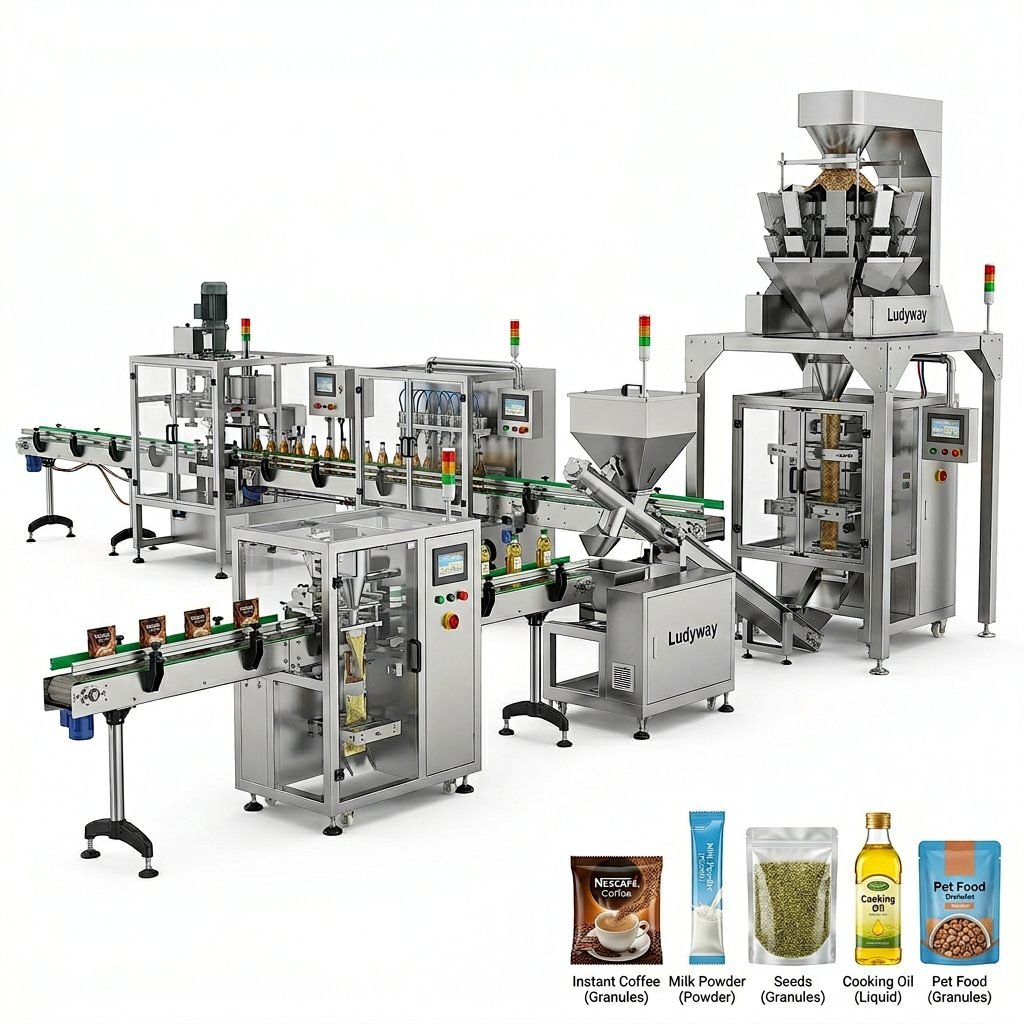
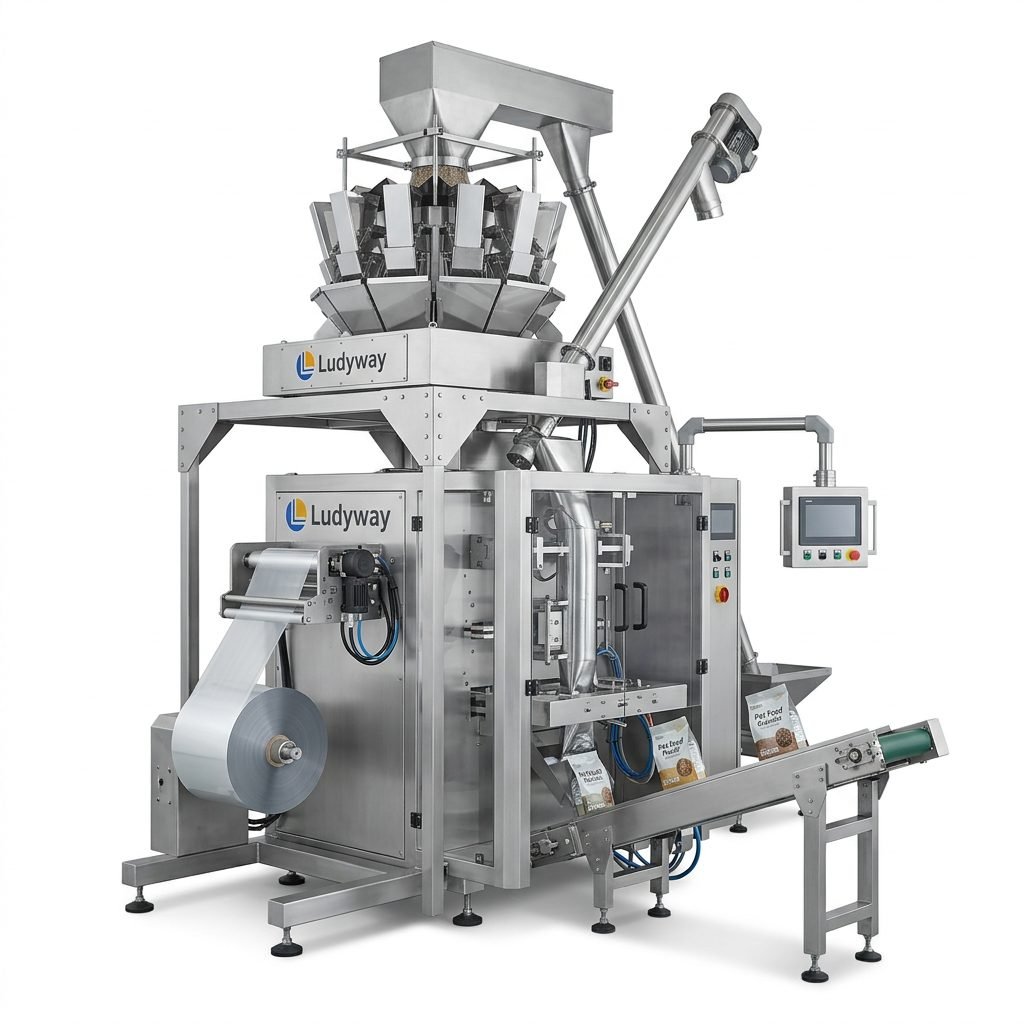
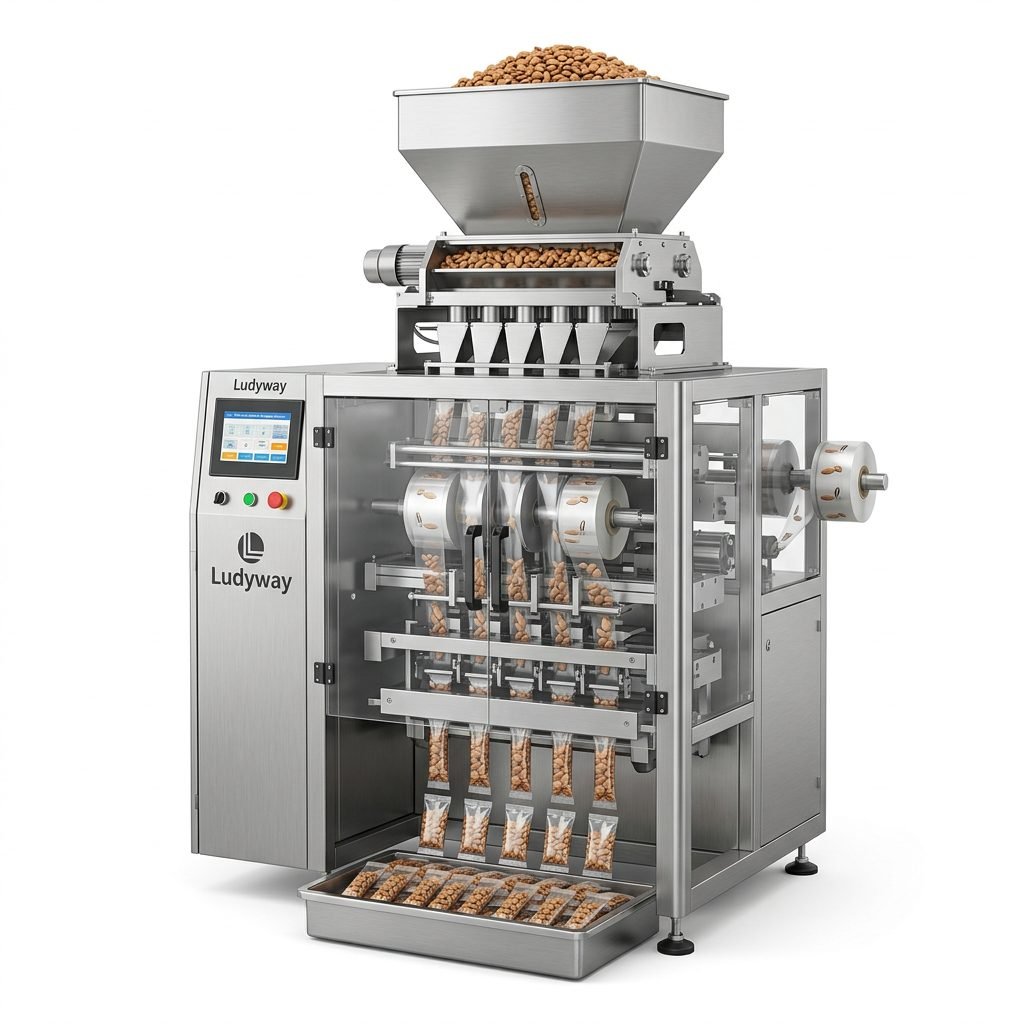
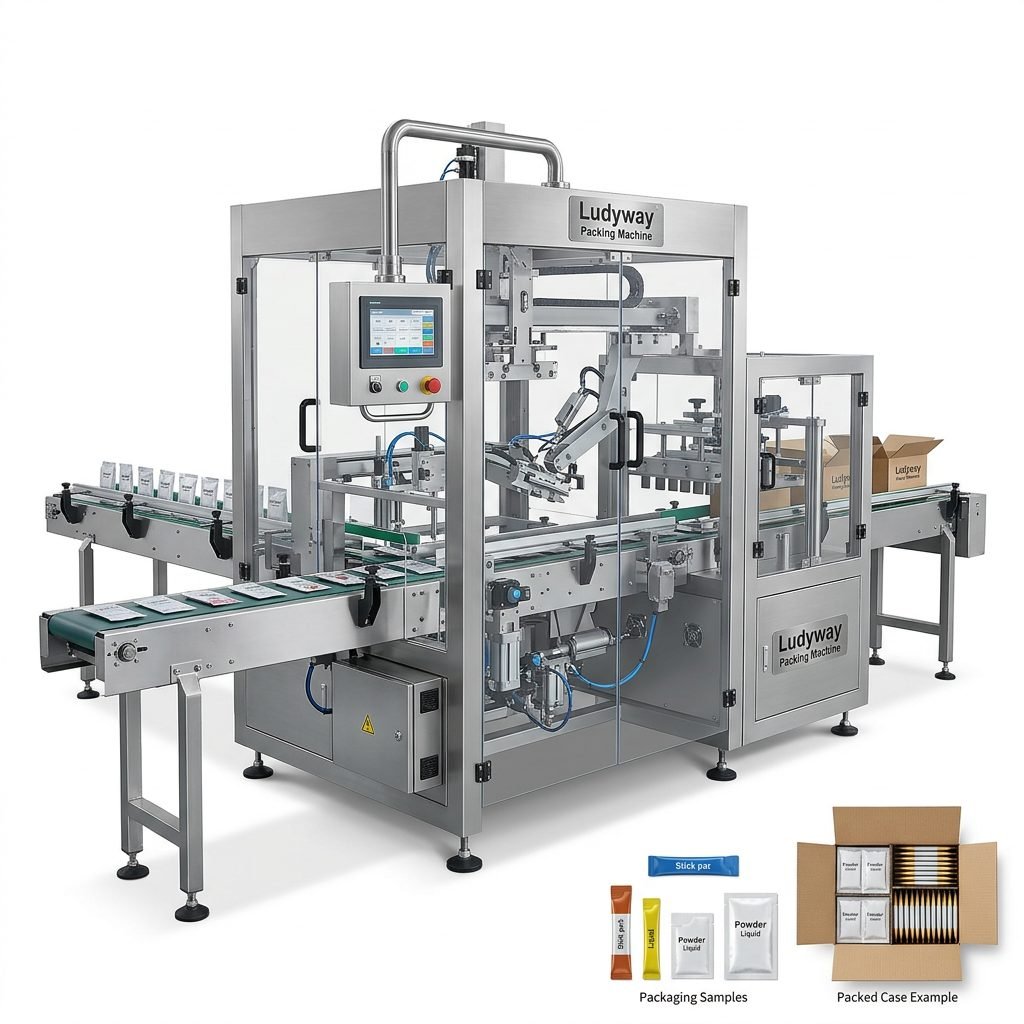
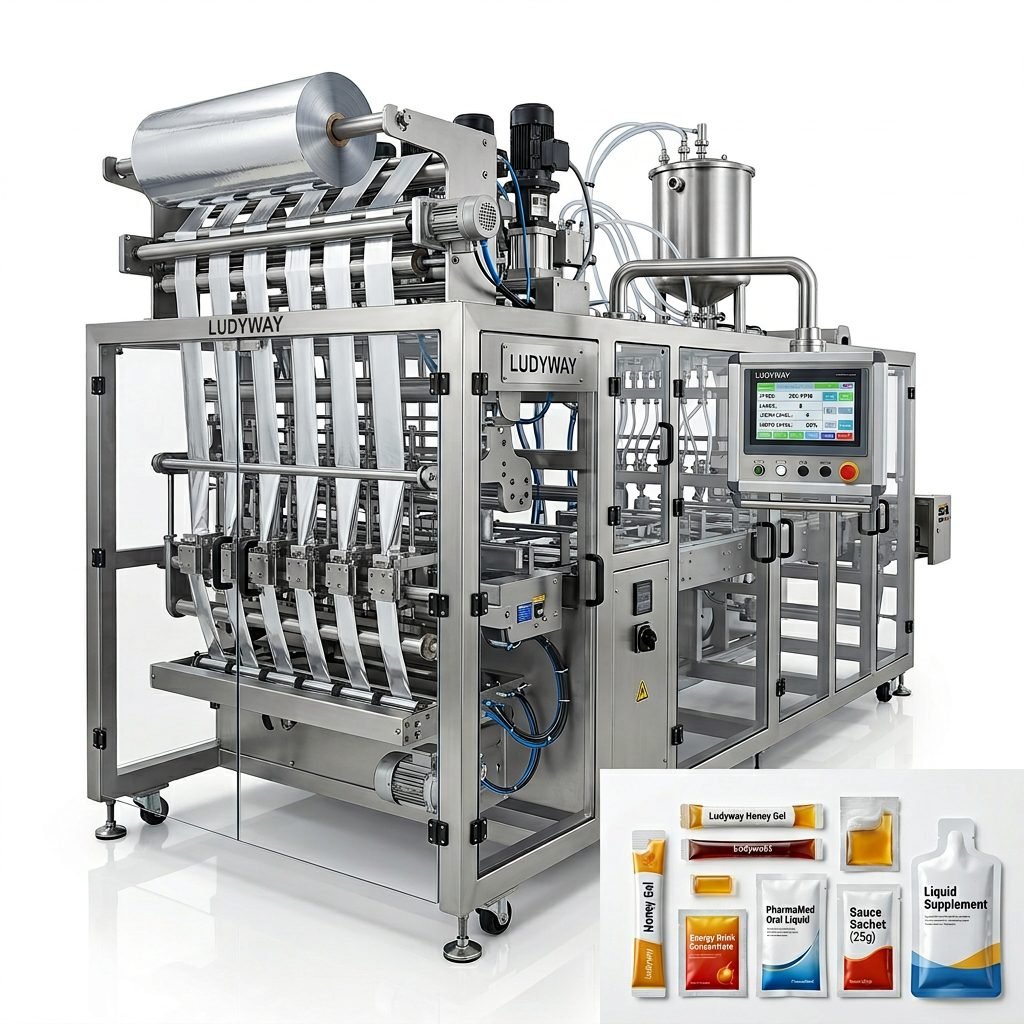
Many manufacturers choose modern liquid packaging machine solutions from Ludyway because they are designed for efficient cleaning, stable filling performance, and integration into food, pharmaceutical, cosmetic, and chemical packaging lines.
Best Practices for Long-Term Machine Hygiene
- Keep a written cleaning SOP for every machine model.
- Train operators on disassembly and sanitation procedures.
- Use only approved spare parts and seal materials.
- Record each cleaning cycle for traceability.
- Schedule preventive maintenance alongside sanitation routines.
- Validate cleaning procedures for sensitive or regulated products.
Final Checklist Before Restarting Production
| Checkpoint | Status to Confirm |
|---|---|
| All product-contact parts cleaned | No visible residue |
| Detergent fully rinsed off | No chemical traces |
| Parts fully dry | No trapped moisture |
| Seals and fittings checked | No wear or leakage risk |
| Machine reassembled correctly | All parts secured |
| Test cycle completed | Stable and accurate operation |
A clean liquid packaging machine is not just about appearance. It directly influences product safety, fill precision, packaging quality, and production uptime. By following a consistent step-by-step cleaning process, you can extend equipment life and maintain a more reliable packaging operation.