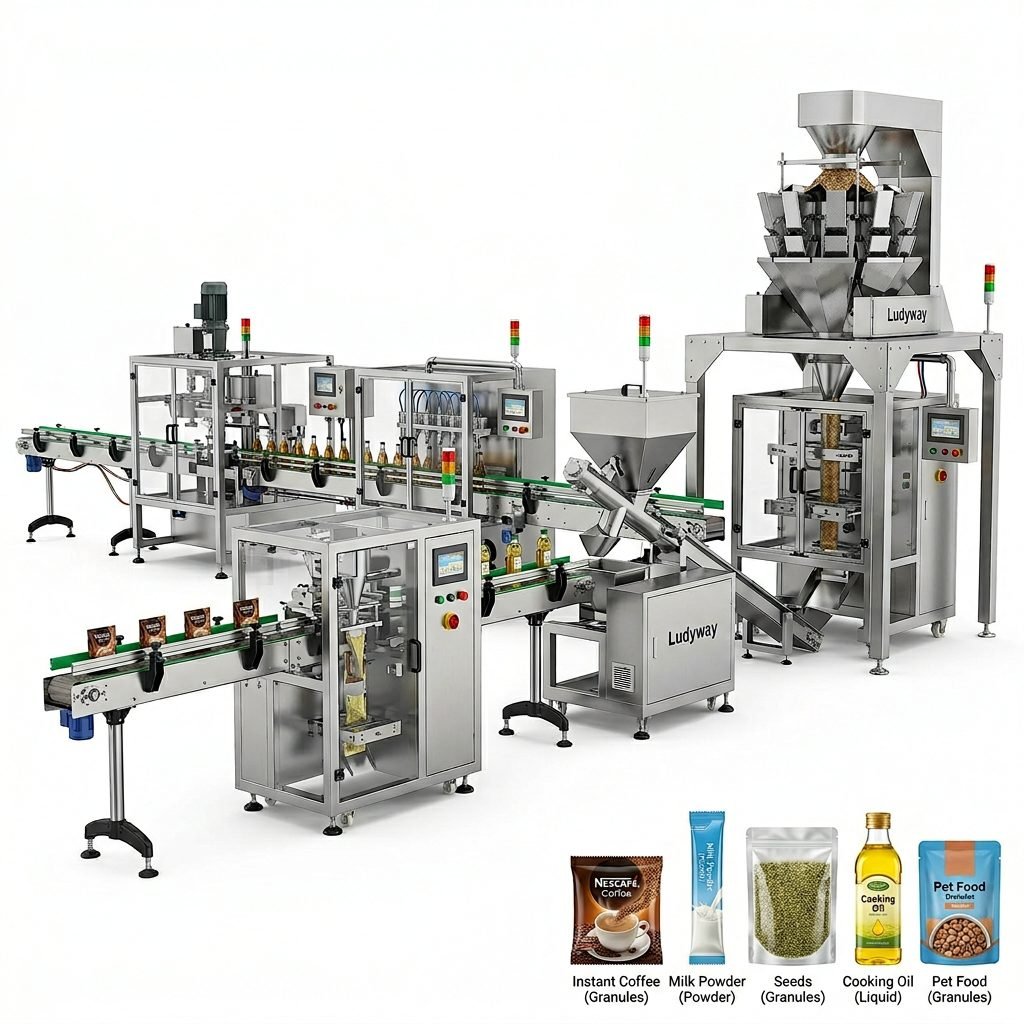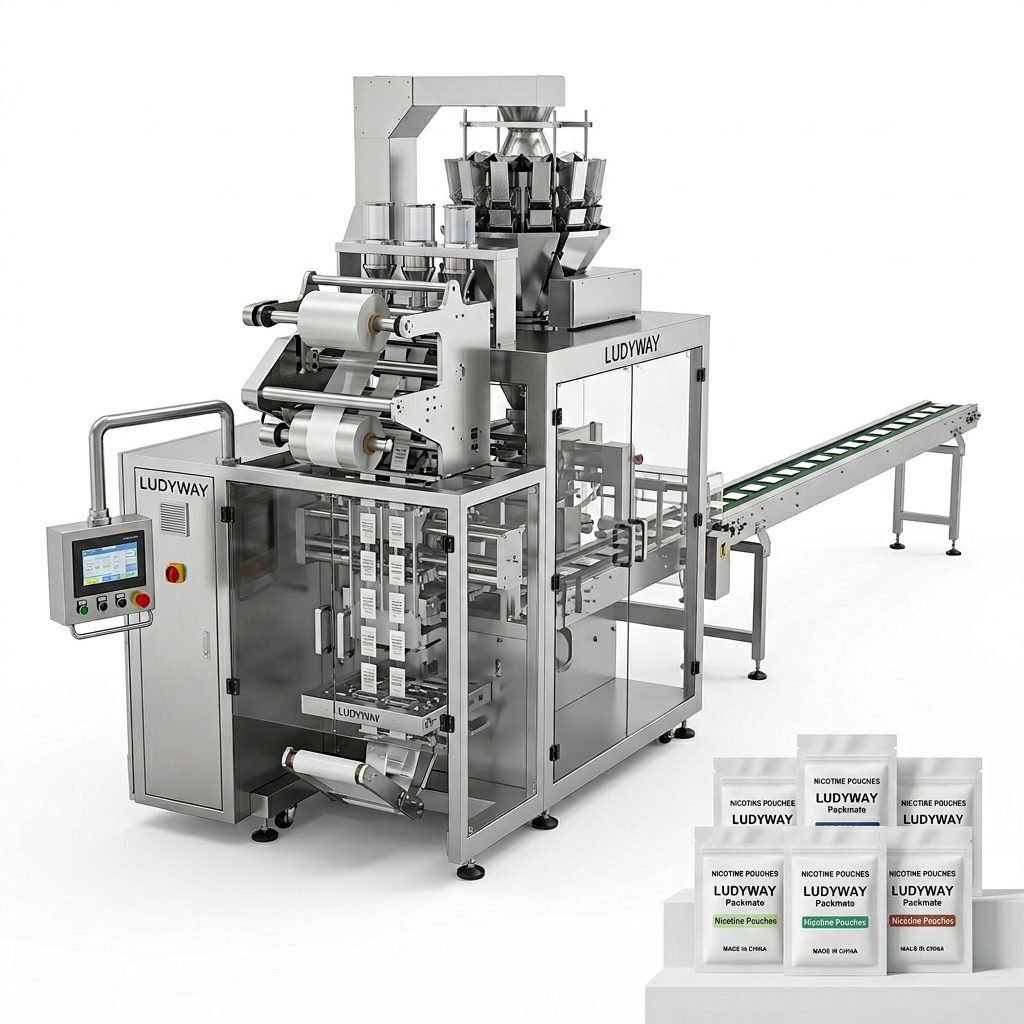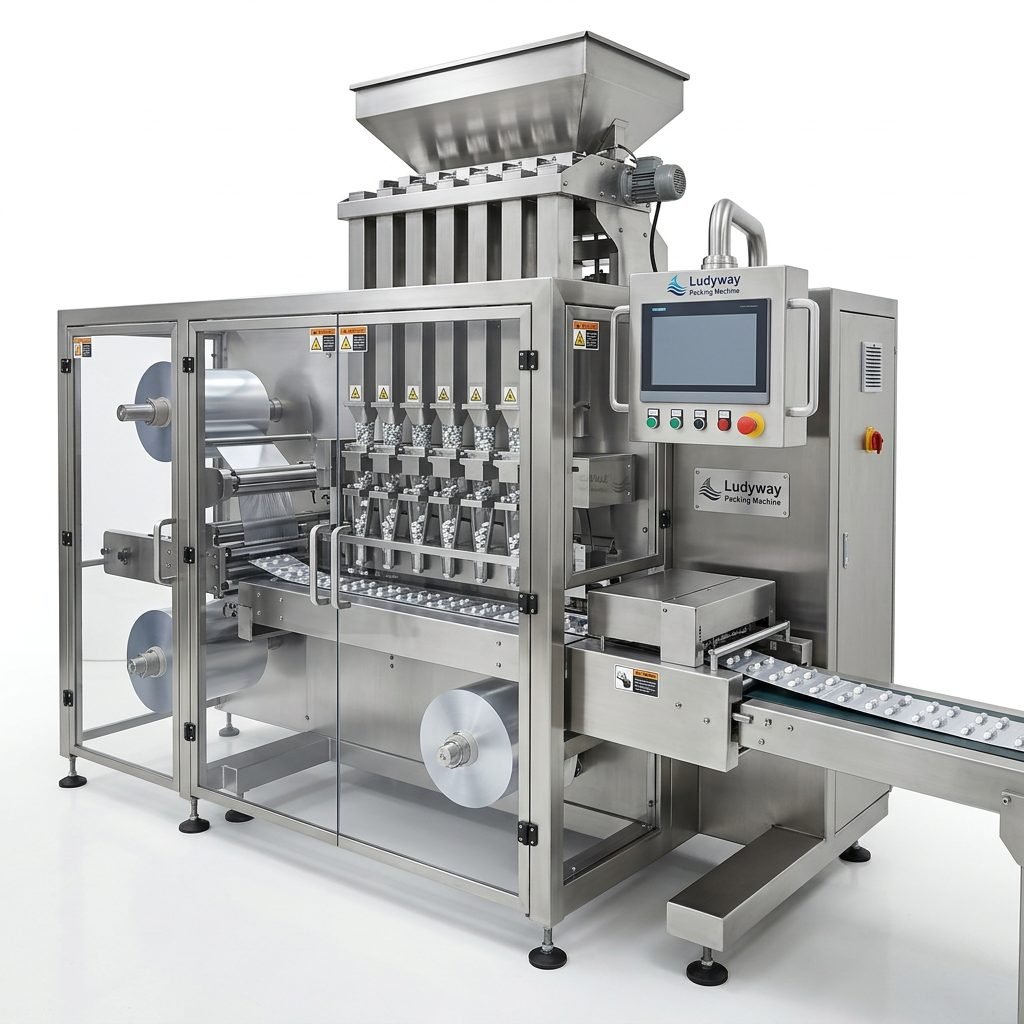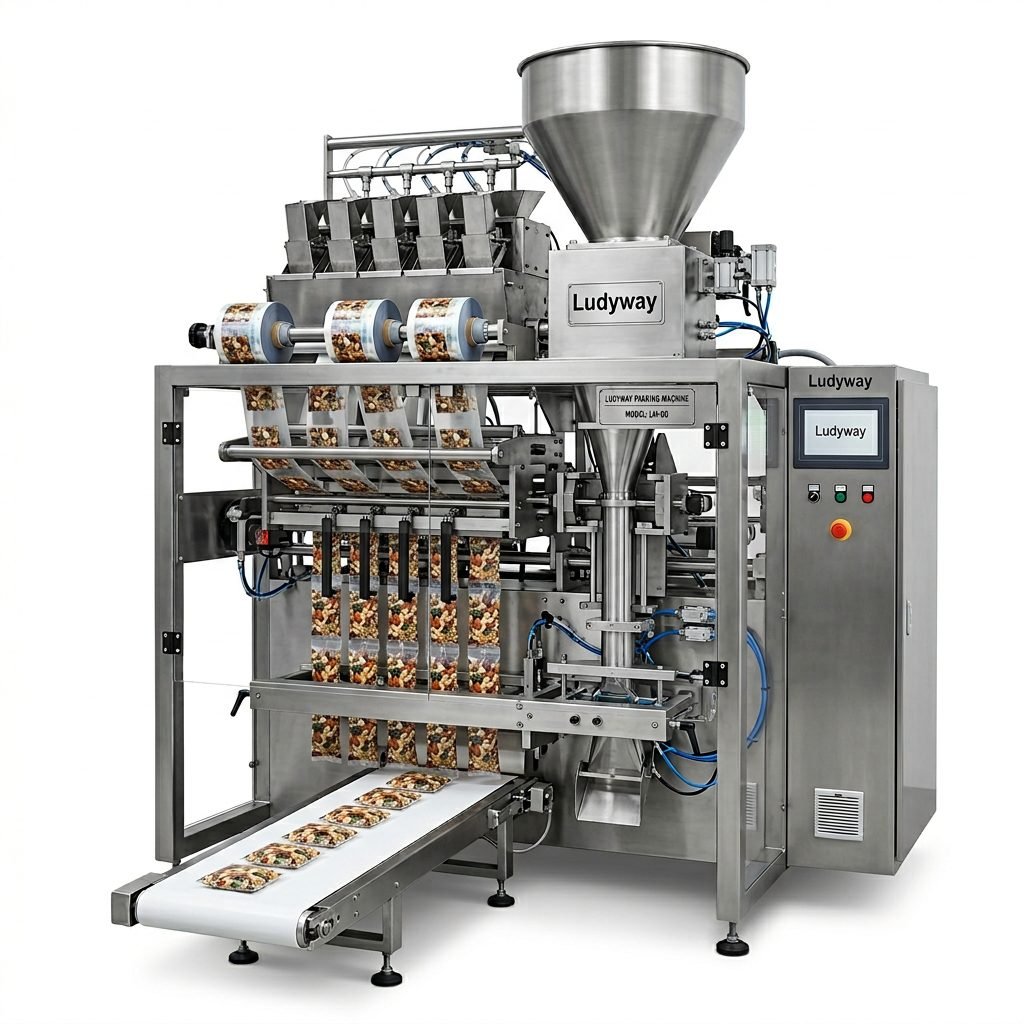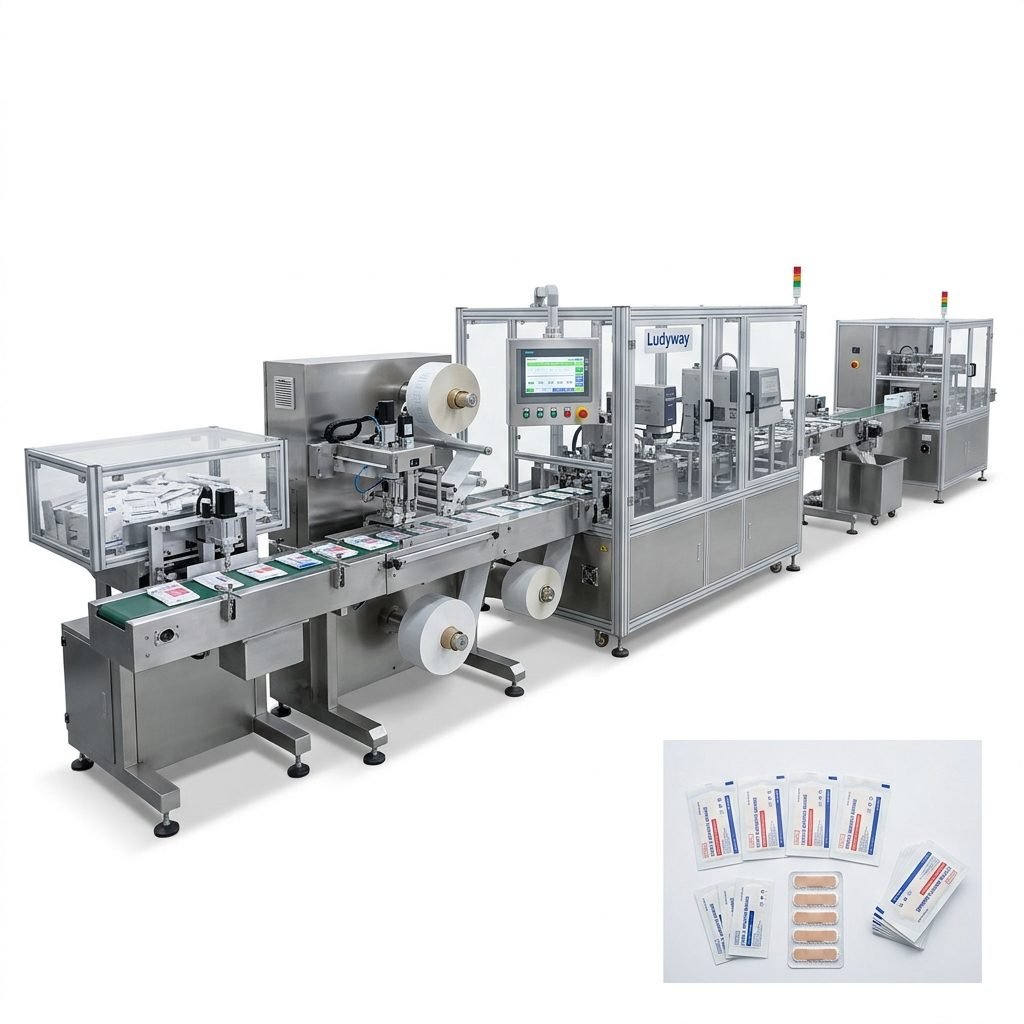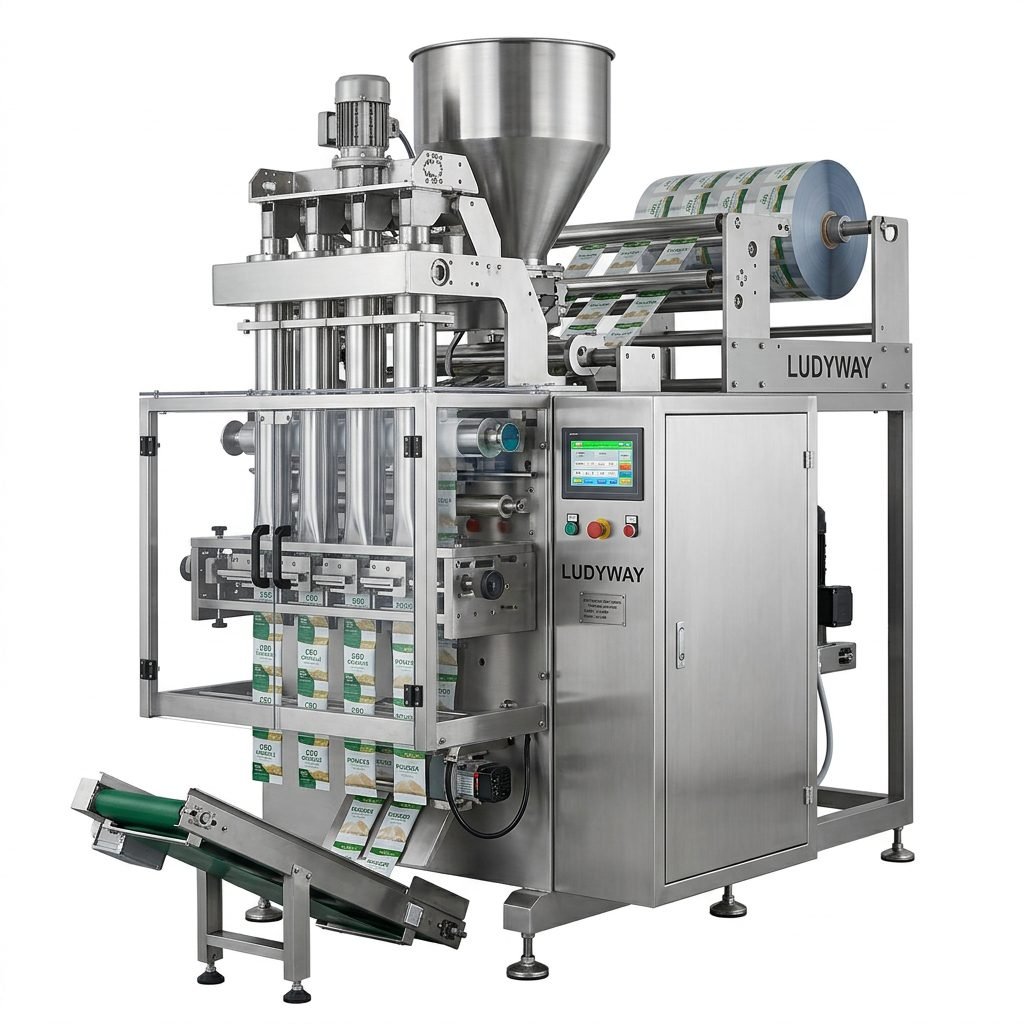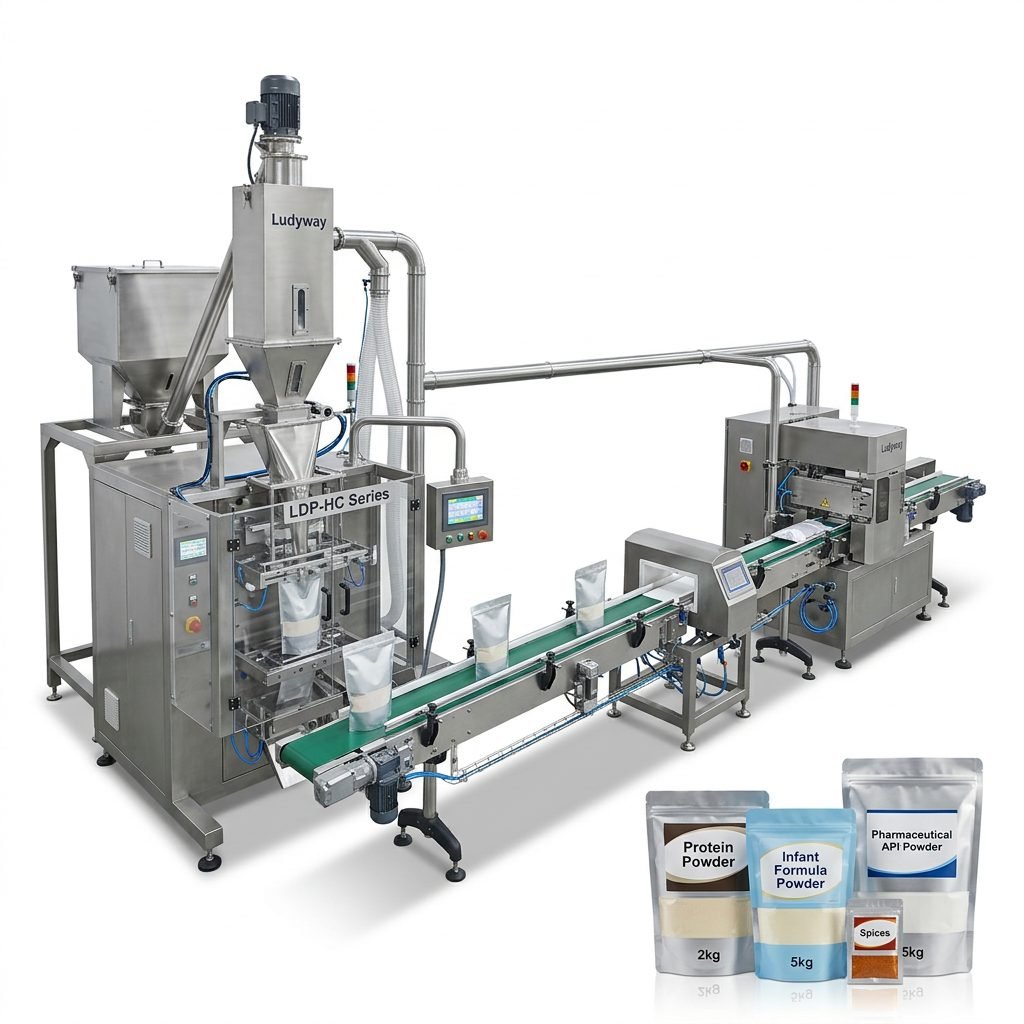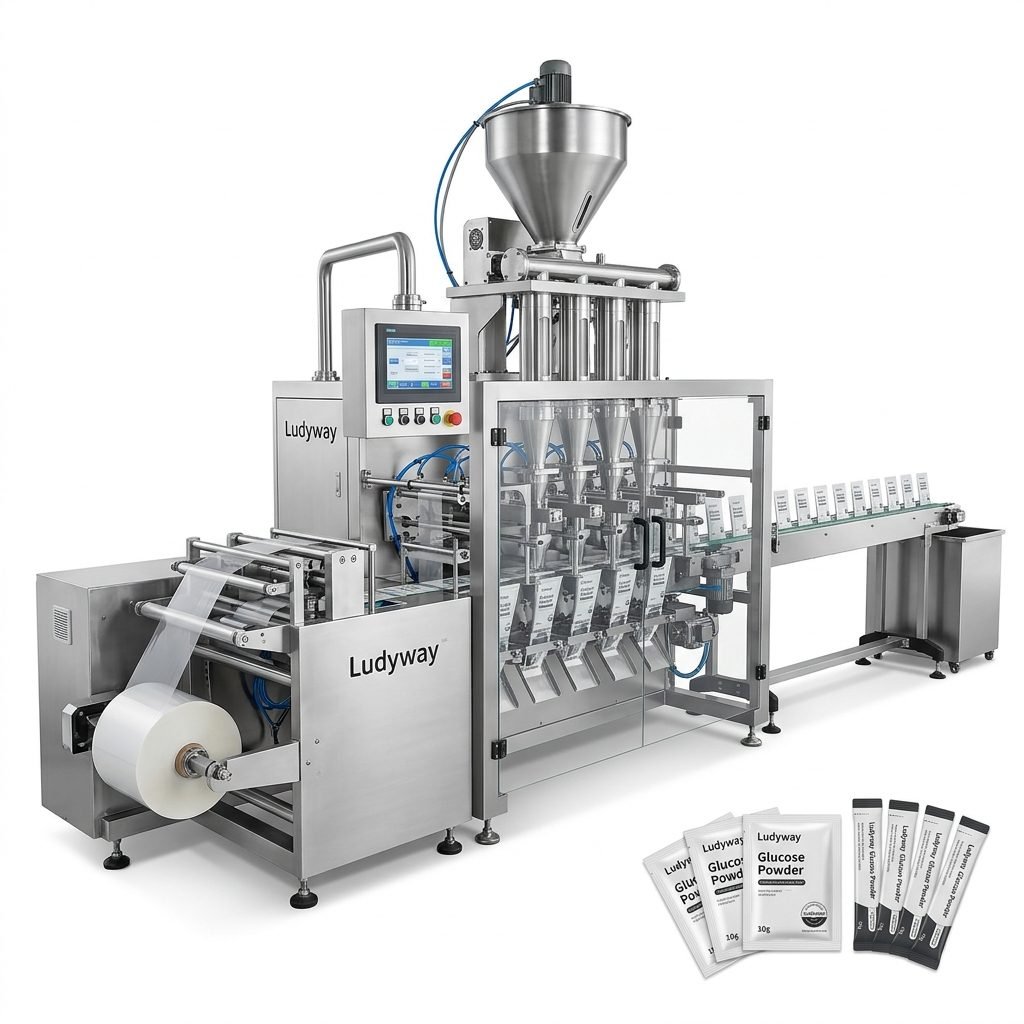
Setting up a vacuum packaging machine production line is a critical investment for manufacturers in the food, pharmaceutical, and industrial sectors. A properly configured vacuum packaging system extends product shelf life, preserves freshness, and enhances operational efficiency. Whether you are launching a new facility or upgrading an existing line, understanding the step-by-step process ensures a smooth installation and optimal performance from day one.
This guide walks you through the entire setup journey — from pre-installation planning and equipment layout to final testing and maintenance protocols. By following these structured steps, you can avoid costly downtime and achieve consistent, high-quality packaging results.
Understanding Vacuum Packaging Machine Components
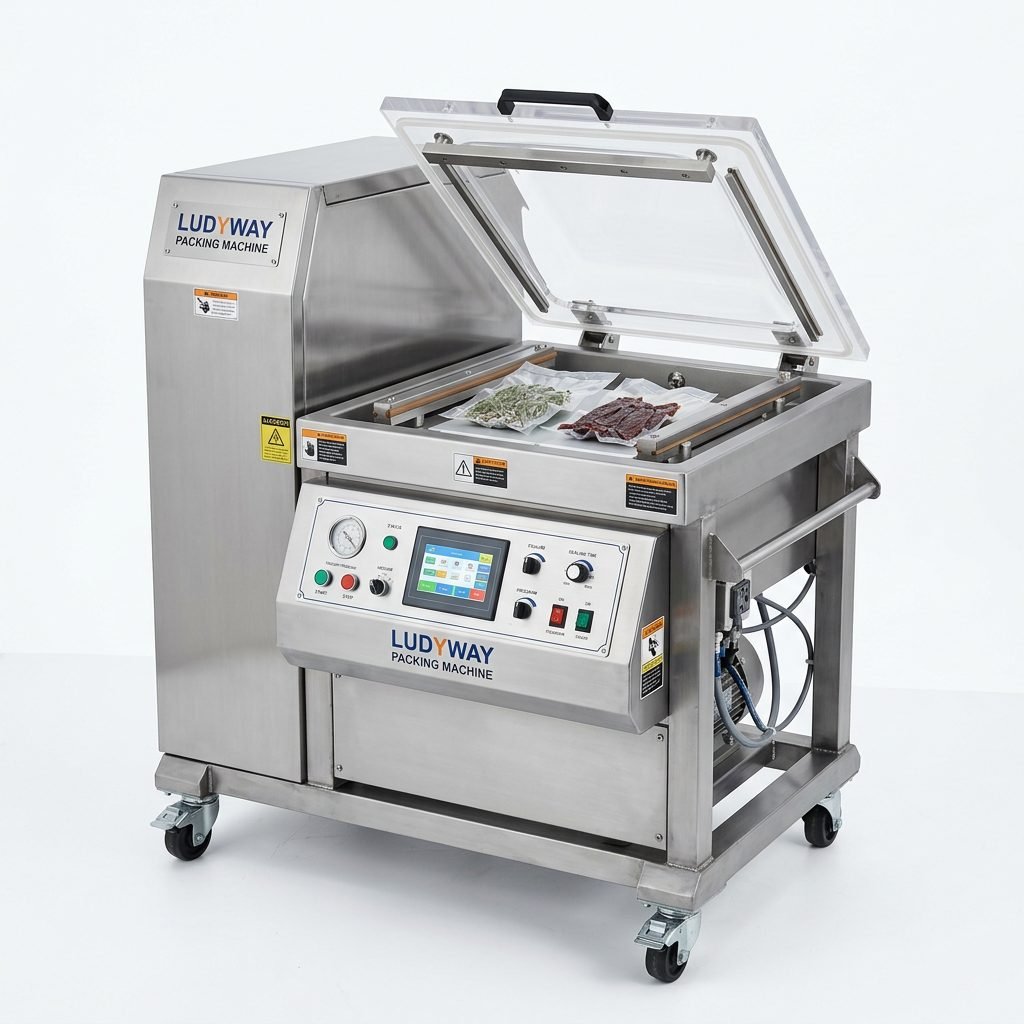
Before diving into the setup process, it is essential to familiarize yourself with the core components of a vacuum packaging production line. Each element plays a vital role in ensuring seamless operation and consistent package quality.
| Component | Function | Key Consideration |
|---|---|---|
| Vacuum Chamber | Removes air from packages before sealing | Chamber size must match product dimensions |
| Vacuum Pump | Generates the vacuum pressure for air extraction | Oil-lubricated vs. dry pump selection |
| Sealing Bar | Heat-seals the package after vacuum is achieved | Temperature and pressure calibration |
| Conveyor System | Transports products through the packaging stages | Speed synchronization with other line equipment |
| Control Panel & PLC | Manages all machine parameters and automation | User interface language and training requirements |
| Gas Flushing System | Injects inert gas for modified atmosphere packaging | Compatibility with nitrogen or CO₂ |
Pre-Installation Planning and Site Preparation
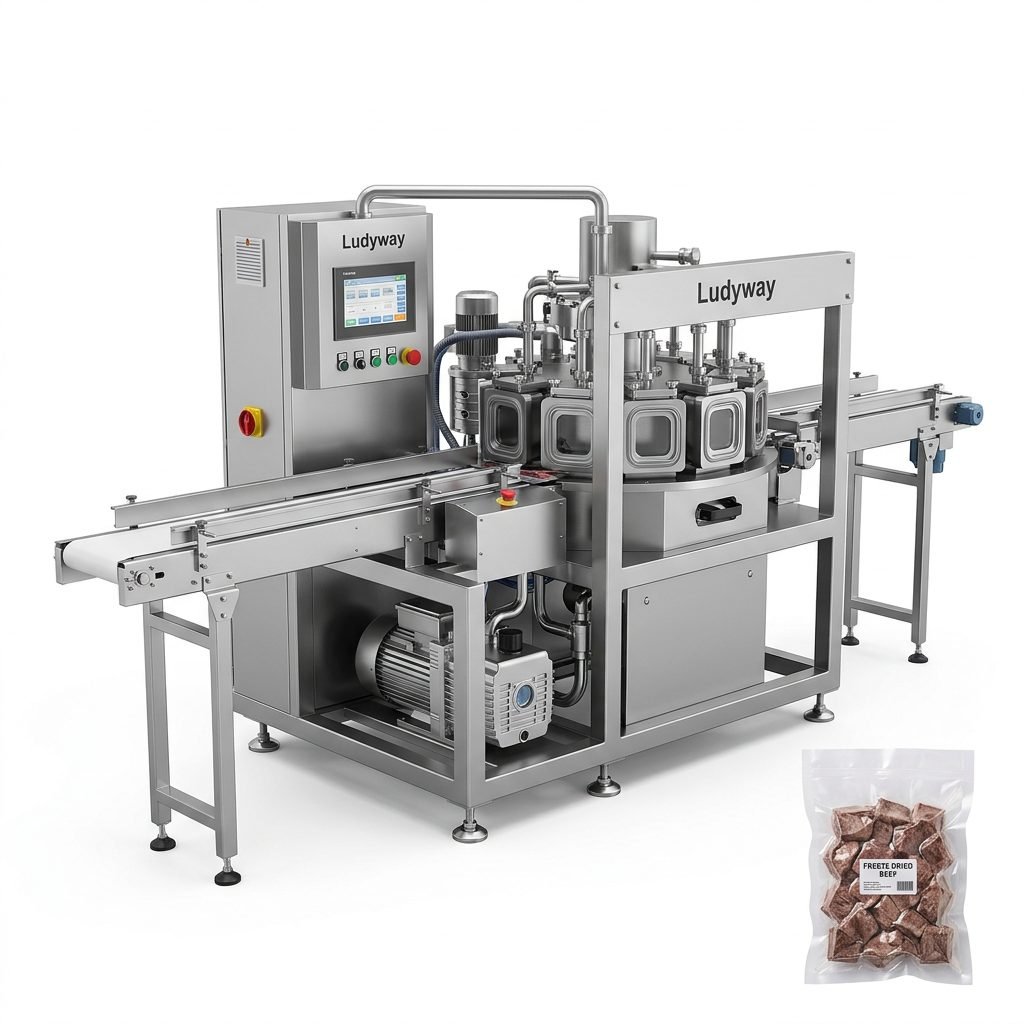
A successful production line setup begins long before the equipment arrives. Thorough pre-installation planning minimizes disruptions and ensures all requirements are met on day one.
Space and Floor Layout Assessment
- Measure the total available floor area and compare with equipment footprint specifications
- Allow at least 1.5 meters of clearance around all sides for maintenance access
- Plan product flow from raw material intake to finished package output
- Consider future expansion needs when determining layout orientation
- Mark floor positions for each machine using the manufacturer’s layout drawing
Utility Requirements Checklist
- Electrical supply: Verify voltage, phase, and amperage match machine specifications
- Compressed air: Ensure sufficient CFM capacity and install appropriate filtration
- Water connections: Required for certain vacuum pump cooling systems
- Ventilation: Adequate airflow for heat dissipation from sealing bars and pumps
- Network connectivity: For PLC programming, remote diagnostics, and data logging
Step-by-Step Production Line Setup Process
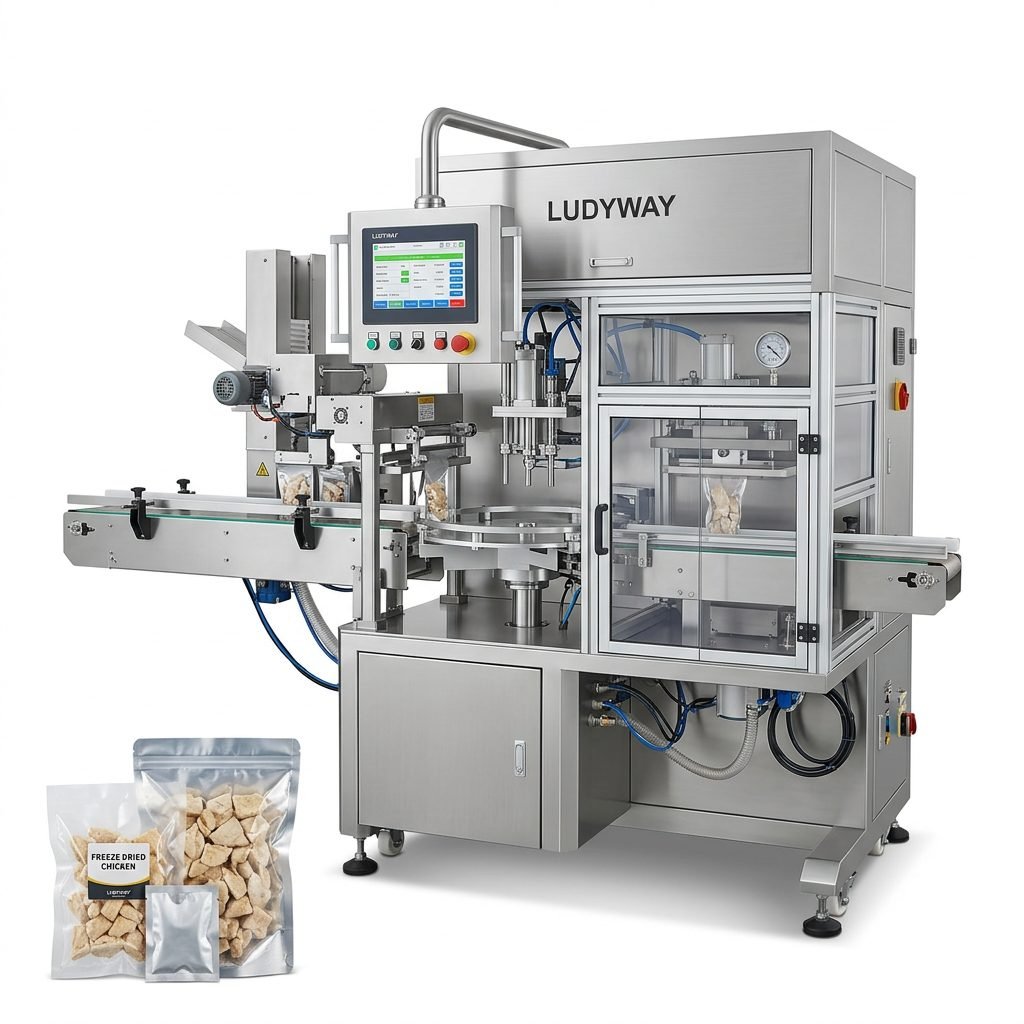
Once the site is prepared and equipment has arrived, follow this structured sequence to build your vacuum packaging production line. Each step is designed to ensure proper integration between individual machine modules.
Step 1: Equipment Positioning and Anchoring
Begin by positioning each machine according to your approved layout diagram. Start from the infeed end and work toward the outfeed. Align conveyors precisely to avoid product transfer issues. Once positions are confirmed, anchor machines to the floor using manufacturer-specified bolts and vibration-dampening pads where needed. Verify that all machines are level using a precision spirit level — uneven positioning can cause sealing inconsistencies and premature wear on mechanical components.
Step 2: Electrical and Utility Connections
Connect all machines to their respective power supplies, ensuring each unit has a dedicated circuit with appropriate overload protection. Route compressed air lines to pneumatic components, checking for leaks at every fitting. For machines with water-cooled vacuum pumps, connect water lines and verify flow rates. Label all connections clearly to simplify future maintenance and troubleshooting.
Step 3: Conveyor System Integration
Align all conveyor segments between machines, adjusting height and angle to create a smooth product transfer path. Install guide rails and product sensors at transition points. Test belt tension and tracking before proceeding to powered tests. Proper conveyor synchronization is critical — mismatched speeds between modules can cause product jams and inconsistent packaging timing.
Step 4: Vacuum System Calibration
Configure the vacuum pump settings based on your product type and packaging material. Set vacuum levels, hold times, and gas flush parameters through the PLC interface. For products requiring modified atmosphere packaging, calibrate the gas mixing ratio precisely. Run initial vacuum tests with empty bags to verify seal integrity before introducing actual products.
Step 5: Sealing Parameter Optimization
Adjust sealing temperature, pressure, and dwell time according to your packaging film specifications. Different materials — such as polyethylene, polypropylene, or laminate films — require distinct sealing parameters. Conduct a series of test seals and perform burst testing to confirm seal strength. Document optimal settings for each product SKU to streamline future changeovers.
Step 6: Control System Programming
Load product recipes into the PLC, defining parameters for each packaging format. Configure sensor positions, timing sequences, and alarm thresholds. If your line includes automated inspection systems such as checkweighers or metal detectors, integrate these devices into the central control network. Test all emergency stop circuits and safety interlocks before proceeding to production trials.
| Setup Phase | Estimated Time | Critical Success Factor |
|---|---|---|
| Equipment Positioning | 1-3 days | Precision leveling and alignment |
| Utility Connections | 2-5 days | Certified electrical and pneumatic work |
| Conveyor Integration | 1-2 days | Seamless transfer point alignment |
| System Calibration | 2-3 days | Accurate parameter documentation |
| Trial Production Runs | 3-7 days | Incremental speed ramp-up |
Testing and Commissioning Procedures
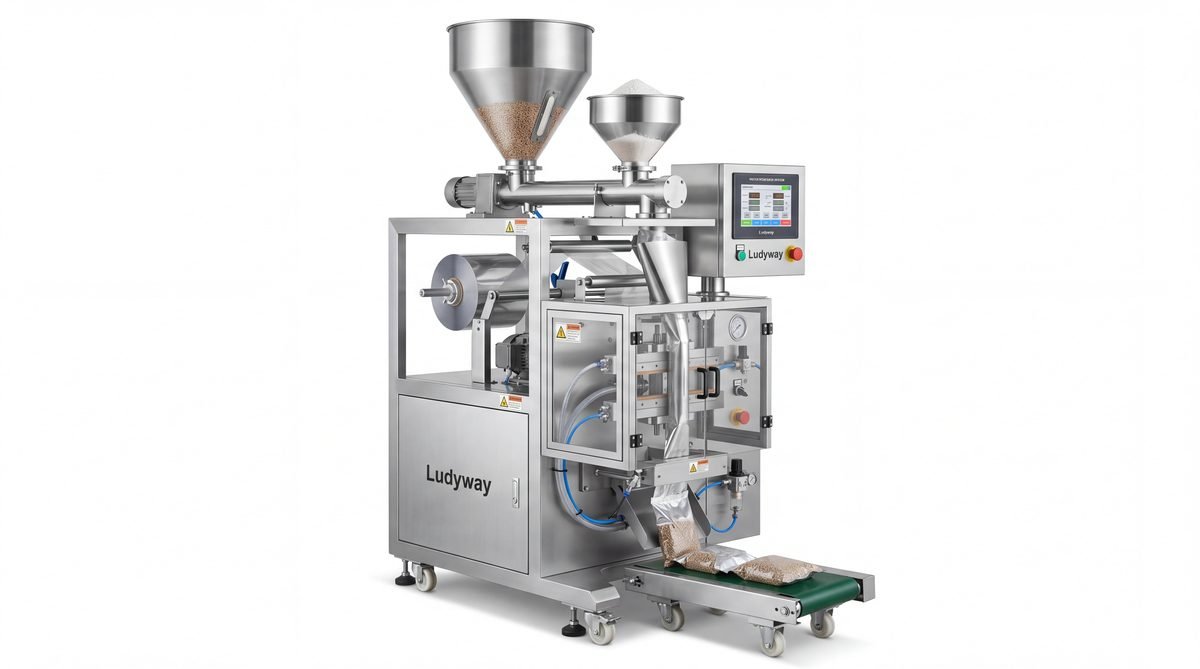
Before transitioning to full production, a comprehensive testing and commissioning phase is essential. This validates that every component functions correctly and that the integrated line meets performance specifications.
Dry Run Testing
- Operate the entire line without product to verify mechanical movements
- Check all sensor triggers, pneumatic actuators, and conveyor speeds
- Monitor for unusual vibrations, noises, or timing irregularities
- Test emergency stop functionality at multiple points along the line
Product Trial Runs
- Start at 50% of target production speed and gradually increase
- Inspect each package for seal integrity, vacuum level, and visual quality
- Measure oxygen residual levels for modified atmosphere packages
- Document all parameters that produce acceptable results
- Conduct shelf-life validation testing on sample packages
Quality Control Integration
Integrate quality checkpoints throughout the line, including vision inspection systems, checkweighers, and leak detection equipment. Establish rejection mechanisms for non-conforming packages and verify that reject stations function reliably at all operating speeds. According to PMMI packaging industry standards, inline quality control systems significantly reduce downstream product recalls and customer complaints.
Operational Training and Documentation
A well-trained operating team is as important as the equipment itself. Invest time in comprehensive training before handing over the line to production staff.
Operator Training Modules
- Machine startup and shutdown sequences for each module
- Product changeover procedures and recipe management
- Routine cleaning and sanitization protocols
- Troubleshooting common issues and error code interpretation
- Safety procedures and lockout/tagout requirements
Documentation Requirements
- Create a standard operating procedure manual for each machine
- Maintain a logbook for recording parameter adjustments and maintenance activities
- Develop quick-reference cards for common troubleshooting scenarios
- Store digital copies of all equipment manuals and wiring diagrams
Preventive Maintenance Scheduling
Establishing a preventive maintenance program from the outset protects your investment and minimizes unplanned downtime. Create a schedule that addresses both routine tasks and long-term component replacement.
| Maintenance Interval | Tasks | Responsible Party |
|---|---|---|
| Daily | Clean sealing bars, inspect vacuum chamber seals, check oil levels | Machine Operator |
| Weekly | Lubricate moving parts, inspect belts and chains, test safety systems | Maintenance Technician |
| Monthly | Replace vacuum pump oil, calibrate sensors, check pneumatic fittings | Maintenance Team |
| Quarterly | Inspect electrical connections, replace worn sealing components, deep clean | Maintenance Team |
| Annually | Full system audit, vacuum pump overhaul, conveyor motor inspection | Manufacturer Service |
Common Setup Challenges and Solutions
Even with meticulous planning, certain challenges may arise during production line setup. Anticipating these issues allows for faster resolution and reduced downtime.
Inconsistent Vacuum Levels
If vacuum levels fluctuate between cycles, check for worn chamber gaskets, loose hose connections, or contaminated vacuum pump oil. Regularly inspect the vacuum chamber sealing surfaces and replace gaskets at the first sign of wear. Proper packaging machinery maintenance practices can extend component life significantly.
Seal Integrity Issues
Weak or inconsistent seals often result from incorrect temperature settings, contaminated sealing bars, or incompatible film materials. Clean sealing bars daily and verify that temperature controllers are calibrated correctly. Conduct peel-strength tests on sample packages to validate seal quality objectively.
Product Jams at Transfer Points
Misaligned conveyors or incorrect guide rail spacing can cause products to accumulate at transfer points. Adjust guide rail widths to match product dimensions with minimal clearance, and verify that conveyor speeds are properly synchronized across all modules.
Scaling Your Vacuum Packaging Operations
Once your initial production line is operational, consider scalability factors that will support business growth. Modular machine designs allow for additional lanes or modules to be integrated without replacing the entire line. Investing in equipment with remote monitoring capabilities enables predictive maintenance and reduces the burden on on-site technical staff.
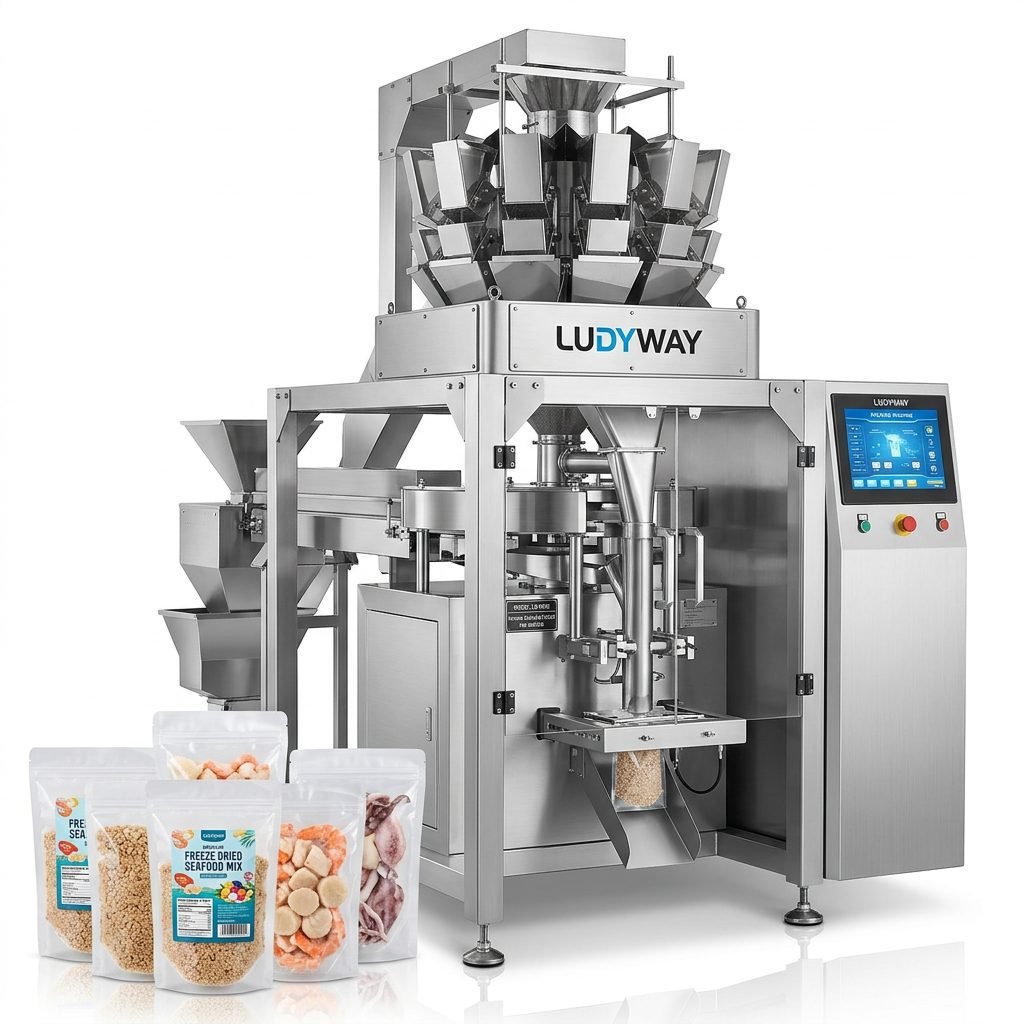
For manufacturers seeking turnkey packaging solutions, working with experienced equipment providers simplifies the entire process. Companies like Ludyway offer comprehensive support from initial consultation through installation, training, and after-sales service. The packaging industry continues to evolve with advancements in automation, sustainability, and smart factory integration — staying informed of these trends positions your operation for long-term success.
Final Checklist Before Full Production
- All machines leveled, anchored, and properly aligned
- Electrical, pneumatic, and water connections verified and labeled
- Vacuum pump oil filled to correct level and break-in period completed
- Sealing parameters optimized and documented for each product
- Safety systems tested and emergency stops functioning
- Operators trained and standard operating procedures distributed
- Quality control checkpoints integrated and calibrated
- Preventive maintenance schedule established and assigned
- Trial production runs completed with acceptable quality metrics
- Spare parts inventory stocked for critical components
Setting up a vacuum packaging machine production line is a multi-phase process that demands careful planning, precise execution, and ongoing commitment to maintenance and training. By following this structured guide, manufacturers can achieve a smooth installation, minimize startup delays, and establish a foundation for consistent, high-quality packaging operations that meet the rigorous demands of modern food, pharmaceutical, and industrial markets.